
IPFire is an open-source Linux distribution with many useful features such as web based GUI, web proxy, intrusion detection, VPN, virus scanner, and many. Visit the official website for more details. It has many add-ons which can be installed with a single click and makes the system administrators life much easier.
Installing IPFire
Minimum System Requirements:
- IPFire needs at-least a Intel Pentium 333MHz processor or better CPU;
- It needs 256MB RAM, but 512MB is recommended;
- 100MB disk space, but 2GB or more could be better.
- At least two network adapters is mandatory. One for ISP (Inbound) and another one for your local area network.
Well, first head over to the IPFire download page, and get the latest version of IPFire. Burn image in a CD or USB thumb drive, and boot the system.
The following screen should appear. Press ENTER to continue.
![IPFire [Running] - Oracle VM VirtualBox_001](http://unixmen.com/wp-content/uploads/2014/09/IPFire-Running-Oracle-VM-VirtualBox_001.png)
Select your preferred Language, and click OK.
![IPFire [Running] - Oracle VM VirtualBox_002](http://unixmen.com/wp-content/uploads/2014/09/IPFire-Running-Oracle-VM-VirtualBox_002.png)
Accept the License Agreement, and click OK.
![IPFire [Running] - Oracle VM VirtualBox_004](http://unixmen.com/wp-content/uploads/2014/09/IPFire-Running-Oracle-VM-VirtualBox_004.png)
Select Yes, and click OK to partition the hard drive.
![IPFire [Running] - Oracle VM VirtualBox_005](http://unixmen.com/wp-content/uploads/2014/09/IPFire-Running-Oracle-VM-VirtualBox_005.png)
Choose your filesystem type, and click OK.
![IPFire [Running] - Oracle VM VirtualBox_006](http://unixmen.com/wp-content/uploads/2014/09/IPFire-Running-Oracle-VM-VirtualBox_006.png)
Now, the installer will begin to install the base system.
![IPFire [Running] - Oracle VM VirtualBox_007](http://unixmen.com/wp-content/uploads/2014/09/IPFire-Running-Oracle-VM-VirtualBox_007.png)
After installation is over, press OK to reboot your system.
![IPFire [Running] - Oracle VM VirtualBox_008](http://unixmen.com/wp-content/uploads/2014/09/IPFire-Running-Oracle-VM-VirtualBox_008.png)
We’re not finished yet. At first time you log in to IPFire system, you’ll be asked some extra questions.
Select the keyboard layout. Here, I selected US keyboard layout.
![IPFire [Running] - Oracle VM VirtualBox_010](http://unixmen.com/wp-content/uploads/2014/09/IPFire-Running-Oracle-VM-VirtualBox_010.png)
Select your time zone.
![IPFire [Running] - Oracle VM VirtualBox_011](http://unixmen.com/wp-content/uploads/2014/09/IPFire-Running-Oracle-VM-VirtualBox_011.png)
Enter the host name for the firewall. Here, I go with the defaults.
![IPFire [Running] - Oracle VM VirtualBox_013](http://unixmen.com/wp-content/uploads/2014/09/IPFire-Running-Oracle-VM-VirtualBox_013.png)
Enter the domain name.
![IPFire [Running] - Oracle VM VirtualBox_014](http://unixmen.com/wp-content/uploads/2014/09/IPFire-Running-Oracle-VM-VirtualBox_014.png)
Enter the root user password for command-line access. Passwords will not be shown(even the ***** characters too).
![IPFire [Running] - Oracle VM VirtualBox_015](http://unixmen.com/wp-content/uploads/2014/09/IPFire-Running-Oracle-VM-VirtualBox_015.png)
Enter the “admin” user password for web based administration. Here also, passwords will not be shown(even the ***** characters too).
![IPFire [Running] - Oracle VM VirtualBox_016](http://unixmen.com/wp-content/uploads/2014/09/IPFire-Running-Oracle-VM-VirtualBox_0161.png)
Here, we reached the important section. pay little more attention. You have to carefully select the Network configuration. Here let me explain you about the network zones of IPFire.
The default network configuration type is Green + Red, which means 2 networks. Typically, your Green network is for your LAN and your Red network is for WAN(Internet).
A maximum of 4 networks is possible – namely Green, Blue, Orange, and Red.
|
– WAN | – External network, connected to the Internet |
|
– LAN | – Internal/Private network, connected locally |
|
– DMZ | – Unprotected/Server network, de-militarized Zone |
|
– WLAN | – Wireless Network, separate network for wireless clients |
You can choose the network type depending upon your environment.
Choose the Network configuration type, and click OK.
![IPFire [Running] - Oracle VM VirtualBox_017](http://unixmen.com/wp-content/uploads/2014/09/IPFire-Running-Oracle-VM-VirtualBox_017.png)
Select the network configuration for IPFire. In my case, I go with default network configuration i.e Green and Red. Green Network is connected to my local network, and the Red network is connected with WAN i.e to the router. Click Ok to continue.
![IPFire [Running] - Oracle VM VirtualBox_018](http://unixmen.com/wp-content/uploads/2014/09/IPFire-Running-Oracle-VM-VirtualBox_018.png)
Select Drivers and card assignments option, and click Ok.
![IPFire [Running] - Oracle VM VirtualBox_019](http://unixmen.com/wp-content/uploads/2014/09/IPFire-Running-Oracle-VM-VirtualBox_019.png)
Choose the interface you want to change ex.Green.
![IPFire [Running] - Oracle VM VirtualBox_020](http://unixmen.com/wp-content/uploads/2014/09/IPFire-Running-Oracle-VM-VirtualBox_020.png)
Then, select the a nic for the Green network.
![IPFire [Running] - Oracle VM VirtualBox_021](http://unixmen.com/wp-content/uploads/2014/09/IPFire-Running-Oracle-VM-VirtualBox_021.png)
Likewise, choose the interface for Red zone.
![IPFire [Running] - Oracle VM VirtualBox_022](http://unixmen.com/wp-content/uploads/2014/09/IPFire-Running-Oracle-VM-VirtualBox_022.png)
![IPFire [Running] - Oracle VM VirtualBox_023](http://unixmen.com/wp-content/uploads/2014/09/IPFire-Running-Oracle-VM-VirtualBox_023.png)
After assigning interfaces for both zones click Done to save the changes.
![IPFire [Running] - Oracle VM VirtualBox_024](http://unixmen.com/wp-content/uploads/2014/09/IPFire-Running-Oracle-VM-VirtualBox_024.png)
Now, you will be again redirected back to your Network Configuration Wizard.
Click on Address settings to set the IP Address for the network interfaces.
![IPFire [Running] - Oracle VM VirtualBox_025](http://unixmen.com/wp-content/uploads/2014/09/IPFire-Running-Oracle-VM-VirtualBox_025.png)
Select Green interface, and click OK.
![IPFire [Running] - Oracle VM VirtualBox_026](http://unixmen.com/wp-content/uploads/2014/09/IPFire-Running-Oracle-VM-VirtualBox_026.png)
Enter the IP Address for Green interface.
![IPFire [Running] - Oracle VM VirtualBox_028](http://unixmen.com/wp-content/uploads/2014/09/IPFire-Running-Oracle-VM-VirtualBox_028.png)
Then, set IP Address to RED interface. Set your WAN IP address.
![IPFire [Running] - Oracle VM VirtualBox_029](http://unixmen.com/wp-content/uploads/2014/09/IPFire-Running-Oracle-VM-VirtualBox_029.png)
![IPFire [Running] - Oracle VM VirtualBox_030](http://unixmen.com/wp-content/uploads/2014/09/IPFire-Running-Oracle-VM-VirtualBox_030.png)
After setting up IP addresses click Done to return back your network configuration wizard.
![IPFire [Running] - Oracle VM VirtualBox_031](http://unixmen.com/wp-content/uploads/2014/09/IPFire-Running-Oracle-VM-VirtualBox_031.png)
Click on the DNS and Gateway settings tab and set your DNS and Gateway details.
![IPFire [Running] - Oracle VM VirtualBox_032](http://unixmen.com/wp-content/uploads/2014/09/IPFire-Running-Oracle-VM-VirtualBox_032.png)
![IPFire [Running] - Oracle VM VirtualBox_033](http://unixmen.com/wp-content/uploads/2014/09/IPFire-Running-Oracle-VM-VirtualBox_033.png)
After completing all the above steps, click Done to finish the network configuration.
![IPFire [Running] - Oracle VM VirtualBox_034](http://unixmen.com/wp-content/uploads/2014/09/IPFire-Running-Oracle-VM-VirtualBox_034.png)
If you want to set this system as DHCP server for your LAN, check on Enabled button and enter the IP range to serve to your LAN systems. Here, I am not using this server as DHCP. So I leave it as unchecked.
![IPFire [Running] - Oracle VM VirtualBox_035](http://unixmen.com/wp-content/uploads/2014/09/IPFire-Running-Oracle-VM-VirtualBox_035.png)
Finally, click OK to complete the setup wizard.
![IPFire [Running] - Oracle VM VirtualBox_036](http://unixmen.com/wp-content/uploads/2014/09/IPFire-Running-Oracle-VM-VirtualBox_036.png)
The system will automatically restart now. That’s it. Now the installation part is over.
The network configuration part might be little bit difficult for newbies. But, if you understand the concept, it’s very easy. Read the instructions carefully, and set the values.
Configure IPFire
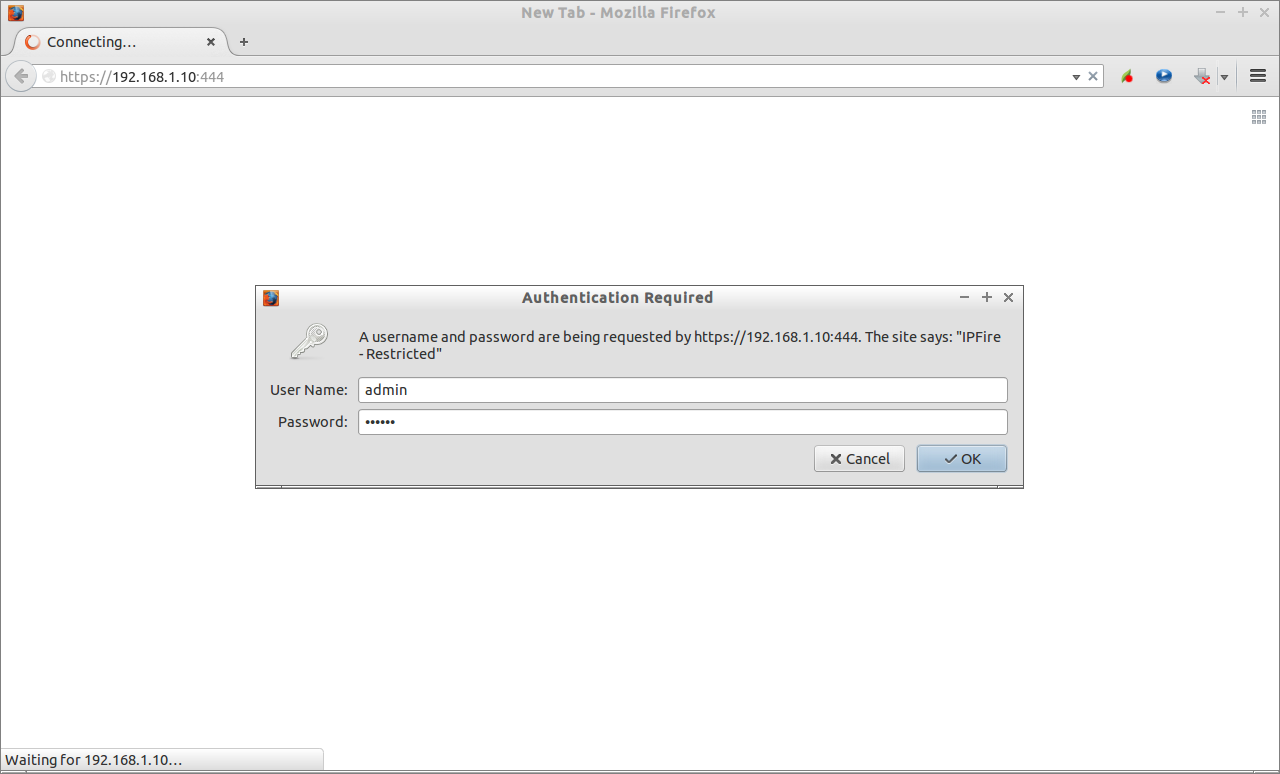
After your system is rebooted, access the IPFire administration console by navigating to https://ip-address-of-server:444/ from your client system browser.
Enter username as admin, and password that you created during the installation process.
This is how the IPFire main dashboard looks.
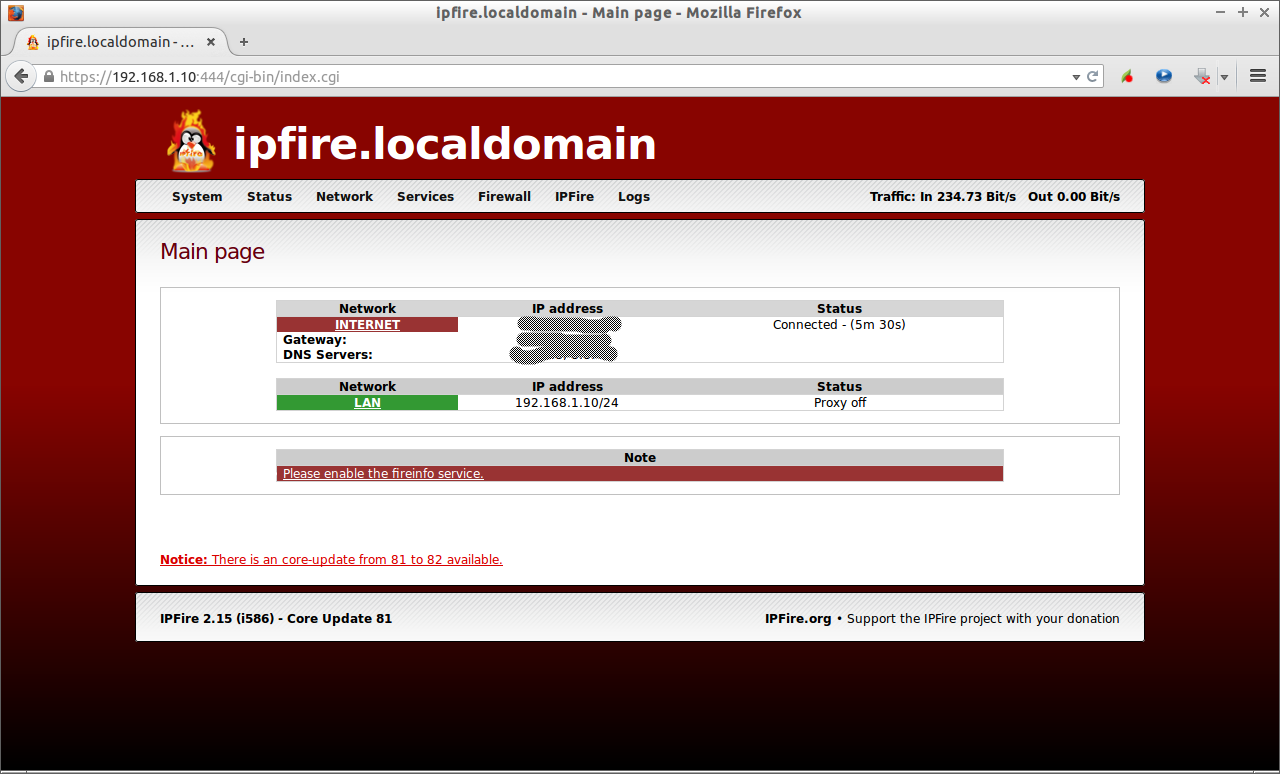
From here, you can configure many services like Intrusion detection, VPN, Web proxy, firewall and so on. Let us see some.
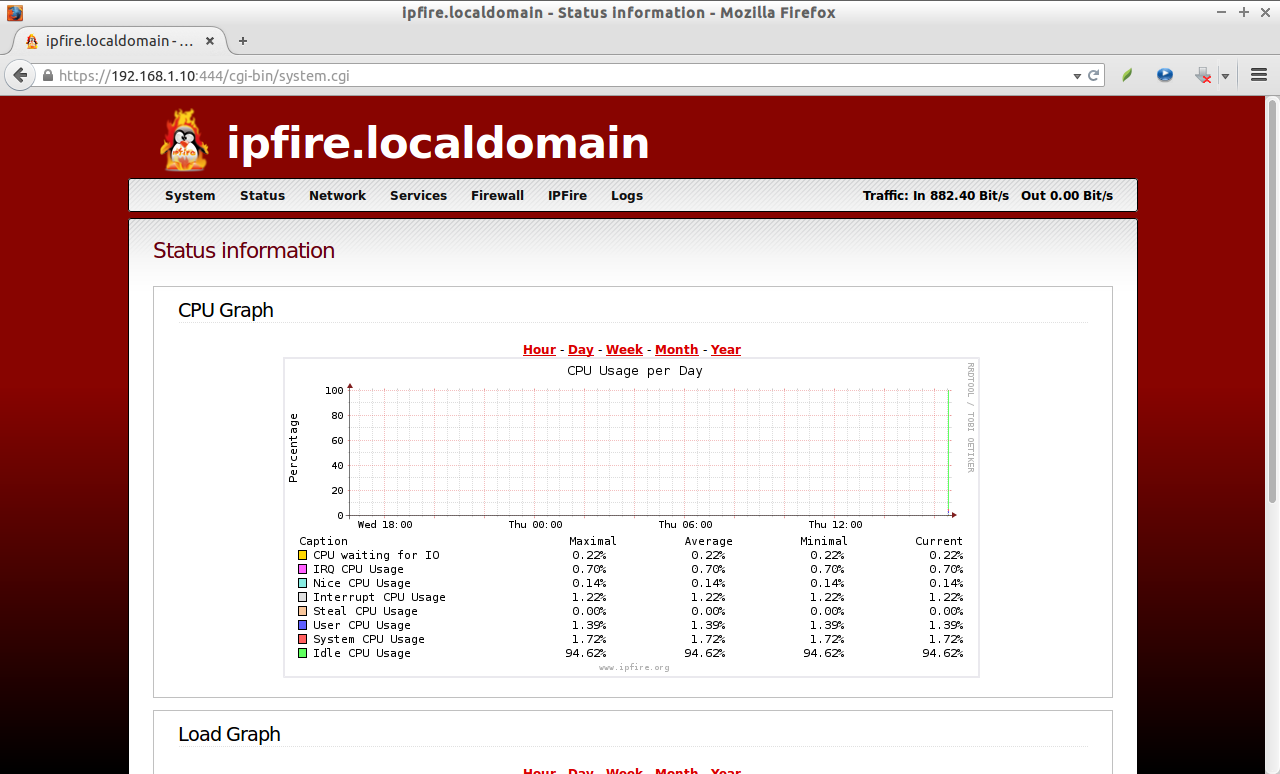
Status Menu
This section will show you the graph details of System, Memory, Network, hardware, and many.Also you can view the reports in daily, weekly, monthly and yearly basis.
Network Menu
This is the important, and interesting section. In this section, we can configure a lot of options such as:
- Web proxy
- URL Filter
- Update accelerator
- DHCP Server
- Connection scheduler
- DNS Forwarding
- MAC address assiging
- And more.
Web proxy:
Using this option, we can make this server to act as a Internet proxy server for our LAN. You can set both transparent and non-transparent proxy.
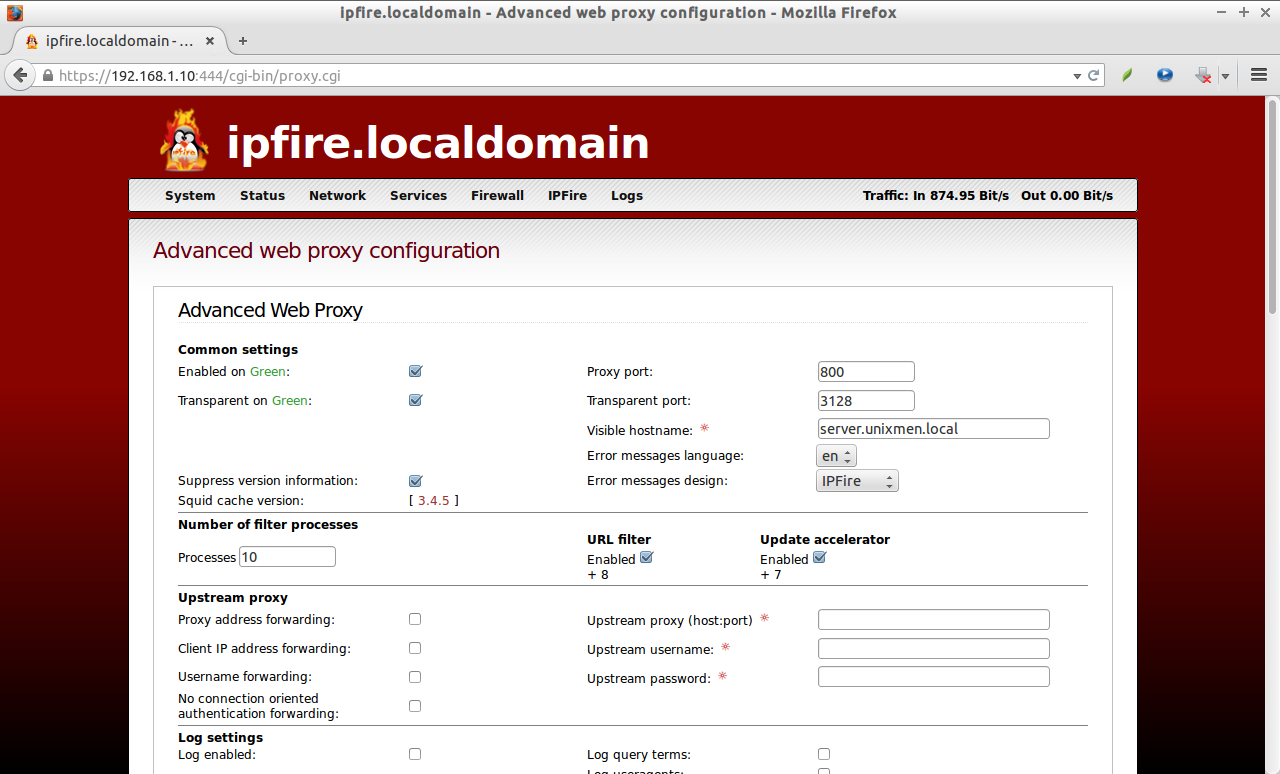
You don’t have to mess up with commands. You can setup squid proxy server with few mouse clicks instantly.
URL Filter:
This section is much useful to optimize the Internet connection. In this section, we can block unwanted ads, porn websites, social networking sites, hacking, drugs, audio-video websites and so on.
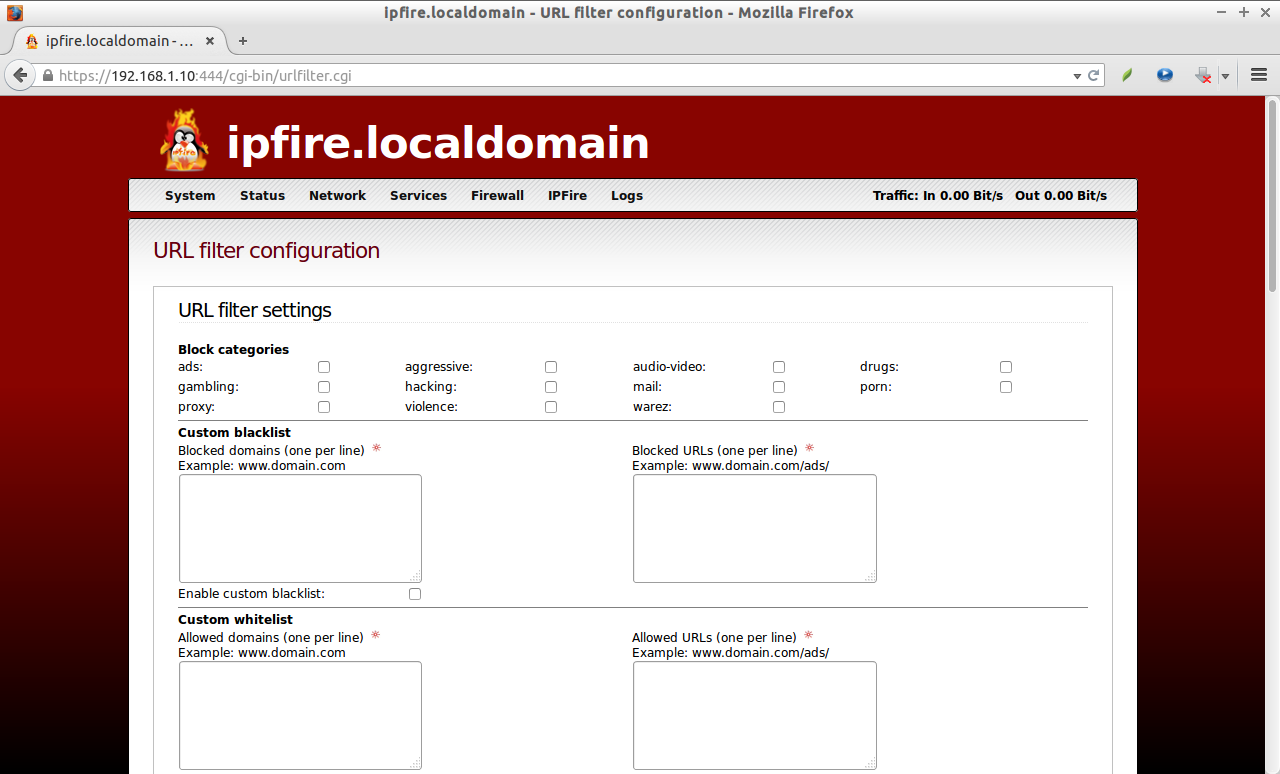
If you want to block particular domains or websites, just add them one by one in the custom black list section. The domains or websites added in this list will be blocked automatically. Or you can add all the websites in a separate text file and import it to IPFire firewall.
There are other sections such Update accelerator, DHCP server, Connection scheduler etc. Go through to the other sections, and make the changes as per your wish.
Services
In this section, you can configure services such as VPN, Intrusion Detection, Dynamic DNS, and so on.

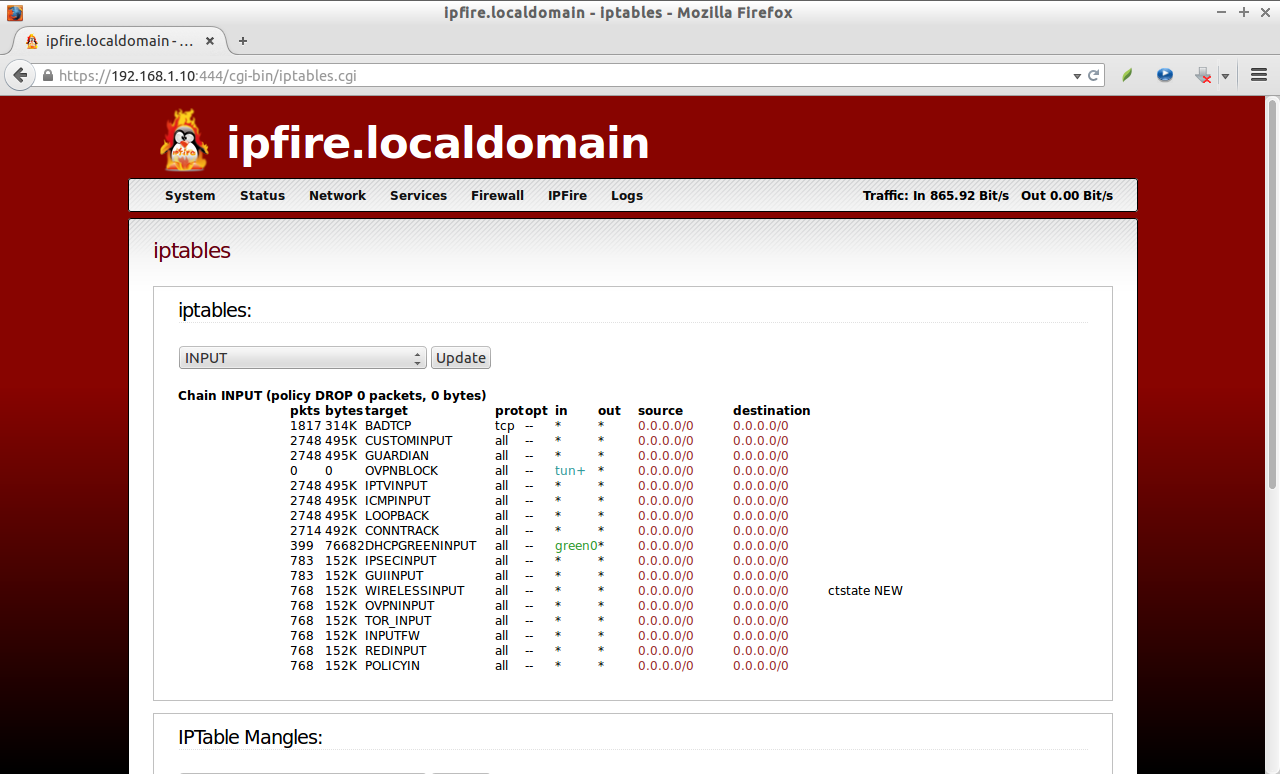
Firewall
The firewall section allows to allow/deny the inbound and outbound connection in your network. In this section, you can add the firewall rules whatever you want to implement.
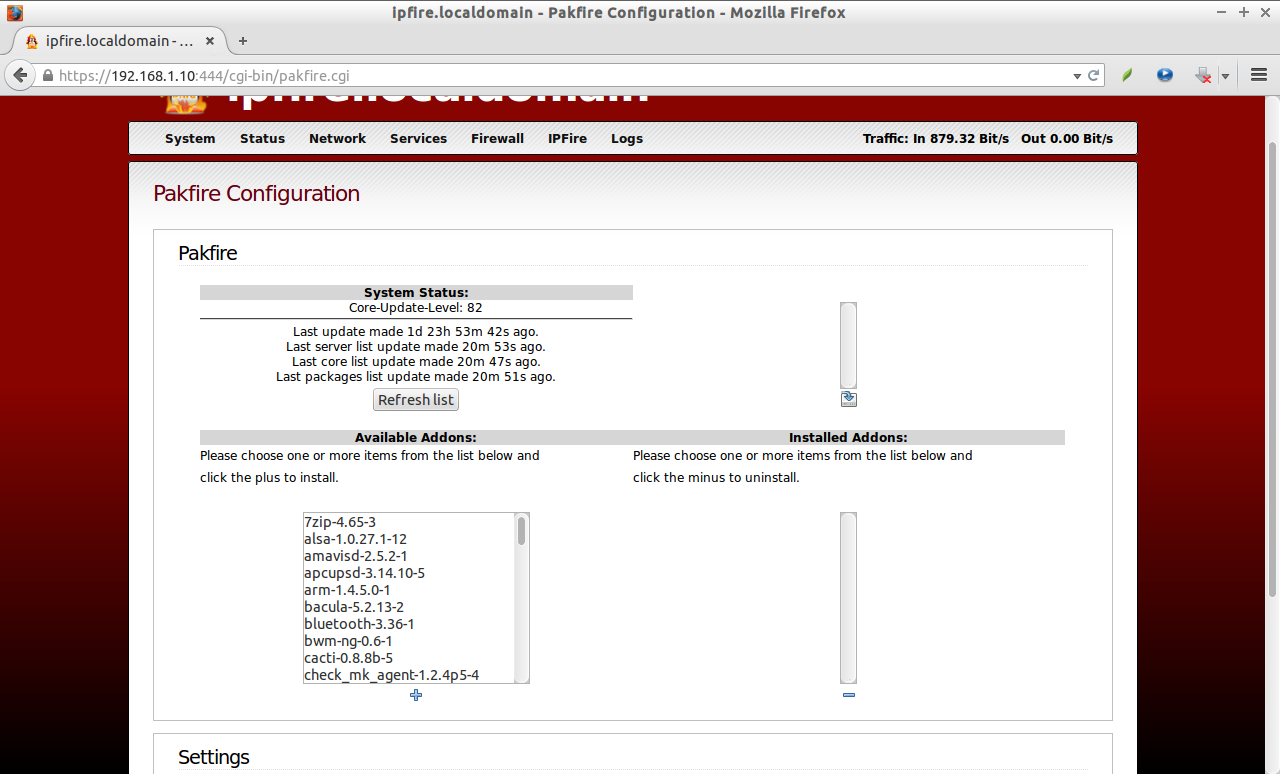
Pakfire
IPFire has a package manager called pakfire which can be used to add extra add-ons. Pakfire allows you to update the IPFire to the most recent version, and also to add any available plugins.
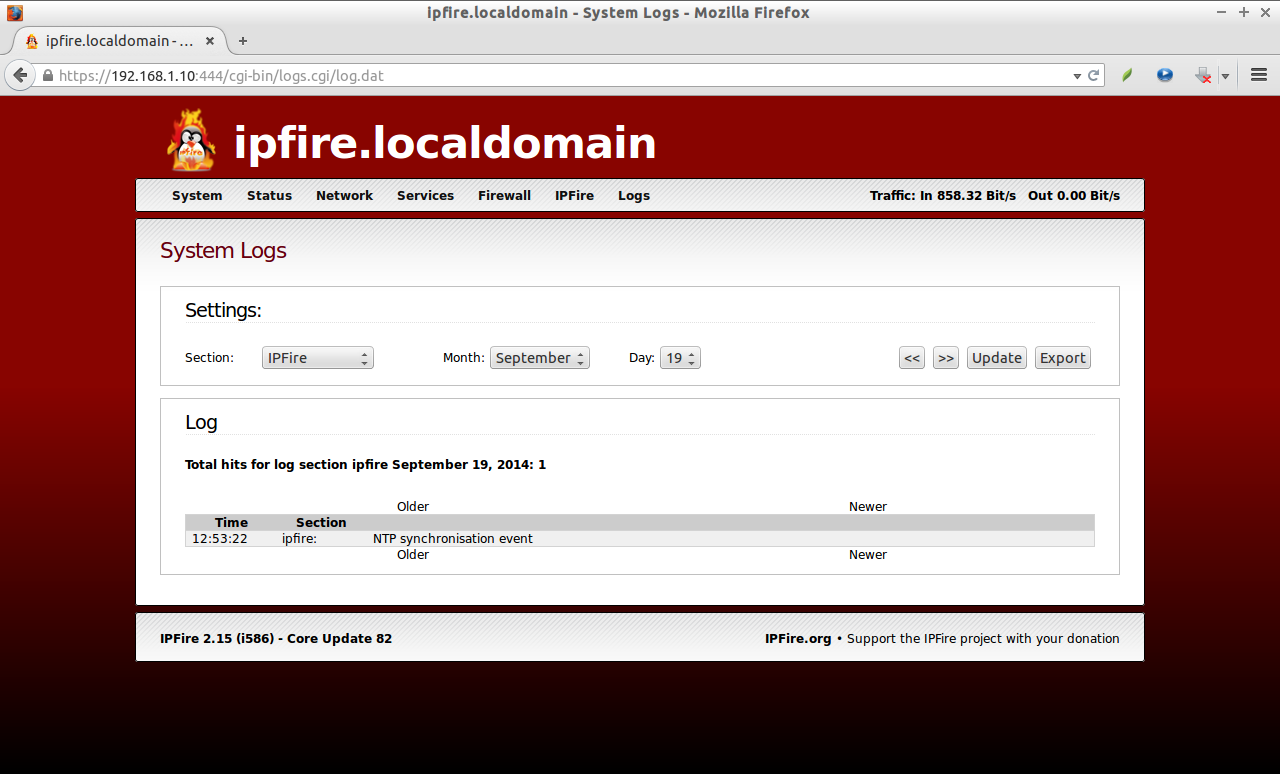
Logs
Well, we reached the last section. In this section, all logs such as proxy logs, firewall logs, IDS logs and URL filter logs will be available. Using these logs, we can track users and keep an eye on them what they are doing on Internet.
Conclusion
IPFire is one of the powerful, robust, and free firewall distribution ever I have tested. We can deploy it in just only few hours. The installation and configuration is simple and straight forward. If you still have difficulties, you can get support from IPFire. The IPFire team is also providing commercial support and hardware appliances too.
If anybody using this firewall right now, please let us know about it’s performance in the comment section.
Thanks, and Good Luck.


