 with PHP7.0 in Debian")
In this tutorial, we will be installing LAMP (Linux Apache MySQL PHP) with PHP7. By the end of this post, you should have your LAMP running OK with no issues.
In this post we will be using Debian Stretch (current testing version as of when this made was made) and PHP7 is only available in the testing repository and has not been released to Debian 8 users yet
What’s new in PHP7?
- Improved performance: PHP 7 is up to twice as fast as PHP 5.6
- Consistent 64-bit support
- Many fatal errors are now Exceptions
- Removal of old and unsupported SAPIs and extensions
- The null coalescing operator (??)
- Combined comparison Operator (<=>)
- Return Type Declarations
- Scalar Type Declarations
- Anonymous Classes
To see more on other new features added to PHP7, check out – PHP: Migrating from PHP 5.6.x to PHP 7.0.x – Manual
Installing Apache Web Server
Before we run any installation, we should update the repositories to fetch current packages by running:
$ sudo aptitude update
Then install apache2
$ sudo aptitude install apache2
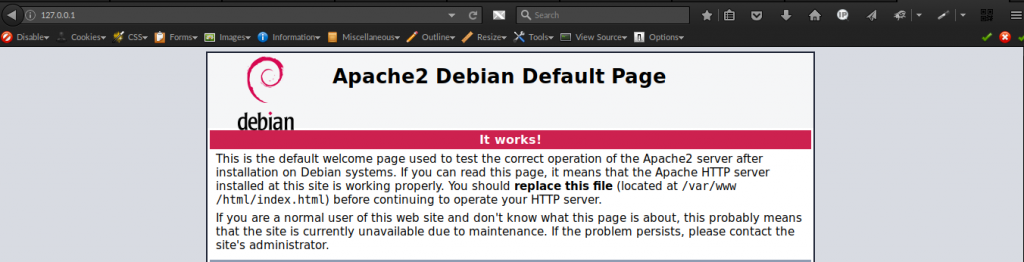
 When Apache is installed successfully, load http://127.0.0.1 in your browser, you should see a similar page to this
MariaDB
MariaDB is a community-developed fork of the MySQL relational database management system intended to remain free under the GNU GPL. It is notable for being led by the original developers of MySQL, who forked it due to concerns over its acquisition by Oracle. Contributors are required to share their copyright with the MariaDB Foundation.
Why MariaDB Over MySQL?
- More Storage Engines
- Speed Improvements
More features are here – MariaDB versus MySQL – Features – MariaDB Knowledge Base
Installing MariaDB
We are now going to install MariaDB into our Linux by typing this:
$ sudo aptitude install mariadb-server mariadb-client
If you get a prompt like below, you just hit Yes
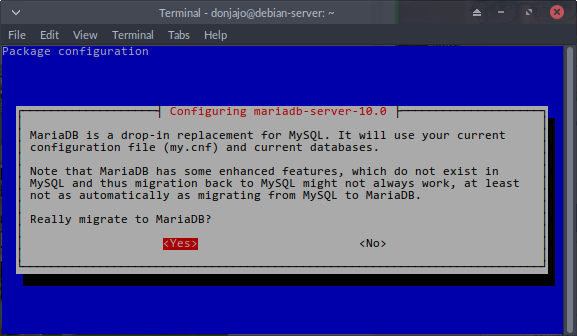 Once installation is done, next thing to run is
$ sudo mysql_secure_installation
With that command, you can be able to set root password for MariaDB and other administrative setting, the settings go like below. These are my answers
donjajo@debian-server:~$ sudo mysql_secure_installation

NOTE: RUNNING ALL PARTS OF THIS SCRIPT IS RECOMMENDED FOR ALL MariaDB
      SERVERS IN PRODUCTION USE!  PLEASE READ EACH STEP CAREFULLY!

In order to log into MariaDB to secure it, we'll need the current
password for the root user.  If you've just installed MariaDB, and
you haven't set the root password yet, the password will be blank,
so you should just press enter here.

Enter current password for root (enter for none):
OK, successfully used password, moving on...

Setting the root password ensures that nobody can log into the MariaDB
root user without the proper authorisation.

You already have a root password set, so you can safely answer 'n'.

Change the root password? [Y/n] n
 ... skipping.

By default, a MariaDB installation has an anonymous user, allowing anyone
to log into MariaDB without having to have a user account created for
them.  This is intended only for testing, and to make the installation
go a bit smoother.  You should remove them before moving into a
production environment.

Remove anonymous users? [Y/n] y
 ... Success!

Normally, root should only be allowed to connect from 'localhost'.  This
ensures that someone cannot guess at the root password from the network.

Disallow root login remotely? [Y/n] y
 ... Success!

By default, MariaDB comes with a database named 'test' that anyone can
access.  This is also intended only for testing, and should be removed
before moving into a production environment.

Remove test database and access to it? [Y/n] y
 - Dropping test database...
ERROR 1008 (HY000) at line 1: Can't drop database 'test'; database doesn't exist
 ... Failed!  Not critical, keep moving...
 - Removing privileges on test database...
 ... Success!

Reloading the privilege tables will ensure that all changes made so far
will take effect immediately.

Reload privilege tables now? [Y/n] y
 ... Success!

Cleaning up...

All done!  If you've completed all of the above steps, your MariaDB
installation should now be secure.

Thanks for using MariaDB!
MariaDB has successfully been installed and configured, we will now move over to PHP.
Installing PHP7
PHP7.0 being available in the testing repo of Debian, we easily install by typing this
$ sudo aptitude install php7.0 php7.0-mysql php7.0-mcrypt php7.0-curl php7.0-gd libapache2-mod-php7.0 php7.0-mbstring php7.0-xml
This will install php7.0 and other vital modules need for web development, together with the Apache module. To ensure PHP7 Apache module has been enabled, we will run
$ sudo a2enmod php7.0
$ sudo systemctl restart apache2
Testing Out PHP7
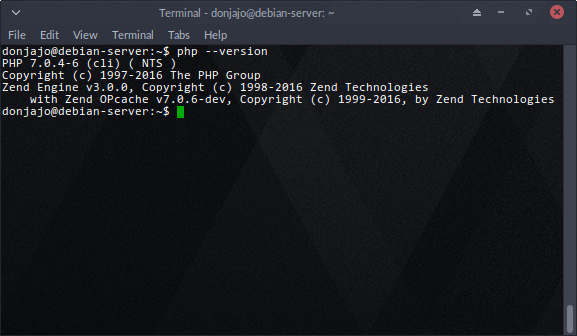
We have PHP7 now installed, testing the CLI version; we have to just run
$ php --version
 On the web side, we go by creating a file in /var/www/html and here I’m naming the file test.php
$ sudo nano /var/www/html/test.php
Then paste this into it
<?php
phpinfo();
Save with CTRL+X then load your page http://127.0.0.1/test.php, you should see a page like this
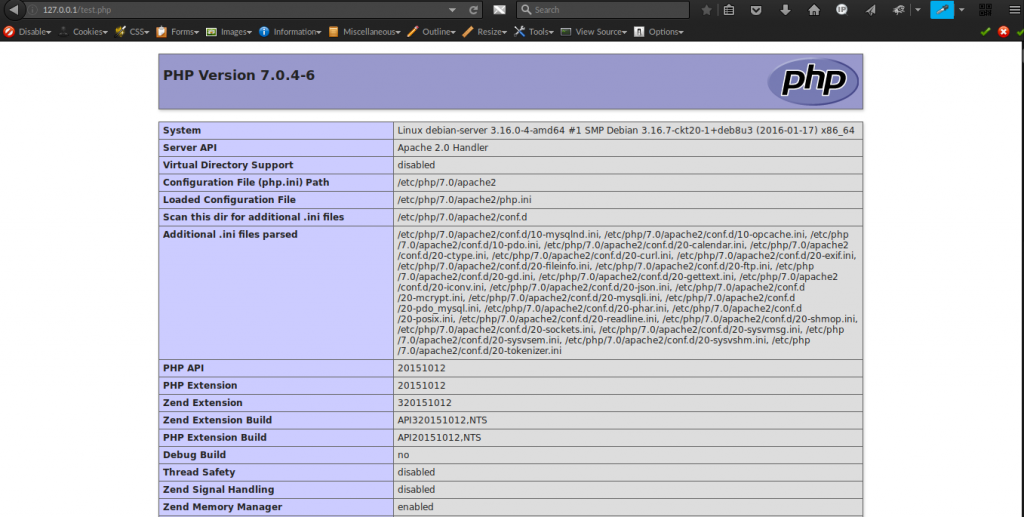
PHP7 is successfully installed if yours showed something similar to above, if not then use the comment for your issues.
Installing PHPMyAdmin
PHPMyAdmin is an administrative portal for managing the MySQL database, install by typing
$ sudo aptitude install phpmyadmin php-gettext
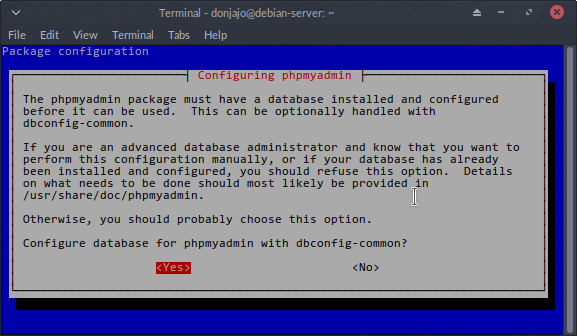
Choose Yes to configure database with dbconfig-common
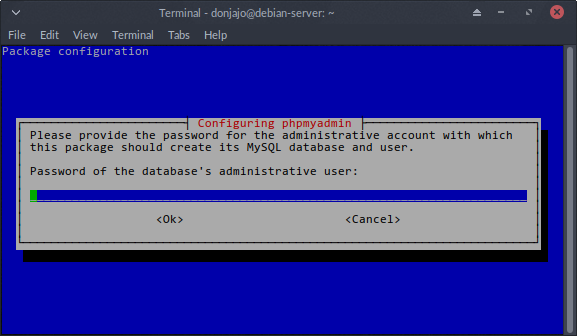
Enter the root password you set after installing MariaDB, then the new password for PHPMyAdmin account
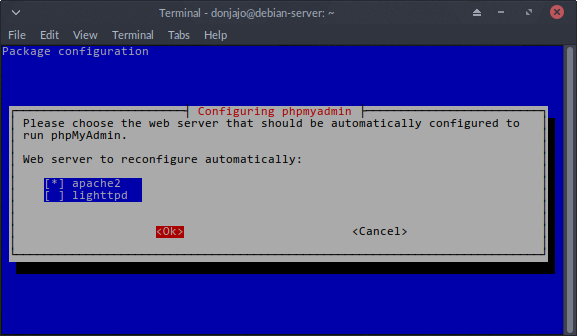
Since we are configuring PHPMyAdmin in Apache Webserver, we’d choose apache2
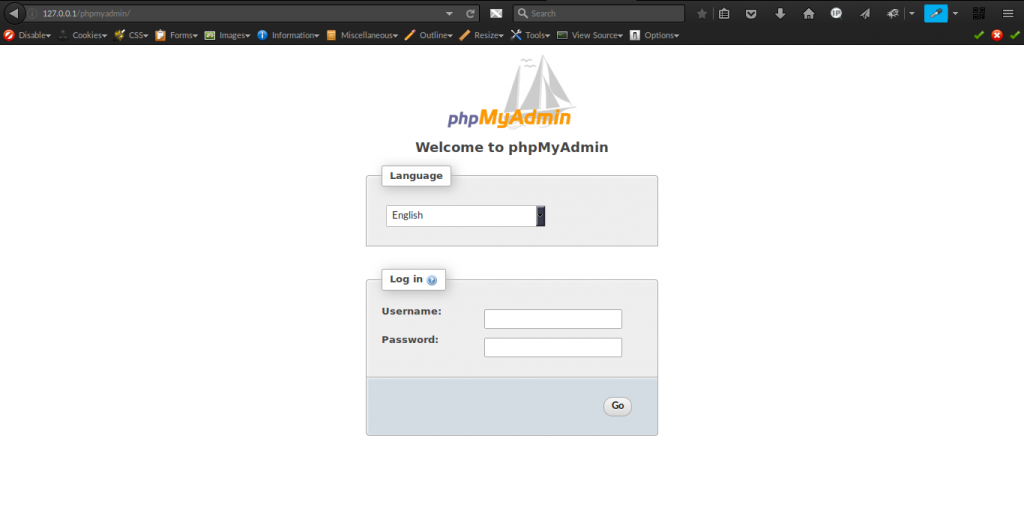
Once configuration is complete, you can now load http://127.0.0.1/phpmyadmin/ to check if it’s up. You should see a page like this
Now you should be able to use your LAMP Stack with no issues.


