
Yii is an open source, fast, secure and as well as high performance PHP framework used for developing large-scale web applications. In this walk-through let us learn how to install Yii on Ubuntu/Debian and its derivatives.
Install Yii On Ubuntu
I tested this under Ubuntu 12.10 Server, although it will work on Ubuntu/Debian new editions. Well, let us get started!
If you haven’t installed Apache and PHP, install them with following command:
sk@server1:~$ sudo apt-get install apache2 php5 libapache2-mod-php5
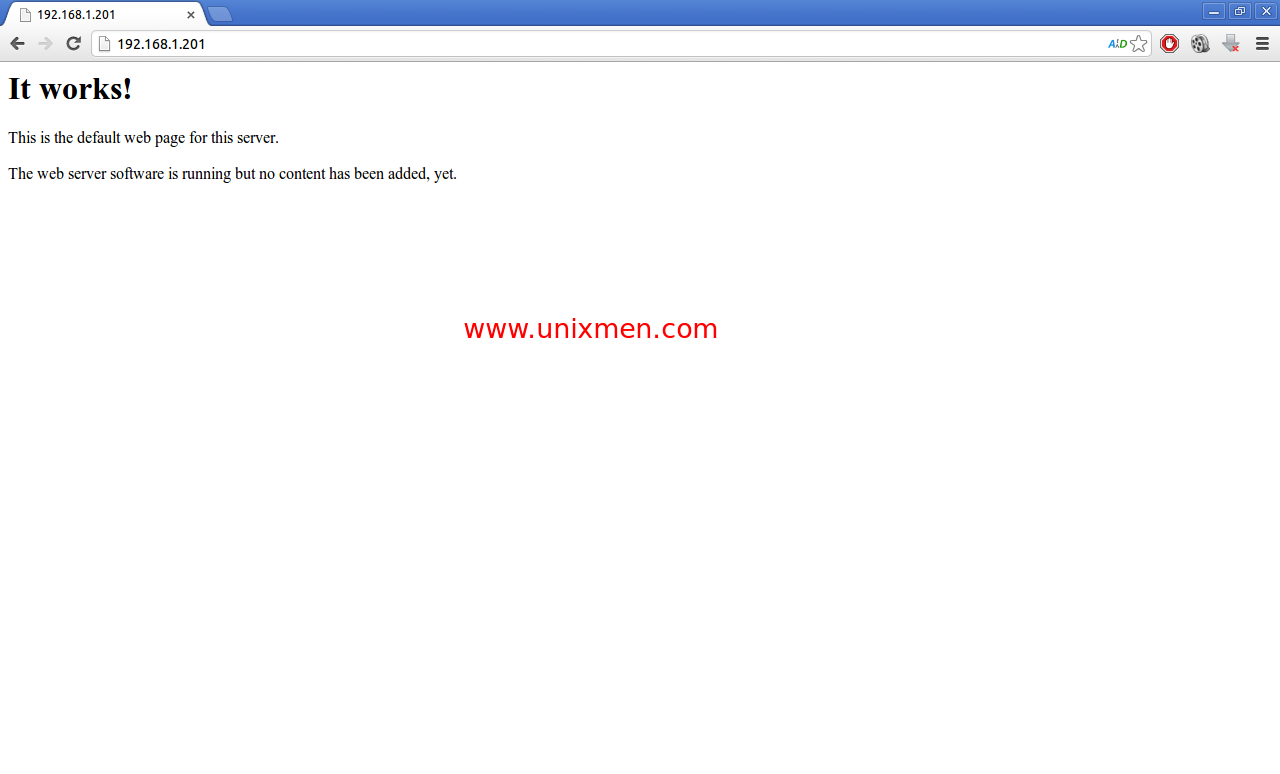
If things goes well, you should see the Apache home page as shown below. Navigate to http://ip-address/ from your browser to see Apache home page.
Create MySQL database for Yii
Let us create a database ‘yiidb‘ and a database user called ‘yiiuser‘ with password ‘ubuntu‘. Change these values as per your scenario:
sk@server1:~$ mysql -u root -p
Enter password:
Welcome to the MySQL monitor. Commands end with ; or \g.
Your MySQL connection id is 45
Server version: 5.5.31-0ubuntu0.12.10.1 (Ubuntu)

Copyright (c) 2000, 2013, Oracle and/or its affiliates. All rights reserved.

Oracle is a registered trademark of Oracle Corporation and/or its affiliates. Other names may be trademarks of their respective owners.

Type 'help;' or '\h' for help. Type '\c' to clear the current input statement.

mysql> create database yiidb;

Query OK, 1 row affected (0.02 sec)

mysql> GRANT ALL PRIVILEGES ON yiidb.* TO 'yiiuser' IDENTIFIED BY 'ubuntu';

Query OK, 0 rows affected (0.00 sec)

mysql> flush privileges;

Query OK, 0 rows affected (0.01 sec)

mysql> exit

Bye
Now grab the latest version from the official download page or simply download it via terminal as shown below:
sk@server1:~$ wget http://yii.googlecode.com/files/yii-1.1.13.e9e4a0.tar.gz
Extract the downloaded file:
sk@server1:~$ tar zxvf yii-1.1.13.e9e4a0.tar.gz
It will be extracted as a folder called “yii-1.1.13.e9e4a0” in your current directory. Change to this directory and move all contents to /var/www/ folder as shown below:
sk@server1:~$ sudo mv yii-1.1.13.e9e4a0/ /var/www/yii
Now create a directory under /var/www/yii/ directory for a sample project. Let’s call it as unixmen. So here I create a folder called unixmen under /var/www/yii/ directory:
sk@server1:~$ sudo mkdir /var/www/yii/unixmen
Assign the full permission for unixmen directory:
sk@server1:~$ sudo chmod -R 777 /var/www/yii/unixmen/
Enter the following command to begin installation:
sk@server1:~$ php /var/www/yii/framework/yiic.php webapp /var/www/yii/unixmen/
 Create a Web application under '/var/www/yii/unixmen'? (yes|no) [no]:yes
 mkdir /var/www/yii/unixmen/css
 generate css/screen.css
 generate css/bg.gif
 generate css/form.css
 generate css/ie.css
 generate css/print.css
 generate css/main.css
 generate index-test.php
 generate index.php
 mkdir /var/www/yii/unixmen/images
 mkdir /var/www/yii/unixmen/themes
 mkdir /var/www/yii/unixmen/themes/classic
 mkdir /var/www/yii/unixmen/themes/classic/views
 mkdir /var/www/yii/unixmen/themes/classic/views/system
 mkdir /var/www/yii/unixmen/themes/classic/views/layouts
 generate themes/classic/views/.htaccess
 mkdir /var/www/yii/unixmen/themes/classic/views/site
 mkdir /var/www/yii/unixmen/assets
 mkdir /var/www/yii/unixmen/protected
 mkdir /var/www/yii/unixmen/protected/data
 generate protected/data/testdrive.db
 generate protected/data/schema.sqlite.sql
 generate protected/data/schema.mysql.sql
 mkdir /var/www/yii/unixmen/protected/controllers
 generate protected/controllers/SiteController.php
 mkdir /var/www/yii/unixmen/protected/tests
 generate protected/tests/phpunit.xml
 mkdir /var/www/yii/unixmen/protected/tests/fixtures
 mkdir /var/www/yii/unixmen/protected/tests/unit
 generate protected/tests/WebTestCase.php
 mkdir /var/www/yii/unixmen/protected/tests/functional
 generate protected/tests/functional/SiteTest.php
 generate protected/tests/bootstrap.php
 mkdir /var/www/yii/unixmen/protected/tests/report
 mkdir /var/www/yii/unixmen/protected/runtime
 mkdir /var/www/yii/unixmen/protected/messages
 mkdir /var/www/yii/unixmen/protected/config
 generate protected/config/main.php
 generate protected/config/console.php
 generate protected/config/test.php
 mkdir /var/www/yii/unixmen/protected/extensions
 mkdir /var/www/yii/unixmen/protected/views
 mkdir /var/www/yii/unixmen/protected/views/layouts
 generate protected/views/layouts/main.php
 generate protected/views/layouts/column1.php
 generate protected/views/layouts/column2.php
 mkdir /var/www/yii/unixmen/protected/views/site
 generate protected/views/site/login.php
 generate protected/views/site/index.php
 generate protected/views/site/contact.php
 mkdir /var/www/yii/unixmen/protected/views/site/pages
 generate protected/views/site/pages/about.php
 generate protected/views/site/error.php
 mkdir /var/www/yii/unixmen/protected/components
 generate protected/components/UserIdentity.php
 generate protected/components/Controller.php
 mkdir /var/www/yii/unixmen/protected/commands
 mkdir /var/www/yii/unixmen/protected/commands/shell
 generate protected/yiic.php
 mkdir /var/www/yii/unixmen/protected/migrations
 mkdir /var/www/yii/unixmen/protected/models
 generate protected/models/ContactForm.php
 generate protected/models/LoginForm.php
 generate protected/.htaccess
 generate protected/yiic
 generate protected/yiic.bat

Your application has been created successfully under /var/www/yii/unixmen.
Now test the new project by navigating to http://ip-address/yii/unixmen from your browser.
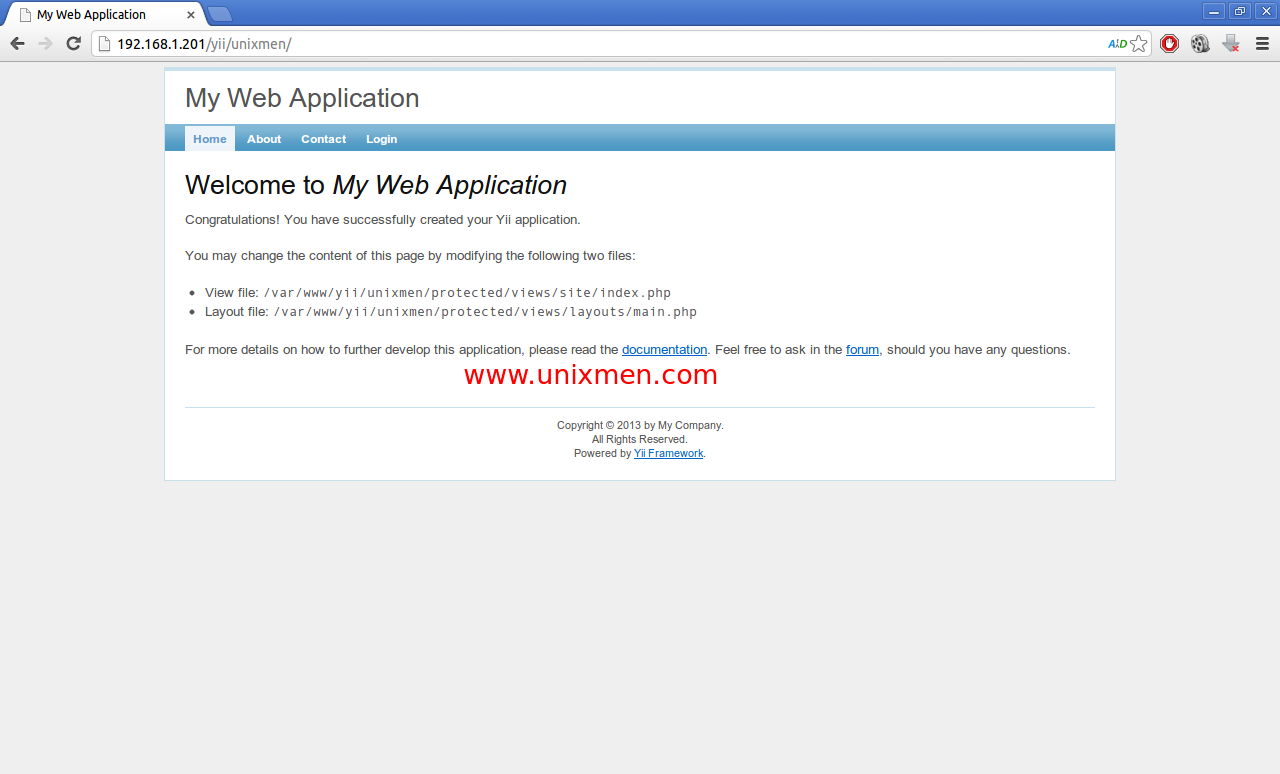
Yii Framework has been installed now.
Enable Yii code generation tool GiiModule
Starting from version 1.1.2, Yii is equipped with a web-based code generation tool called GiiModule. GiiModule is a module which provides web-based code generation capabilities.
To enable GiiModule, edit the main.php file found under /var/www/yii/unixmen/protected/config/ directory:
sk@server1:~$ sudo nano var/www/yii/unixmen/protected/config/main.php
Scroll down to modules section. It will look like as shown below:
[...]
'modules'=>array(
 // uncomment the following to enable the Gii tool
 /*
 'gii'=>array(
 'class'=>'system.gii.GiiModule',
 'password'=>'Enter Your Password Here',
 // If removed, Gii defaults to localhost only. Edit car$
 'ipFilters'=>array('127.0.0.1','::1'),
 ),
 */
 ),
[...]
Remove “/*” and “*/” lines to uncomment and enter your ip address series in the ipFilters line. And specify the password to login to code generator. I use ubuntu as my password. So after modification, it will look like as follows:
[...]
'modules'=>array(
 // uncomment the following to enable the Gii tool

'gii'=>array(

 'class'=>'system.gii.GiiModule',

 'password'=>'ubuntu',

 // If removed, Gii defaults to localhost only. Edit car$

 'ipFilters'=>array('127.0.0.1','192.168.1.*'),
 ),
),
[...]
Scroll down further, you will find db section looks like as follows:
[...]
/*
 'db'=>array(
 'connectionString' => 'mysql:host=localhost;dbname=test$
 'emulatePrepare' => true,
 'username' => 'root',
 'password' => '',
 'charset' => 'utf8',
 ),
 */
[...]
Remove “/*” and “*/” lines to uncomment and enter your database name, database username and password. So after the modification, it will look like as follows:
[...]
// uncomment the following to use a MySQL database
'db'=>array(
 'connectionString' => 'mysql:host=localhost;dbname=yiidb',
 'emulatePrepare' => true,
 'username' => 'root',
 'password' => 'ubuntu',
 'charset' => 'utf8',
 ),
[...]
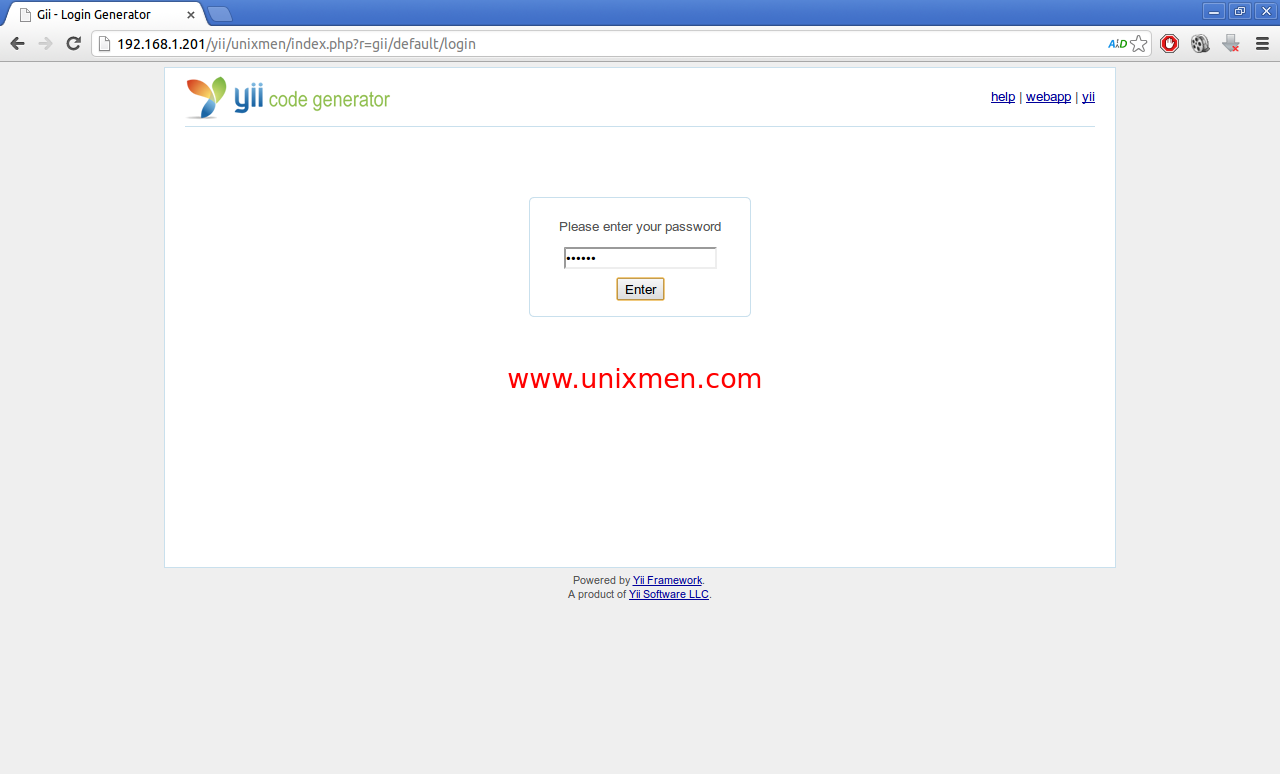
Save and exit the file. Now try to access the GiiModule by navigating to http://ip-address/yii/unixmen/index.php?r=gii from your browser.
Enter the password to login to yii code generator. In my case its ubuntu.
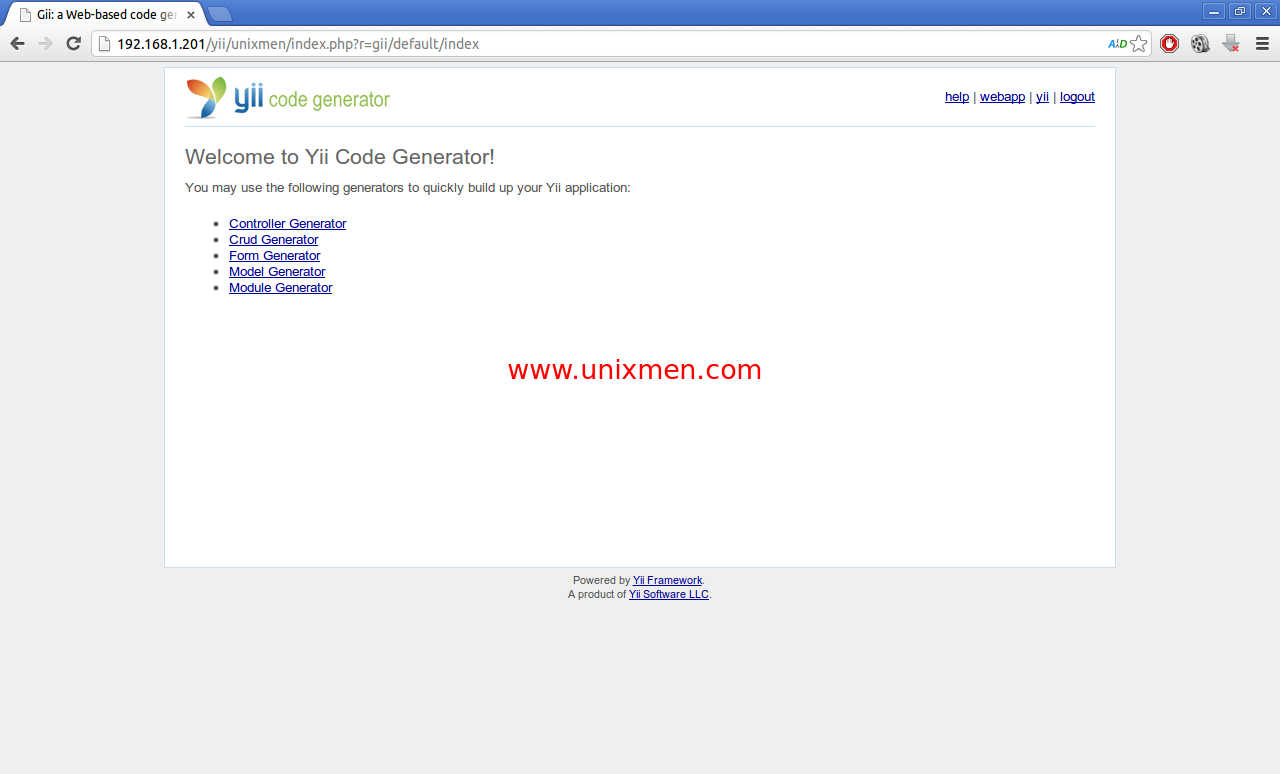
Now you will able to login to GiiModule code generator.
That;s it. Start using Yii. I highly recommend to refer the Yii Wiki page for beginners.


