WordPress is a most popular free and open-source blogging software and content management system based on PHP and MySQL. Using WordPress we can easily create a website or a blog of any type with absolutely free of cost.
![]()
Install WordPress in CentOS 6.4
Prerequisites
In this How-to, I am gonna to show you how to install WordPress using LAMP server on CentOS 6.4. But it may work on RHEl 6.x / Scientific Linux 6.x and other RPM based distros. I assume that you already installed and configured LAMP server properly. To know more about install LAMP server on CentOS 6.4, please visit here.
Download the latest WordPress version
Download the latest version of WordPress and extract it to Apache root document folder:
[root@server ~]# wget http://WordPress.org/latest.zip
[root@server ~]# unzip latest.zip
[root@server ~]# mv WordPress/ /var/www/html/
Create MySQL Database and user for WordPress:
[root@server ~]# mysql -u root -p
 Enter password:
 Welcome to the MySQL monitor.  Commands end with ; or \g.
 Your MySQL connection id is 11
 Server version: 5.1.67 Source distribution
Copyright (c) 2000, 2012, Oracle and/or its affiliates. All rights reserved.
Oracle is a registered trademark of Oracle Corporation and/or its
 affiliates. Other names may be trademarks of their respective
 owners.
Type 'help;' or '\h' for help. Type '\c' to clear the current input statement.
mysql> create database wpdb;
 Query OK, 1 row affected (0.00 sec)
mysql> create user wpuser@localhost identified by "centos";
 Query OK, 0 rows affected (0.00 sec)
mysql> grant all on wpdb.* to wpuser@localhost;
 Query OK, 0 rows affected (0.01 sec)
mysql> flush privileges;
 Query OK, 0 rows affected (0.00 sec)
mysql> exit
 Bye
Replace the database user, database name and password as your own.
Now create a virtualhost for WordPress in Apache main configuration file as shown below:
[root@server ~]# vi /etc/httpd/conf/httpd.conf

## Add the following lines at the end ##

<VirtualHost *:80>
 ServerAdmin admin@unixmen.com
 DocumentRoot /var/www/html/WordPress
 ServerName server.unixmen.com
 ErrorLog /var/log/httpd/WordPress-error-log
 CustomLog /var/log/httpd/WordPress-acces-log common
 </VirtualHost>
Restart the Apache service to save the changes:
[root@server ~]# /etc/init.d/httpd restart
Add the FQDN details to ‘/etc/hosts’ file:
[root@server ~]# vi /etc/hosts
192.168.1.200   server.unixmen.com      server
Configure WordPress
Enter the database name and database user in WordPress config.php file:
[root@server ~]# cp /var/www/html/WordPress/wp-config-sample.php /var/www/html/WordPress/wp-config.php
[root@server ~]# vi /var/www/html/WordPress/wp-config.php

## Find and Update the database name, database username, mysql root password as follows ##

// ** MySQL settings - You can get this info from your web host ** //
/** The name of the database for WordPress */
define('DB_NAME', 'wpdb');
/** MySQL database username */
define('DB_USER', 'wpuser');
/** MySQL database password */
define('DB_PASSWORD', 'centos');
/** MySQL hostname */
define('DB_HOST', 'localhost');
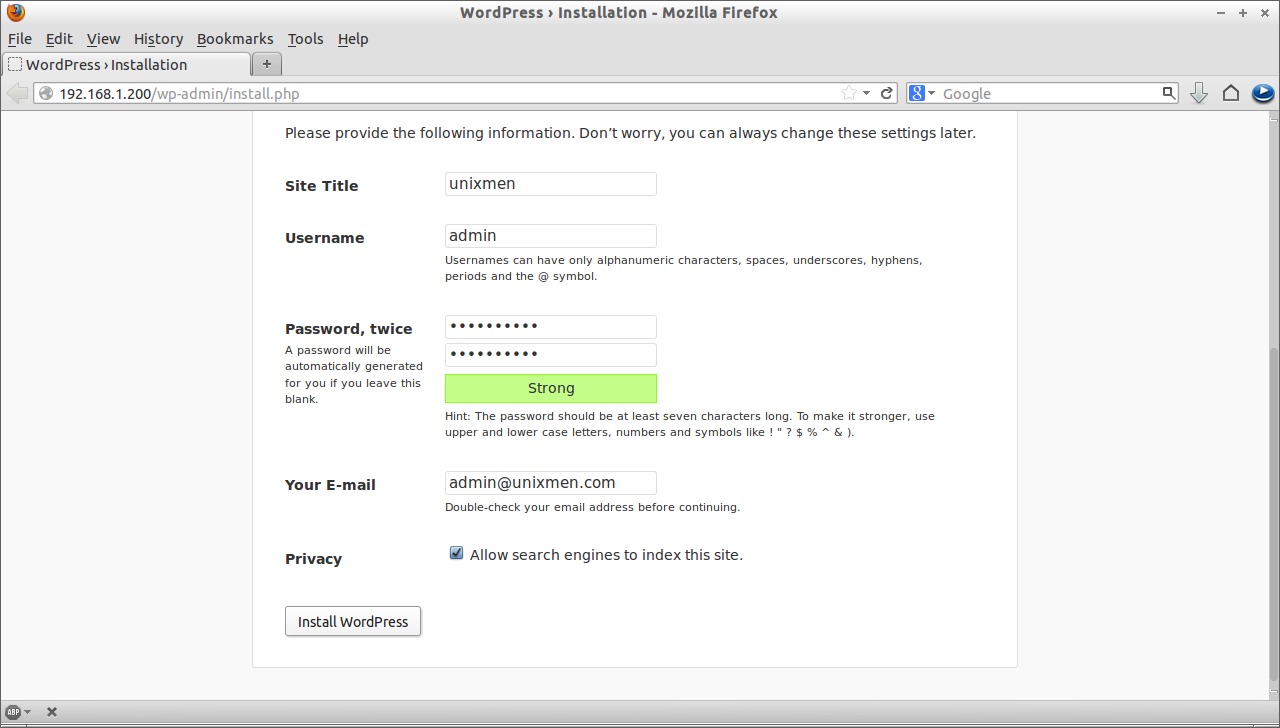
Now start the WordPress installation by pointing your browser with “http://your-ip-address/” or “http://localhost/”. You should see the following WordPress welcome page.
Note: If you got any “403:forbidden error”, disable SELinux and try again.
Enter the blog name, password and email ID and click Install WordPress:
Now the WordPress installation is completed.
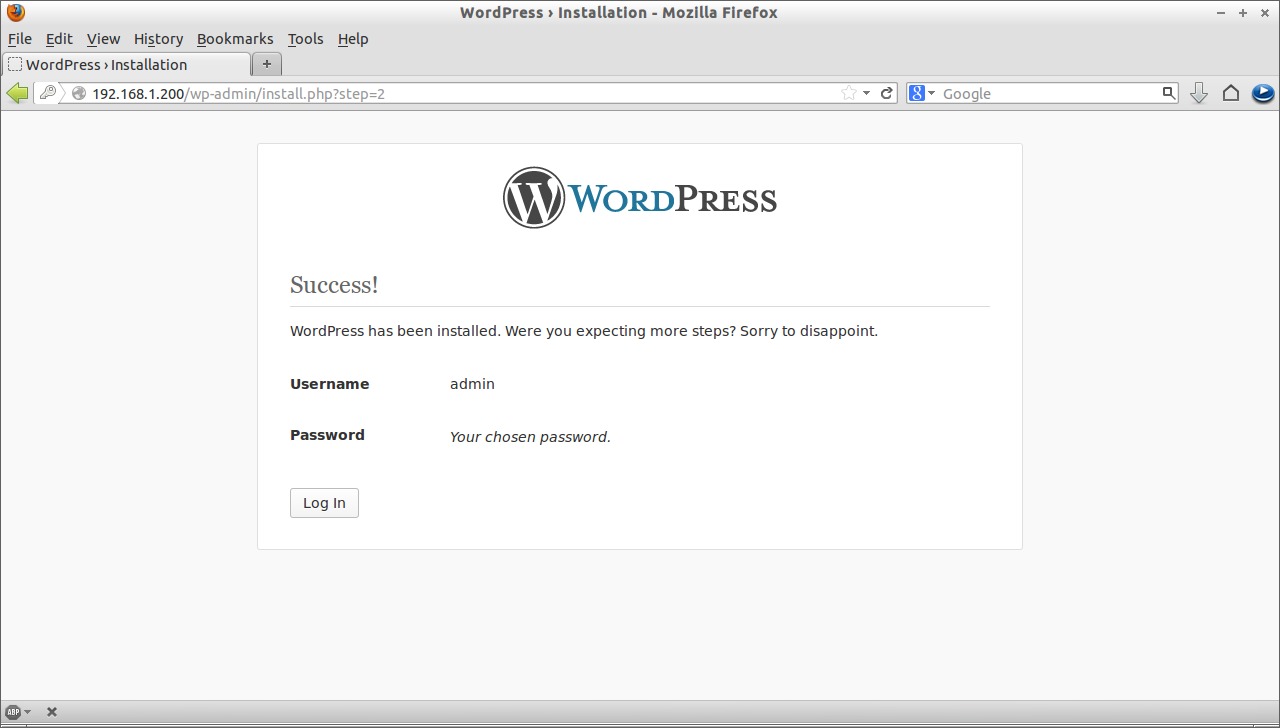
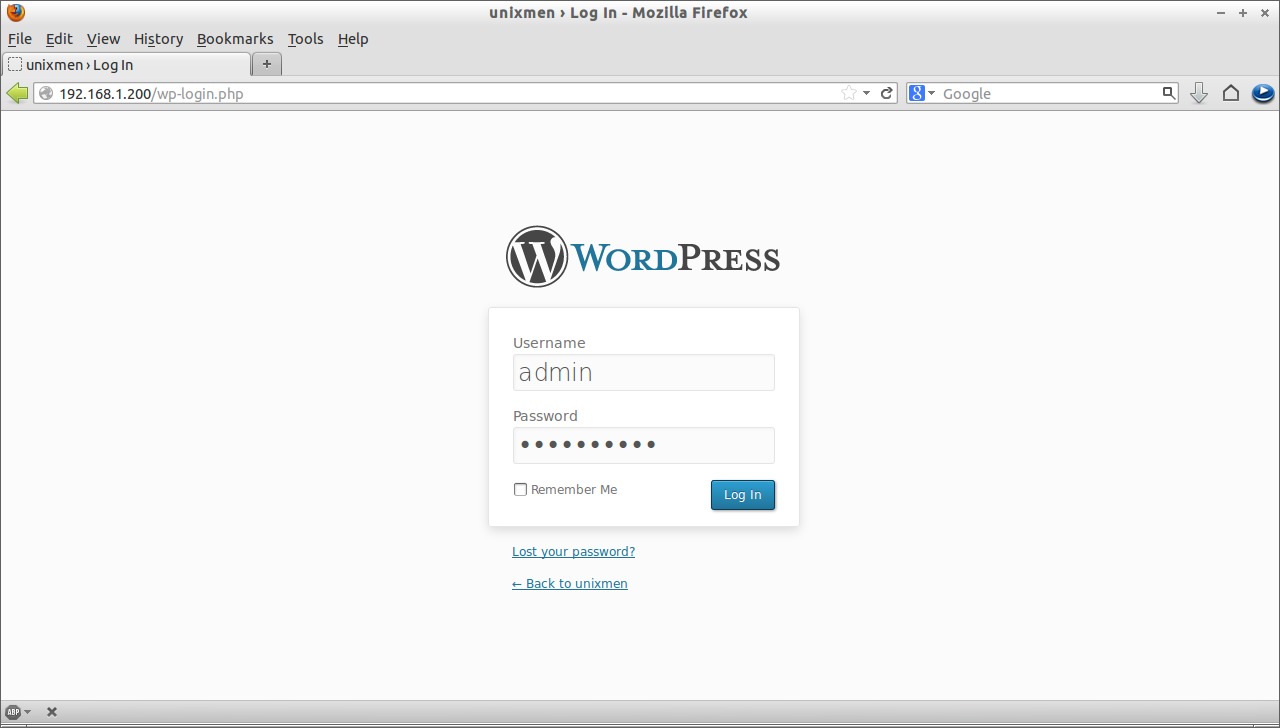
Click Login and enter the username as admin and password which we created in earlier steps.
Now your site dashboard will appear. Here from you can customize your blog as per your requirements.
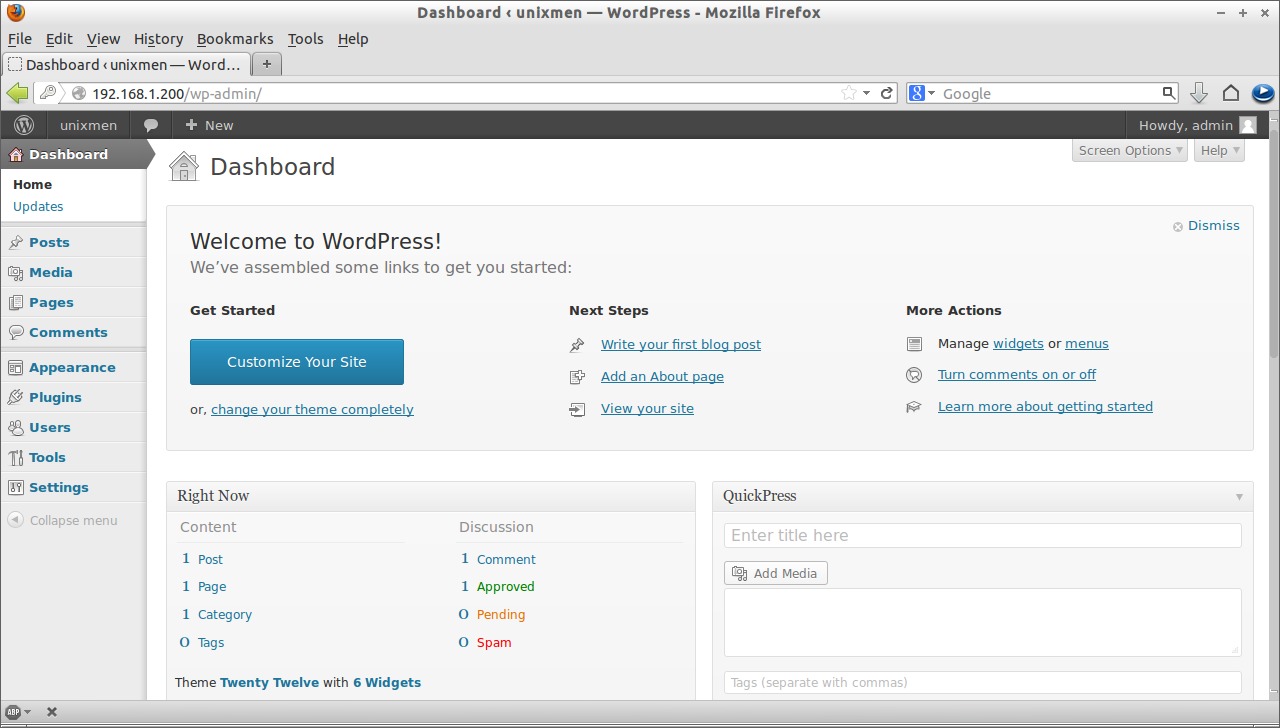
After customizing your blog, preview your blog.
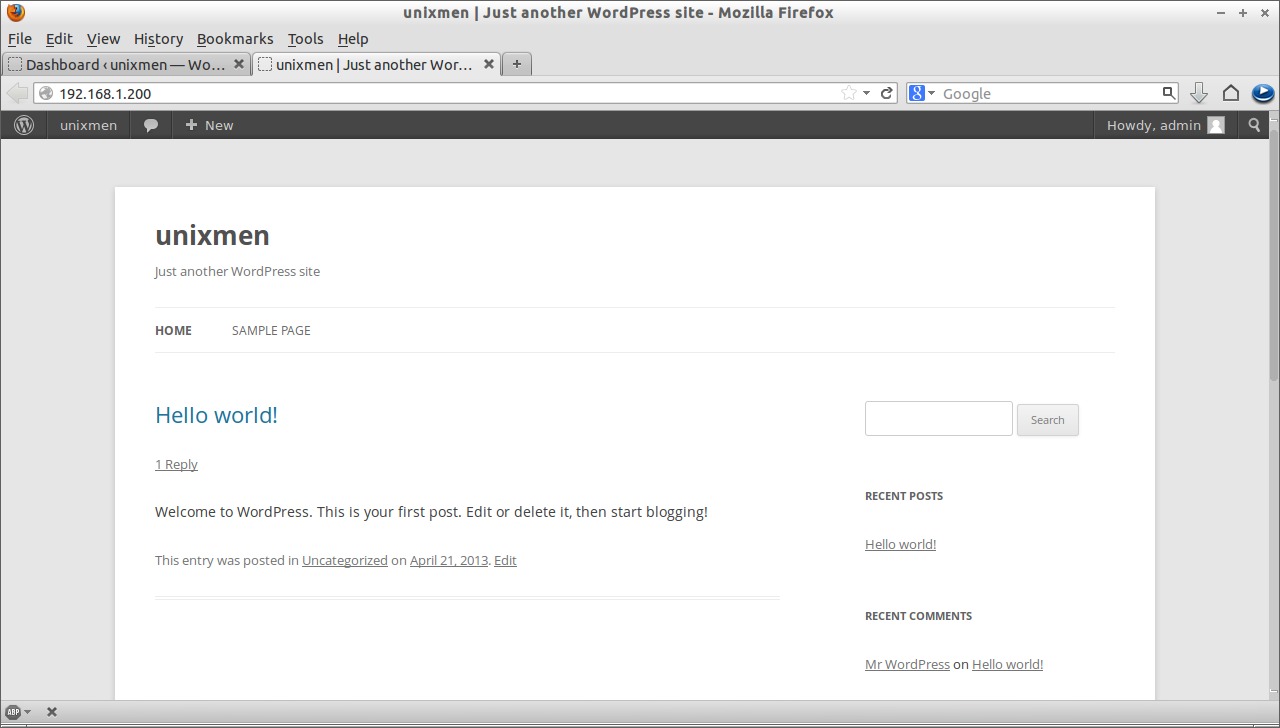
That’s it. Happy blogging!


