
vsftpd (Very Secure File Transport Protocol Daemon) is a secure, fast FTP server for Unix/Linux systems. In this how-to article, let us see how to setup a basic FTP server using vsftpd on CentOS 6.5. This procedure will also work on all RHEL CentOS, Scientific Linux 6.x versions.
![]() My testbox server hostname and IP Address are server.unixmen.local and 192.168.1.101/24 respectively. Change the values as per your scenario.
My testbox server hostname and IP Address are server.unixmen.local and 192.168.1.101/24 respectively. Change the values as per your scenario.
Install vsftpd
All commands should be run with ‘root’ user. Run the following command in terminal to install vsftpd package:
# yum install vsftpd ftp -y
Configure vsftpd
Edit vsftpd configuration file /etc/vsftpd/vsftpd.conf,
# vi /etc/vsftpd/vsftpd.conf
Find the following lines and make the changes as shown below:
 [...]
## Set to "NO" ##
anonymous_enable=NO

## Uncomment ##
ascii_upload_enable=YES
ascii_download_enable=YES

## Uncomment - Enter your Welcome message - This is optional ##
ftpd_banner=Welcome to UNIXMEN FTP service.

## Add at the end of this  file ##
use_localtime=YES
Start the vsftpd service and make it to start automatically on every reboot:
# service vsftpd start
# chkconfig vsftpd on
Create FTP users
By default, root user is not allowed to login to ftp server for security purpose. So let us create a testing user called “sk” with password “centos”:
# useradd sk
# passwd sk
Connecting to FTP server
Now let us try to connect to FTP server itself with user “sk”:
# ftp 192.168.1.101
Connected to 192.168.1.101 (192.168.1.101).
220 Welcome to UNIXMEN FTP service.
Name (192.168.1.101:root): sk
331 Please specify the password.
Password:
500 OOPS: cannot change directory:/home/sk
Login failed.
ftp>
Probably you will get an error like “500 OOPS: cannot change directory”.
This is because your SELinux restricts the user to log in to ftp server. So let us update the SELinux boolean values for FTP service:
# setsebool -P ftp_home_dir on
Now try again to login to FTP server:
# ftp 192.168.1.101
Connected to 192.168.1.101 (192.168.1.101).
220 Welcome to UNIXMEN FTP service.
Name (192.168.1.101:root): sk
331 Please specify the password.
Password:
230 Login successful.
Remote system type is UNIX.
Using binary mode to transfer files.
ftp>
Now you will be able to login to FTP server without any problems.
Client side configuration
Let me try to log in to the FTP server from my Ubuntu client system.
$ ftp 192.168.1.101
ftp: connect: No route to host
ftp>
You might see the above error like “ftp:connect:No route to host”. To resolve this error, allow the default ftp port “21” through your firewall or router. In the server side, do the following.
Edit file /etc/sysconfig/iptables,
# vi /etc/sysconfig/iptables
Add the following lines.
[...]
-A INPUT -m state --state NEW -m tcp -p tcp --dport 21 -j ACCEPT
[...]
Save and exit the file. Restart iptables now:
# service iptables restart
Now try again from the client system to login to FTP server:
$ ftp 192.168.1.101
Connected to 192.168.1.101.
220 Welcome to UNIXMEN FTP service.
Name (192.168.1.101:sk): sk
331 Please specify the password.
Password:
230 Login successful.
Remote system type is UNIX.
Using binary mode to transfer files.
ftp>
Boom!! It’s working now.
Working from command-line mode might be little bit annoying to newbies. So let us install a graphical FTP client called Filezilla to get things done quite easier:
$ sudo apt-get install filezilla
For RHEL based systems, you can install filezilla using following command:
# yum install filezilla
Open Filezilla client from your client system “Dash” or “Menu”. Enter the FTP server hostname or IP Address, username, password and port number. Click “Quickconnect” to login.
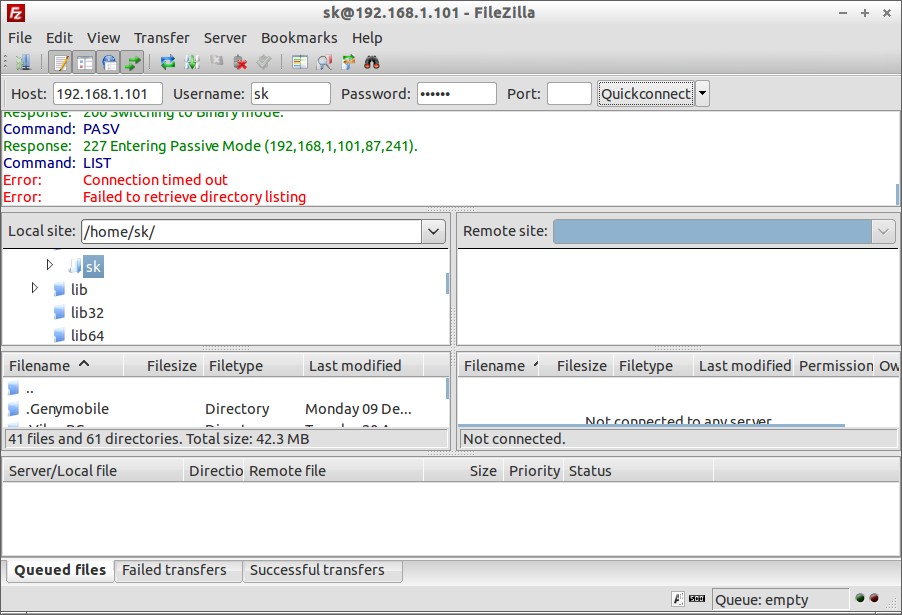 Probably you will get the following error.
Error:    Connection timed out
Error:    Failed to retrieve directory listing
To get rid of this error, do the following resolutions. In most cases Resolution 2 should work.
Resolution 1:
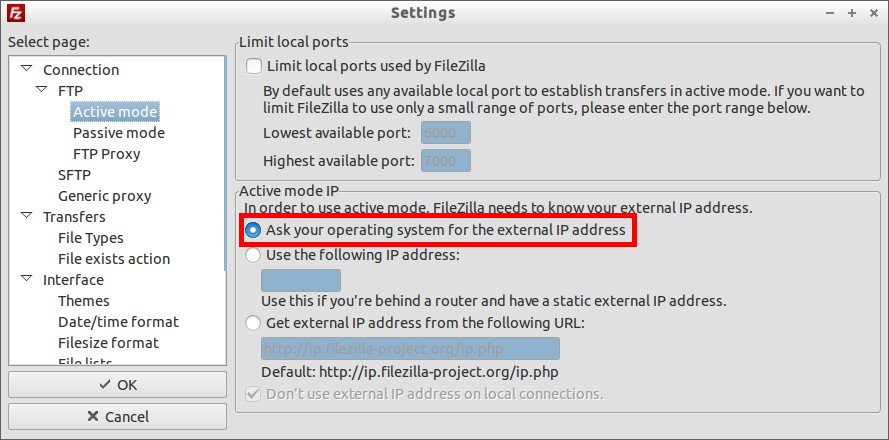
1. In your Filezilla client go to Edit -> Settings -> FTP ->Active Mode.
In the Active Mode tab, make sure the option “Ask your operating system for the external ip address” is selected.
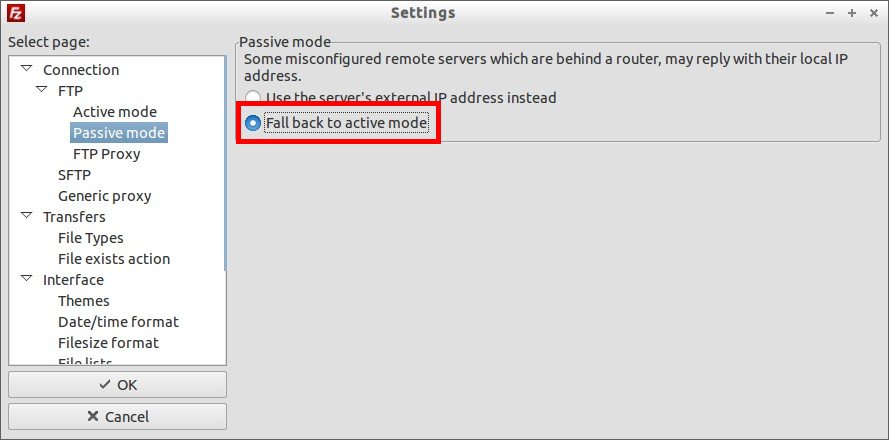
 Then goto Edit -> Settings -> FTP ->Passive Mode. Select “Fall back to active mode” and click Ok.
 Now the error will be gone in some cases (May be in Windows OS clients).
Resolution 2:
If the problem still persists, goto your FTP server, edit file “/etc/sysconfig/iptables-config”.
# vi /etc/sysconfig/iptables-config
Find the line IPTABLES_MODULES=” “ and change this to IPTABLES_MODULES=”ip_conntrack_ftp”:
# Load additional iptables modules (nat helpers)
#   Default: -none-
# Space separated list of nat helpers (e.g. 'ip_nat_ftp ip_nat_irc'), which
# are loaded after the firewall rules are applied. Options for the helpers are
# stored in /etc/modprobe.conf.
IPTABLES_MODULES="ip_conntrack_ftp"
[...]
Save and restart iptables:
# service iptables save
# service iptables restart
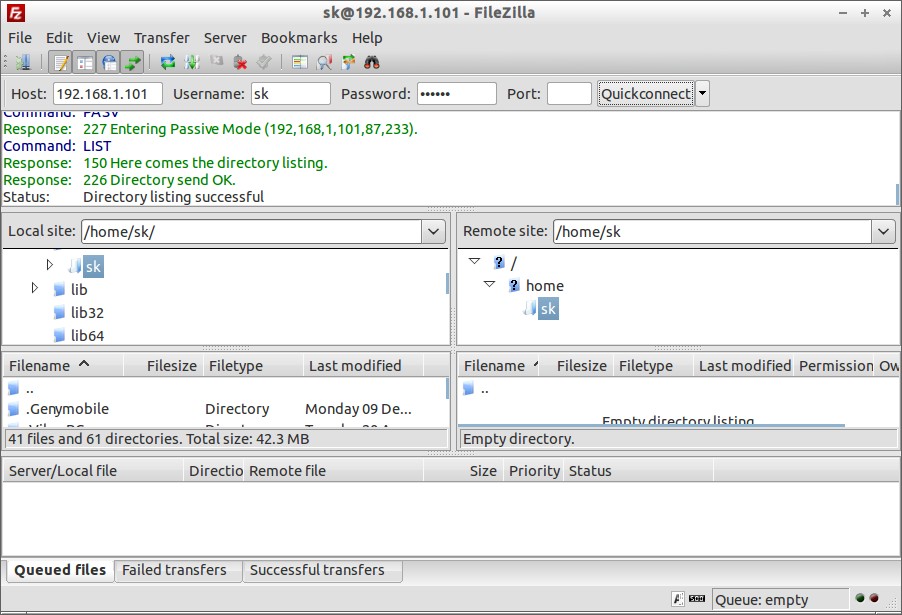
Now try again from Filezilla. Yes! It should now.
 Access FTP server from Browser
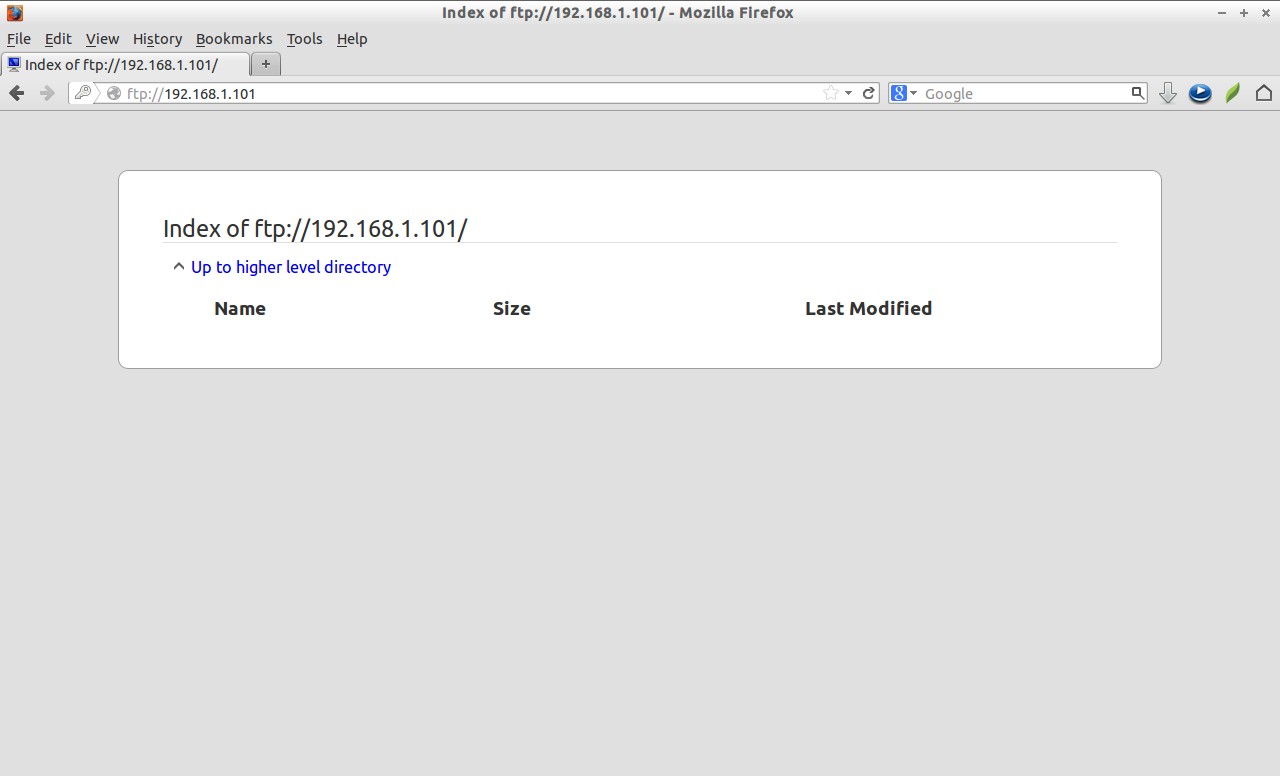
You can access the FTP server from your client browser also. Navigate to ftp://FTP-Server-IP-Address/. Enter the ftp username and password.
 Now you can see the contents in your FTP server.
 Log in as a particular user
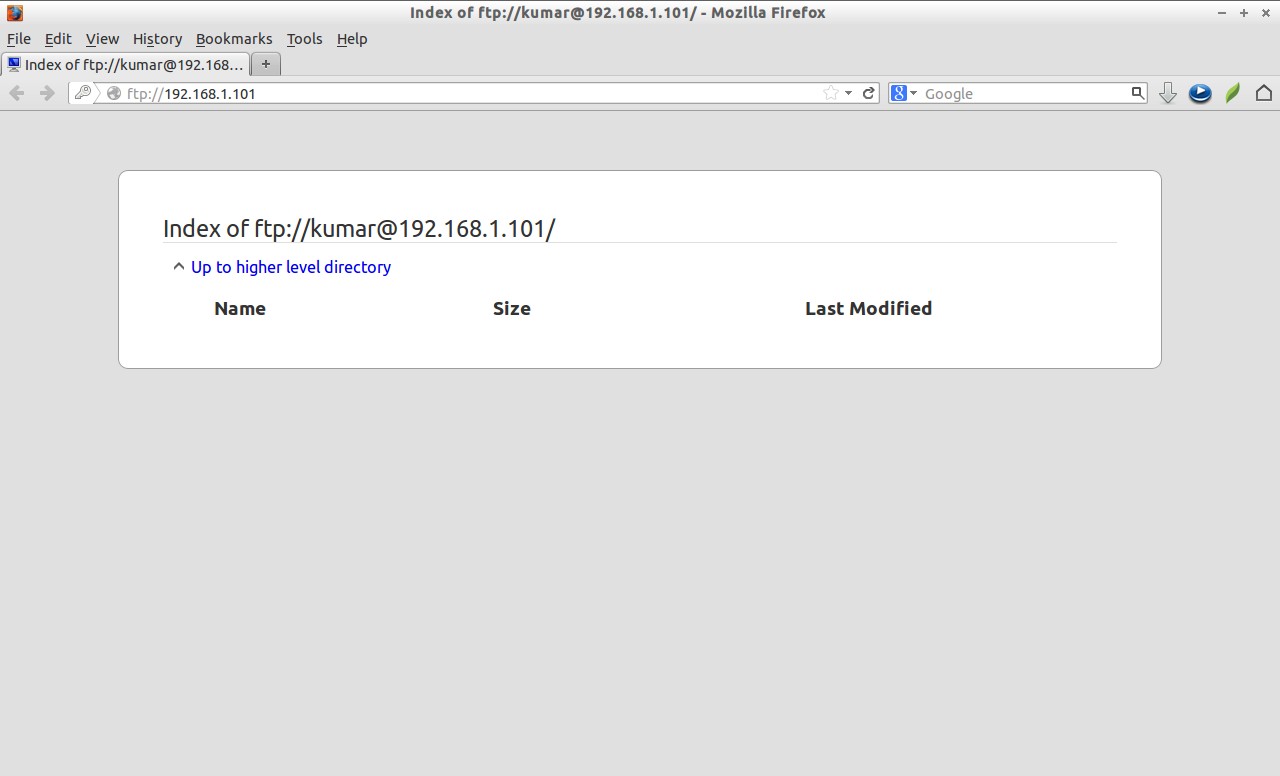
If you want to login using a particular user, then navigate to ftp://username@FTP-Server-IP-Address/. It will ask the password of user, enter the password and you’re done.
For example, let us create another user called “kumar” with password “centos”:
# useradd kumar
# passwd kumar
Now open your browser and navigate to ftp://kumar@192.168.1.200. Enter the password of the user kumar.
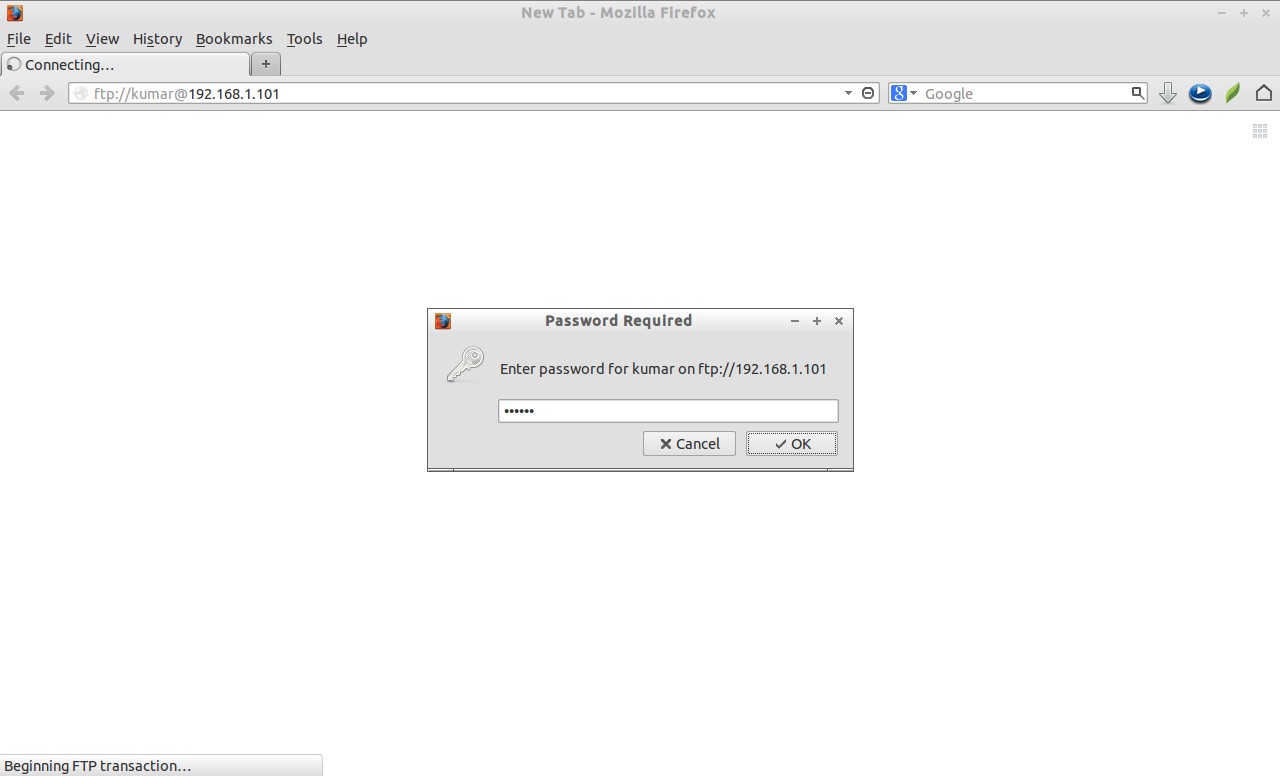 Now you will able to connect to FTP server with user kumar.
 That’s it. You’re good to go now. Start using FTP!
Good Luck!


