Introduction
TWiki is a flexible, powerful, secure, yet simple web-based enterprise collaboration platform. It can be used to run a project development space, a document management system, a knowledge base or any other groupware tool on either an intranet or on the Internet. It has over 400 extensions, and it is perfectly suit for users who want to create web applications without any programming skills. It is being actively used by 50,000 small businesses, many Fortune 500 companies, and millions of people around the globe, with installations of 100,000s of pages.
Features
– Edit pages with WYSIWYG editor or raw wiki editor
– Simultaneous editing with conflict resolution
– Embed images and other objects (videos, Twitter feeds, etc)
– User profile pages with image uploads
– Multiple workspaces (one per team or project)
– Flexible authentication, including LDAP, AD, OpenID
– Fine grained access control
– Document management
– Dynamic content with macros, variables, embedded search
– Application platform: Use TWiki markup to build workflow applicationss with forms, tables & SQL queries
– Flexible search
– Everything under version control, including meta data such as access control settings
– Page watch feature & e-mail notifications
– Security: Optional SSL, access control, XSRF protection, responsive community
– Stylish skin with corporate look
– Web based administration for users, groups and workspaces
– Extensive statistics
– Backup & restore; easy upgrade
– Load balanced setup possible (deployed at sites with up to 1M+ pages, 20K+ users)
– Installation: Native install on many OSes; VMware appliance
– Over 400 extension: Action tracking, barcode generation, blogging, calendaring, charting, conditional text, database access, Extreme Programming tracking, global search & replace, image gallery, LaTeX support, mail into wiki pages, page hierarchy, slideshow presentations, spreadsheet calculations, table editor, tagging, word alias support, XML and XSL transformations, and more.
– Integration with MySQL, Oracle, PostgreSQL, etc possible
Installation
Here, I am going to show how to install and configure Twiki on CentOS 6.5. Although, this method will work on all RPM based distributions, including Fedora, RHEL, and Scientific Linux 6.x versions.
I tested this installation on CentOS 6.5 32 bit edition on my LAN. My test box details are as shown below:
Operating System: CentOS 6.5 32bit Edition Minimal installation
IP Address: 192.168.1.2/24
Hostname: server.unixmen.local
SELinux: Enabled
Firewall(iptables): Enabled
Apache webserver default port 80 is allowed through IP tables.
Let us get through into the installation.
Install Prerequisites
First, make sure you’ve installed the following prerequisites. Log in as root user, and run the following command to install all prerequisites at once.
yum install wget perl rcs zip httpd make gcc gd gd-devel php
As I mentioned above, make sure you’ve allowed the ports 80 and 443 through IP tables.
Edit /etc/sysconfig/iptables,
vi /etc/sysconfig/iptables
Add the following lines:
[...]
-A INPUT -m state --state NEW -m tcp -p tcp --dport 80 -j ACCEPT
-A INPUT -m state --state NEW -m tcp -p tcp --dport 443 -j ACCEPT
[...]
Save and close the file. Restart iptables service.
service iptables restart
Install Perl Modules
Install the following perl modules.
yum install perl-CPAN perl-CGI perl-YAML perl-IPC-Cmd perl-Module-CoreList perl-ExtUtils-CBuilder perl-Module-Build
Now, Log in to CPAN, and enter the following command one by one to get latest updates.
First, Log in to CPAN using command:
perl -MCPAN -e shell
The CPAN shell will look like below.
cpan[1]>
Then, enter the following commands one by one from the CPAN shell to update and get all latest and rest of the modules. Be mindful that, the following are separate commands. Enter the commands one by one, and go with the default answers. Do not change or modify anything unless you know what are you doing. It will take some time to download and install all modules. Be patient, and hit enter to go with default answers.
  install Term::ReadKey
  install Bundle::CPAN
  reload cpan
  install Encode
  install Error
  install HTML::Parser
  install Text::Diff
  install Time::Local
  install Authen::SASL
  install CGI::Session
  install Digest::SHA1
  install Locale::Maketext::Lexicon
  install URI
  install FreezeThaw
  install GD
  install HTML::Tree
  install Time::Timezone
After executing all commands, type exit to return back to Terminal.
Download and install Twiki
Once you did all the above steps successfully, download the latest version from the Twiki website.
Create a folder called twiki on apache root folder.
mkdir /var/www/html/twiki
Go to the twki folder, and download the latest TWiki version:
cd /var/www/html/twiki
wget http://sourceforge.net/projects/twiki/files/TWiki%20for%20all%20Platforms/TWiki-6.0.0/TWiki-6.0.0.zip
Unzip the file, and set the ownership to apache user over twiki folder.
unzip TWiki-6.0.0.zip
chown -R apache:apache /var/www/html/twiki/
Configure Twiki
Rename the file LocalLib.cfg.txt file to LocalLib.cfg, and set the ownership.
cp /var/www/html/twiki/bin/LocalLib.cfg.txt /var/www/html/twiki/bin/LocalLib.cfg
chown apache:apache /var/www/html/twiki/bin/LocalLib.cfg
Edit file LocalLib.cfg,
vi /var/www/html/twiki/bin/LocalLib.cfg
Find the line twikiLibPath, and set the path of twki/lib folder.
[...]
$twikiLibPath = "/var/www/html/twiki/lib";
[...]
Make sure you’ve given the right path of the twiki/lib folder.
Copy file twiki_httpd_conf.txt as twiki_httpd.conf to /etc/httpd/conf.d/.
cp /var/www/html/twiki/twiki_httpd_conf.txt /etc/httpd/conf.d/twiki_httpd.conf
Go to the twki/data folder and set the password for ‘root’ user.
cd /var/www/html/twiki/data/
htpasswd -c .htpasswd root
Edit file twiki_httpd.conf,
vi /etc/httpd/conf.d/twiki_httpd.conf
Find the line /home/httpd/ and change it to /var/www/html/. To change all at once, enter the following command in the vi editor.
:%s_/home/httpd_/var/www/html_g
Find the line JohnDoe and change it to root. You can change it using the following command from your vi editor.
:%s/JohnDoe/root/g
If you want to let any IP address can access the twiki configuration URL, Go to the section <Directory “/var/www/html/twiki/bin”>, and make sure the line “Allow from All” is exists. If the line looks like Allow from none, then change it to Allow from All.
After the modifications, save and close the file. Restart apache service.
service httpd restart
Begin Installation
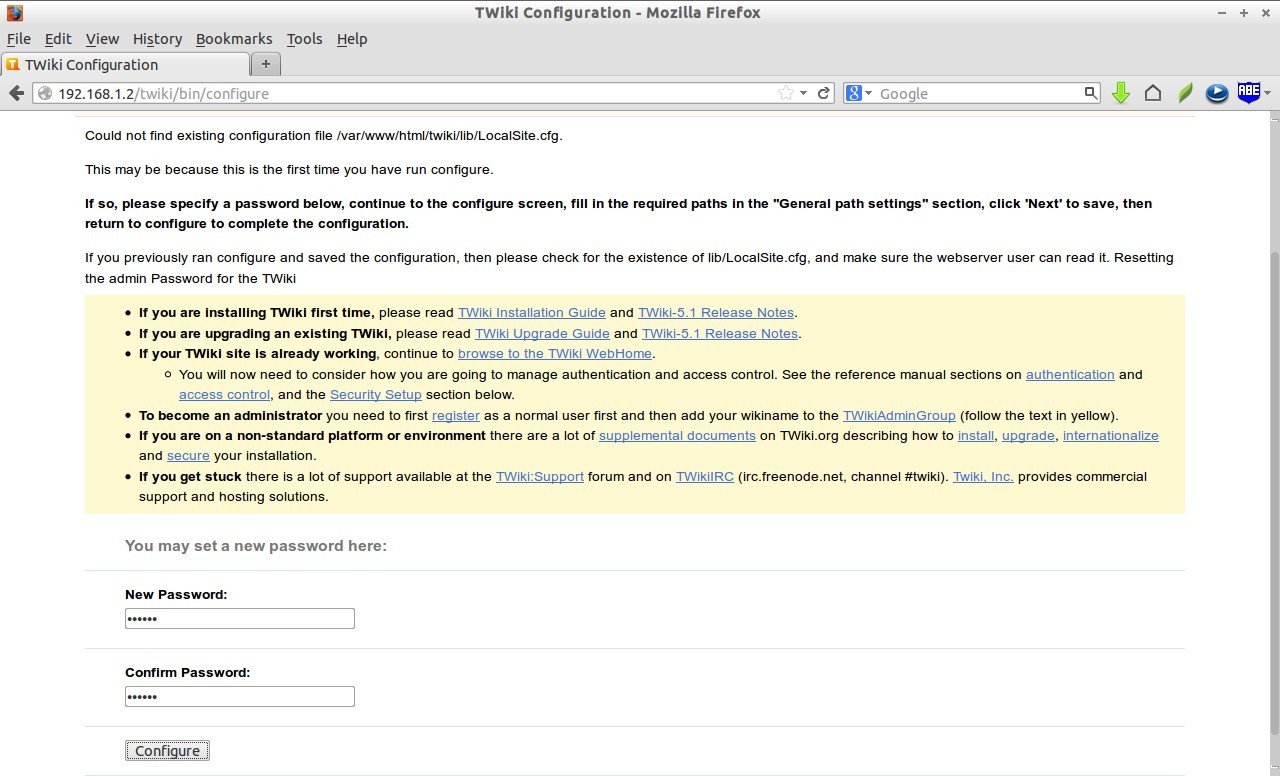
Open up your browser, and enter the URL http://ip-address/twiki/bin/configure, and follow the onscreen instructions.
Enter new password if you want, and click Configure.
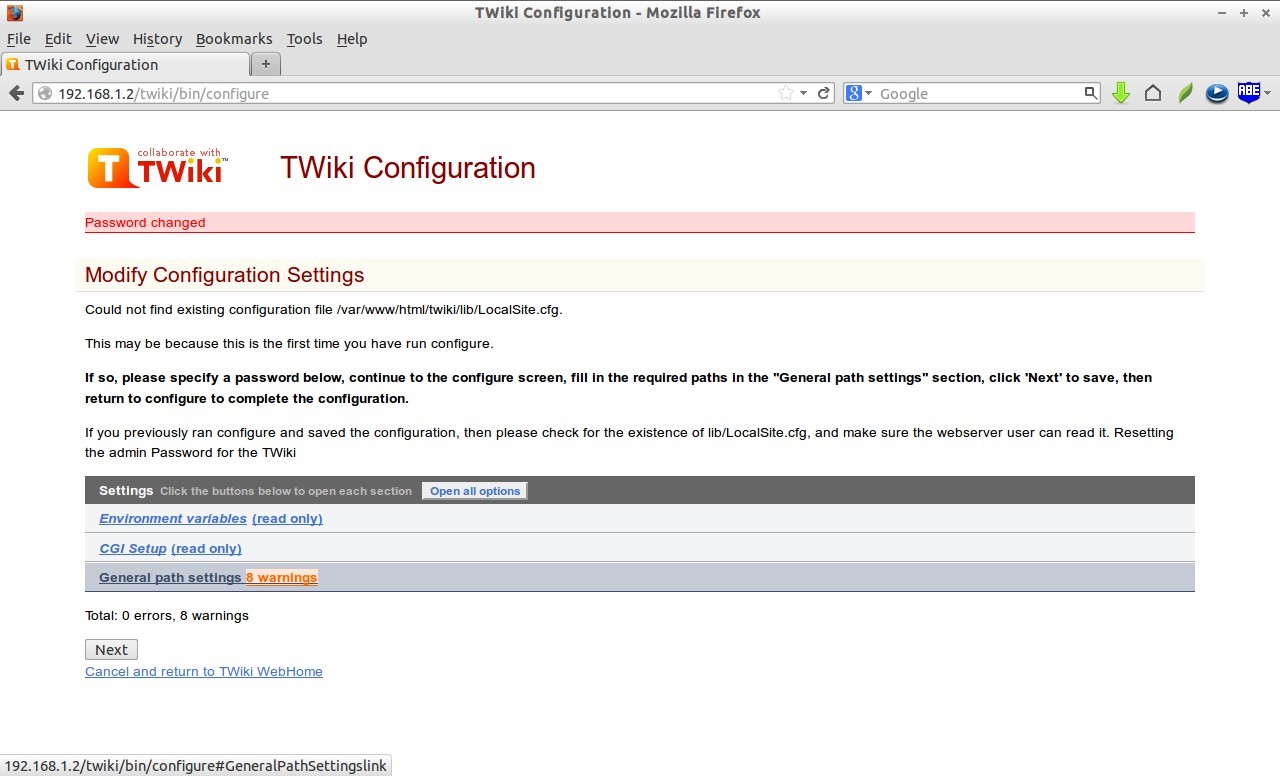
Click Next:
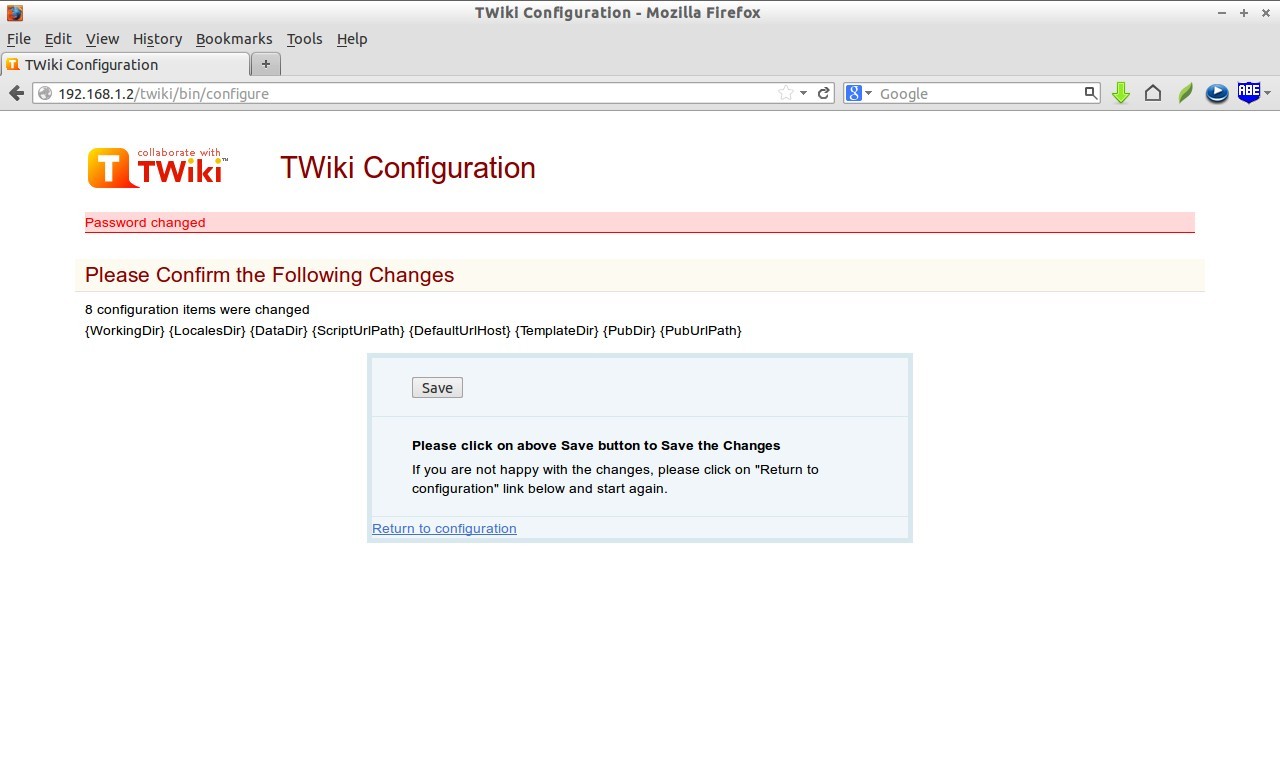
Click Save to save the changes.
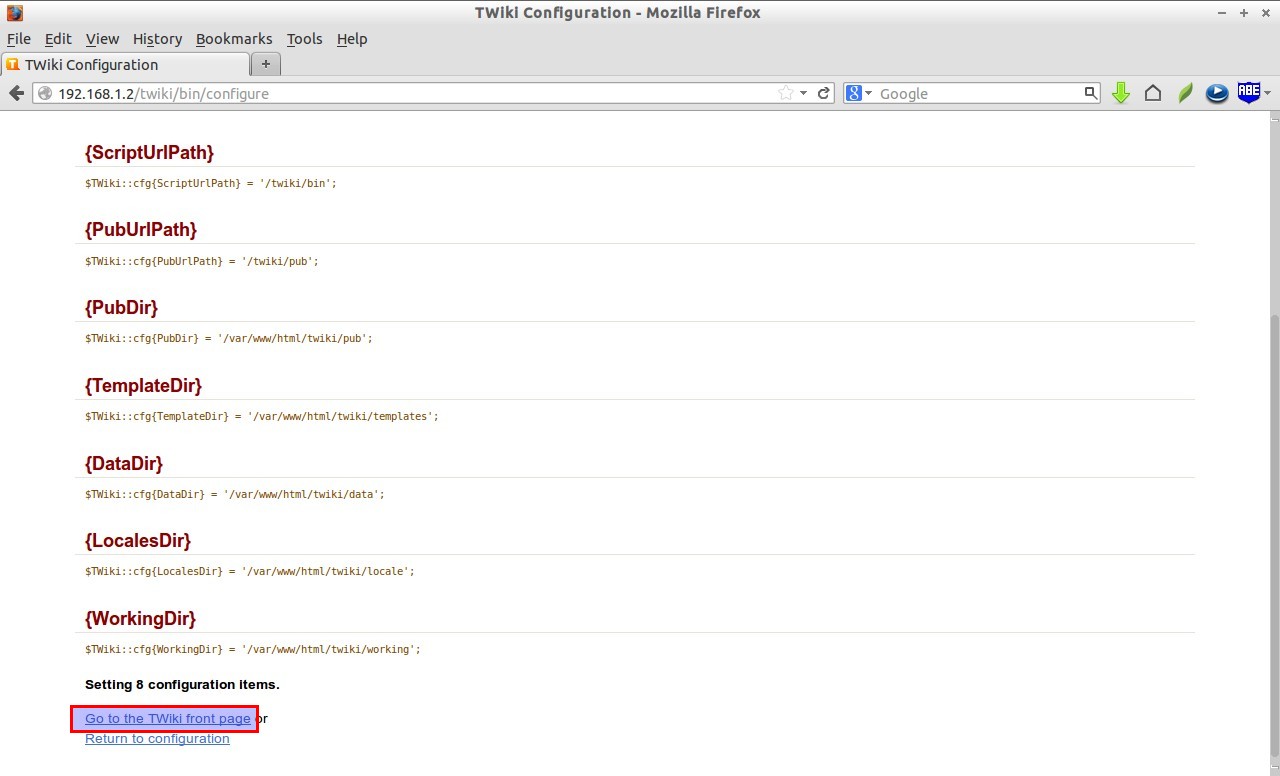
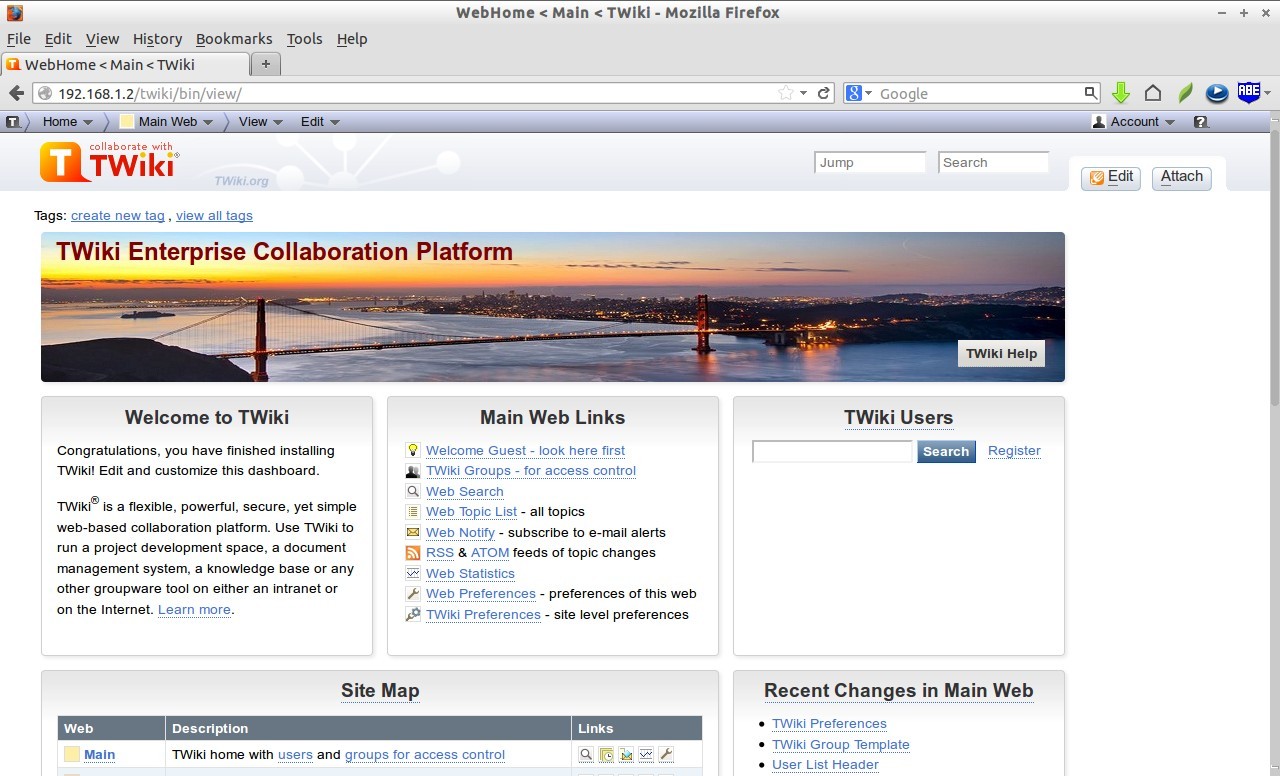
Congratulations! You’ve successfully installed TWiki. Scroll to the down and click on the link that says “Go to the TWiki front page” to access the main page of TWiki.
This is how your TWiki main page will look after completing the installation.
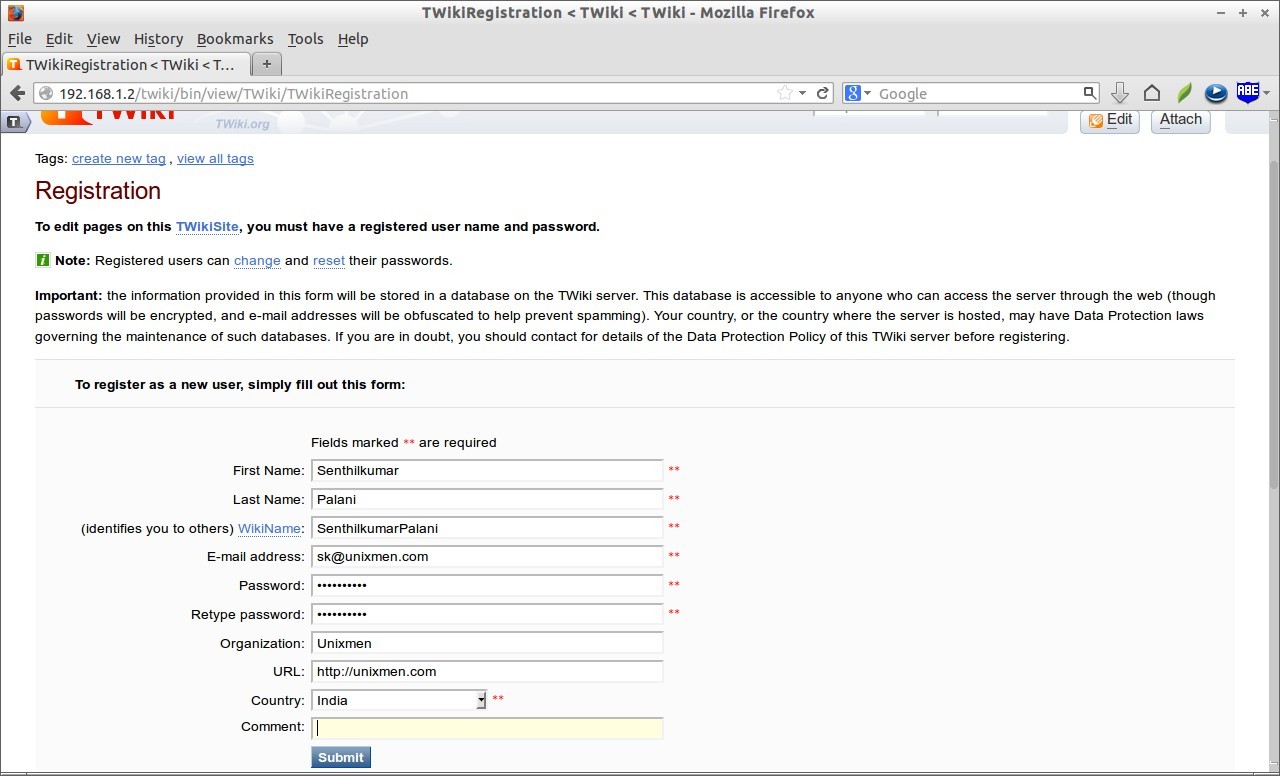
Register New users
To register in TWiki collaboration platform, click on the drop-down link Account on the top right corner of the main page. Select new user, fill out your personal details, and click Submit button.
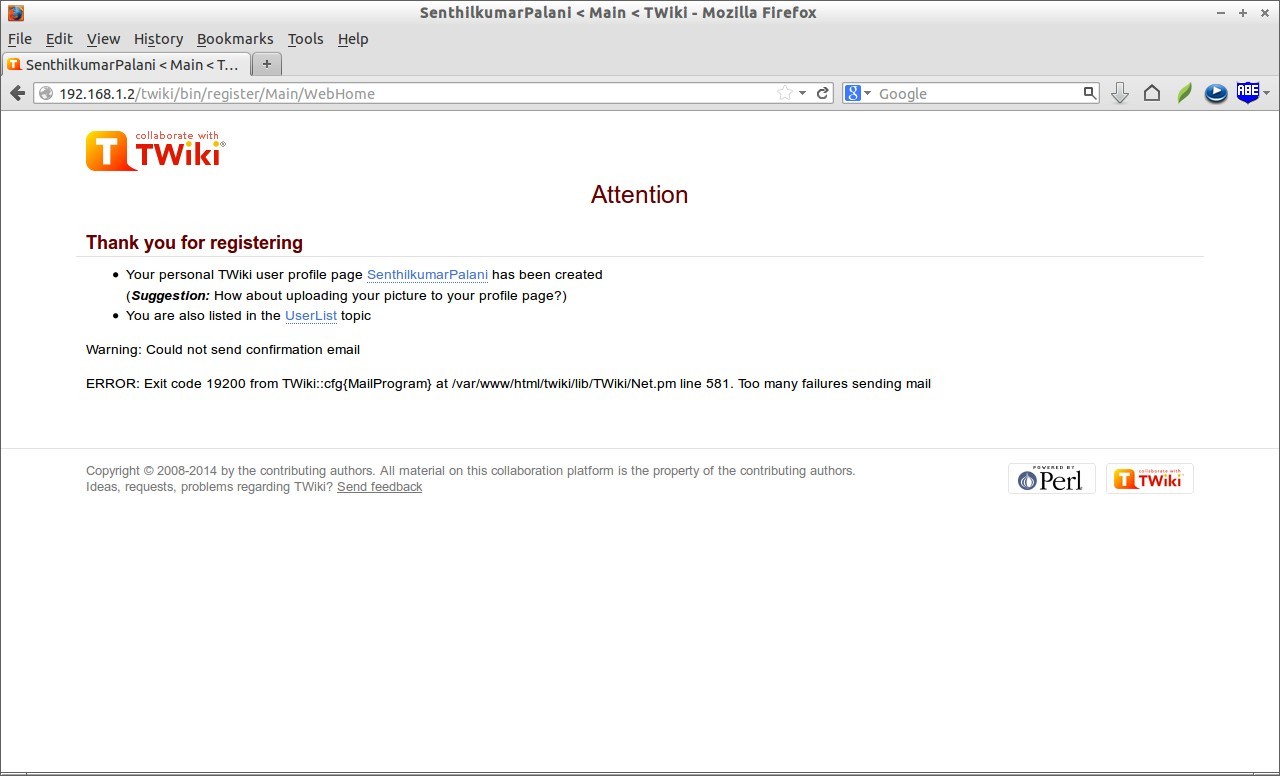
Now, the new user profile page will be created. Click on user profile link to visit his profile.
This is how my profile looks after registering on TWiki collaboration suite.
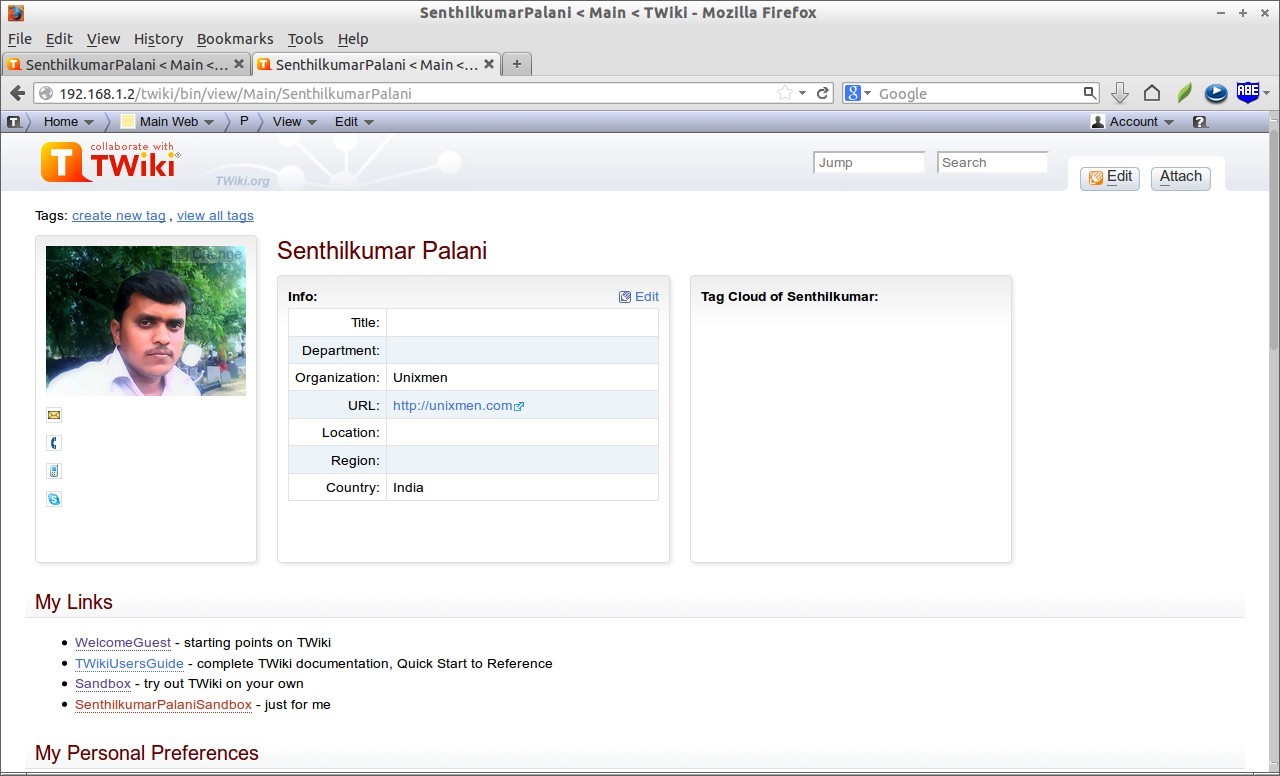
Cheers! Now your TWiki collaboration platform is ready to use.
Source & Reference:


