
About RabbitMQ
RabbitMQ is an open source message broker software, also sometimes known as message-oriented middleware, that implements the Advanced Message Queuing Protocol (AMQP). It is very easy to use, and runs almost on all modern operating systems. It is built on the Open Telecom Platform framework for clustering and failover. RabbitMQ is written in the Erlang programming language, and is actively being developed by Rabbit Technologies Ltd.
In this tutorial, we will see how to install RabbitMQ server in CentOS 7 minimal server.
Prerequisites
RabbitMQ is written using Erlang programming language. So, it is must to install Erlang before installing RabbitMQ.
To install and configure Erlang in CentOS 7 server, refer the following link.
Install RabbitMQ
Once you install Erlang, head over to the RabbitMQ download page for RPM based installers, and download the latest version using command:
wget https://www.rabbitmq.com/releases/rabbitmq-server/v3.6.1/rabbitmq-server-3.6.1-1.noarch.rpm
Then, run the following command as root user to add rabbitmq signing key:
rpm --import https://www.rabbitmq.com/rabbitmq-signing-key-public.asc
Finally, install RabbitMQ server using command:
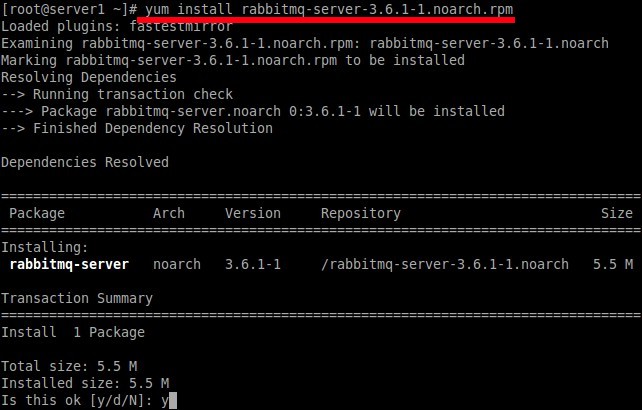
yum install rabbitmq-server-3.6.1-1.noarch.rpm
Sample output:
Loaded plugins: fastestmirror
Examining rabbitmq-server-3.6.1-1.noarch.rpm: rabbitmq-server-3.6.1-1.noarch
Marking rabbitmq-server-3.6.1-1.noarch.rpm to be installed
Resolving Dependencies
--> Running transaction check
---> Package rabbitmq-server.noarch 0:3.6.1-1 will be installed
--> Finished Dependency Resolution

Dependencies Resolved

================================================================================
 Package Arch Version Repository Size
================================================================================
Installing:
 rabbitmq-server noarch 3.6.1-1 /rabbitmq-server-3.6.1-1.noarch 5.5 M

Transaction Summary
================================================================================
Install 1 Package

Total size: 5.5 M
Installed size: 5.5 M
Is this ok [y/d/N]: y
That’s it. We have installed RabbitMQ.
SELinux and Firewall configuration
We must allow the following ports via SELinux, and Firewall in order to access RabbitMQ remote management console from the remote systems.
Make sure the following ports can be opened:
- 4369 (epmd), 25672 (Erlang distribution)
- 5672, 5671 (AMQP 0-9-1 without and with TLS)
- 15672 (if management plugin is enabled)
- 61613, 61614 (if STOMP is enabled)
- 1883, 8883 (if MQTT is enabled)
To allow the above ports in firewall, run the following commands one by one:
firewall-cmd --permanent --add-port=4369/tcp
firewall-cmd --permanent --add-port=25672/tcp
firewall-cmd --permanent --add-port=5671-5672/tcp
firewall-cmd --permanent --add-port=15672/tcp
firewall-cmd --permanent --add-port=61613-61614/tcp
firewall-cmd --permanent --add-port=8883/tcp
Restart firewall service:
firewall-cmd --reload
And then, run the following command to allow SELinux to enable RabbitMQ service:
setsebool -P nis_enabled 1
Run the following command to start and enable RabbitMQ service:
systemctl start rabbitmq-server
systemctl enable rabbitmq-server
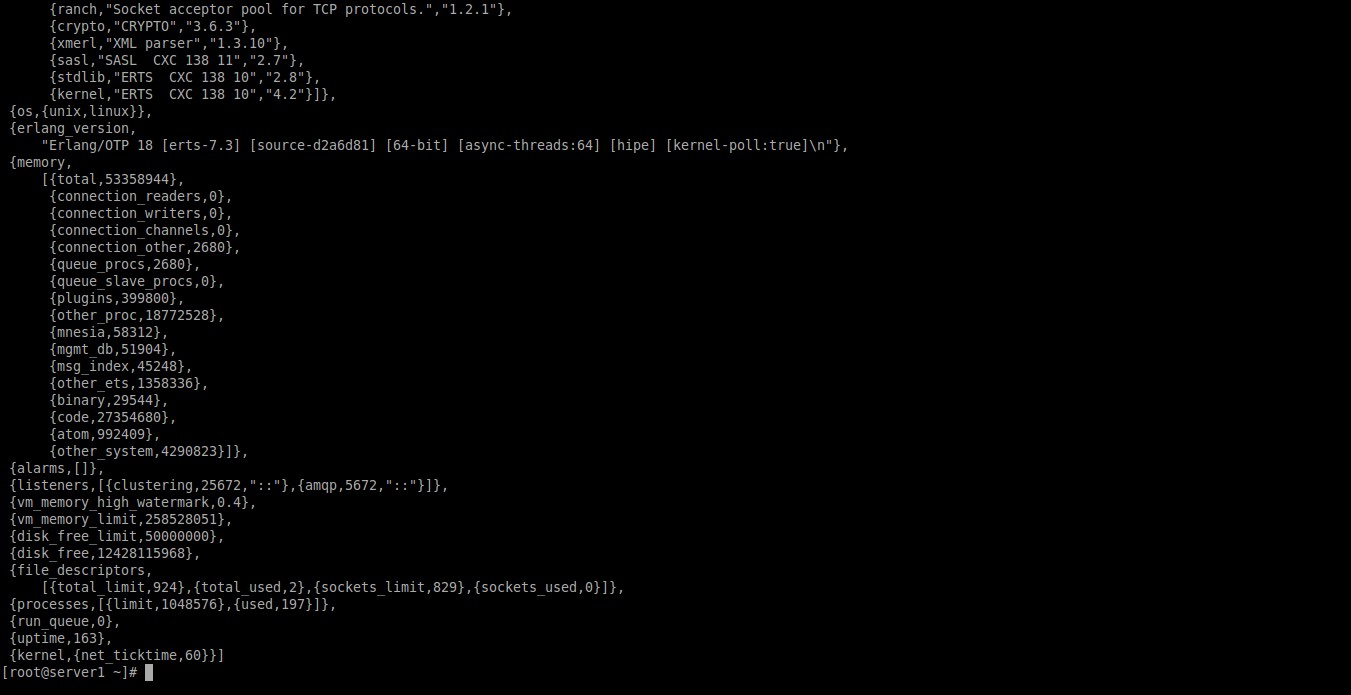
Now, check the status of RabbitMQ server using the following commands:
rabbitmqctl status
Sample output:
Status of node rabbit@server1 ...
[{pid,26591},
 {running_applications,
 [{rabbitmq_management,"RabbitMQ Management Console","3.6.1"},
 {rabbitmq_web_dispatch,"RabbitMQ Web Dispatcher","3.6.1"},
 {webmachine,"webmachine","1.10.3"},
 {mochiweb,"MochiMedia Web Server","2.13.0"},
 {ssl,"Erlang/OTP SSL application","7.3"},
 {rabbitmq_management_agent,"RabbitMQ Management Agent","3.6.1"},
 {rabbit,"RabbitMQ","3.6.1"},
 {mnesia,"MNESIA CXC 138 12","4.13.3"},
 {amqp_client,"RabbitMQ AMQP Client","3.6.1"},
 {compiler,"ERTS CXC 138 10","6.0.3"},
 {os_mon,"CPO CXC 138 46","2.4"},
 {syntax_tools,"Syntax tools","1.7"},
 {inets,"INETS CXC 138 49","6.2"},
 {rabbit_common,[],"3.6.1"},
 {public_key,"Public key infrastructure","1.1.1"},
 {asn1,"The Erlang ASN1 compiler version 4.0.2","4.0.2"},
 {ranch,"Socket acceptor pool for TCP protocols.","1.2.1"},
 {crypto,"CRYPTO","3.6.3"},
 {xmerl,"XML parser","1.3.10"},
 {sasl,"SASL CXC 138 11","2.7"},
 {stdlib,"ERTS CXC 138 10","2.8"},
 {kernel,"ERTS CXC 138 10","4.2"}]},
 {os,{unix,linux}},
 {erlang_version,
 "Erlang/OTP 18 [erts-7.3] [source-d2a6d81] [64-bit] [async-threads:64] [hipe] [kernel-poll:true]\n"},
 {memory,
 [{total,54224944},
 {connection_readers,0},
 {connection_writers,0},
 {connection_channels,0},
 {connection_other,2680},
 {queue_procs,2680},
 {queue_slave_procs,0},
 {plugins,424296},
 {other_proc,19559456},
 {mnesia,58312},
 {mgmt_db,111720},
 {msg_index,32856},
 {other_ets,1358408},
 {binary,36944},
 {code,27354680},
 {atom,992409},
 {other_system,4290503}]},
 {alarms,[]},
 {listeners,[{clustering,25672,"::"},{amqp,5672,"::"}]},
 {vm_memory_high_watermark,0.4},
 {vm_memory_limit,258528051},
 {disk_free_limit,50000000},
 {disk_free,12428034048},
 {file_descriptors,
 [{total_limit,924},{total_used,2},{sockets_limit,829},{sockets_used,0}]},
 {processes,[{limit,1048576},{used,197}]},
 {run_queue,0},
 {uptime,55},
 {kernel,{net_ticktime,60}}]
Access RabbitMQ management console
RabbitMQ management console will allow you to monitor the server processes via a web browser.
To enable the RabbitMQ management console, run the following command:
rabbitmq-plugins enable rabbitmq_management
chown -R rabbitmq:rabbitmq /var/lib/rabbitmq/
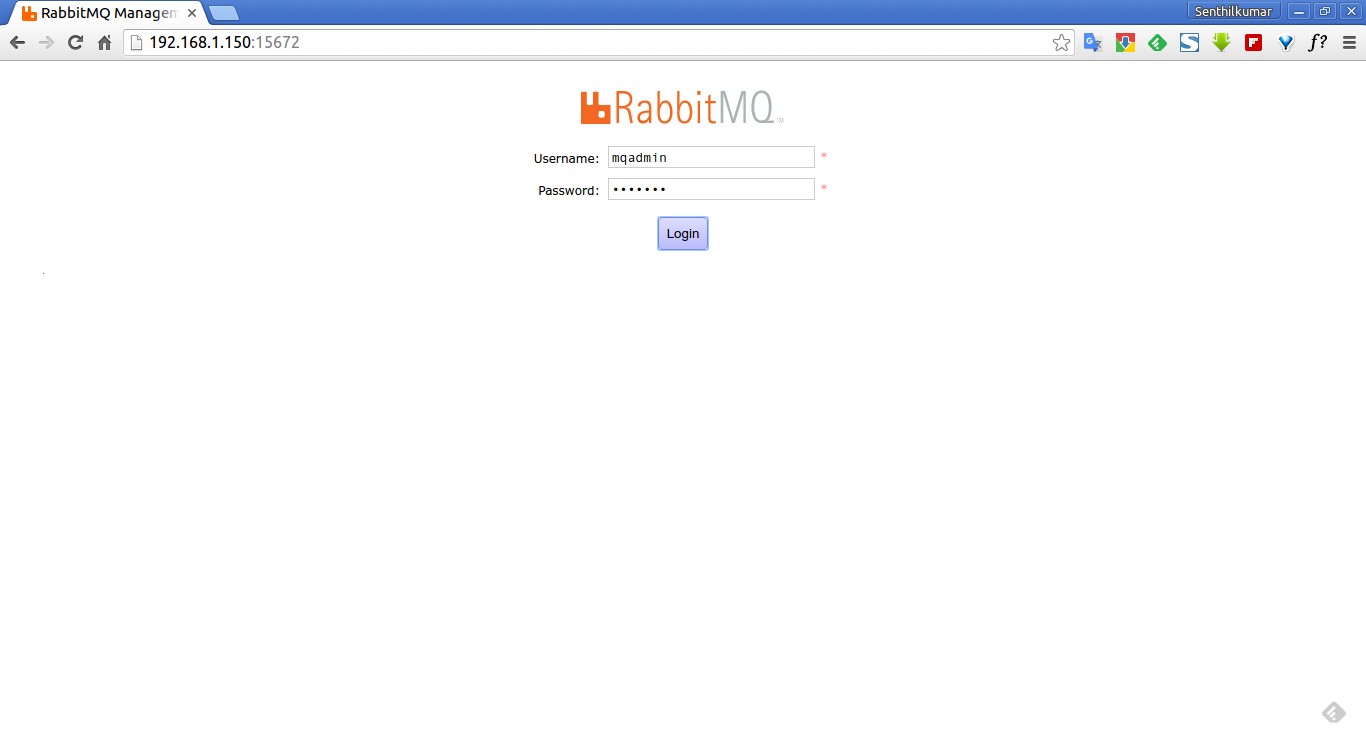
Now. open your web browser and navigate to the following URL to access your RabbitMQ server management console.
- http://ip-address:15672/
The default user name and password of RabbitMQ Management console is ‘guest’ and ‘guest’ .
However, you can create a new admin user if you want.
To do so, run:
rabbitmqctl add_user mqadmin mqadmin
rabbitmqctl set_user_tags mqadmin administrator
rabbitmqctl set_permissions -p / mqadmin ".*" ".*" ".*"
Enter the username and password to access RabbitMQ web console:
Congratulations! Here is how my RabbitMQ web dashboard looks like.
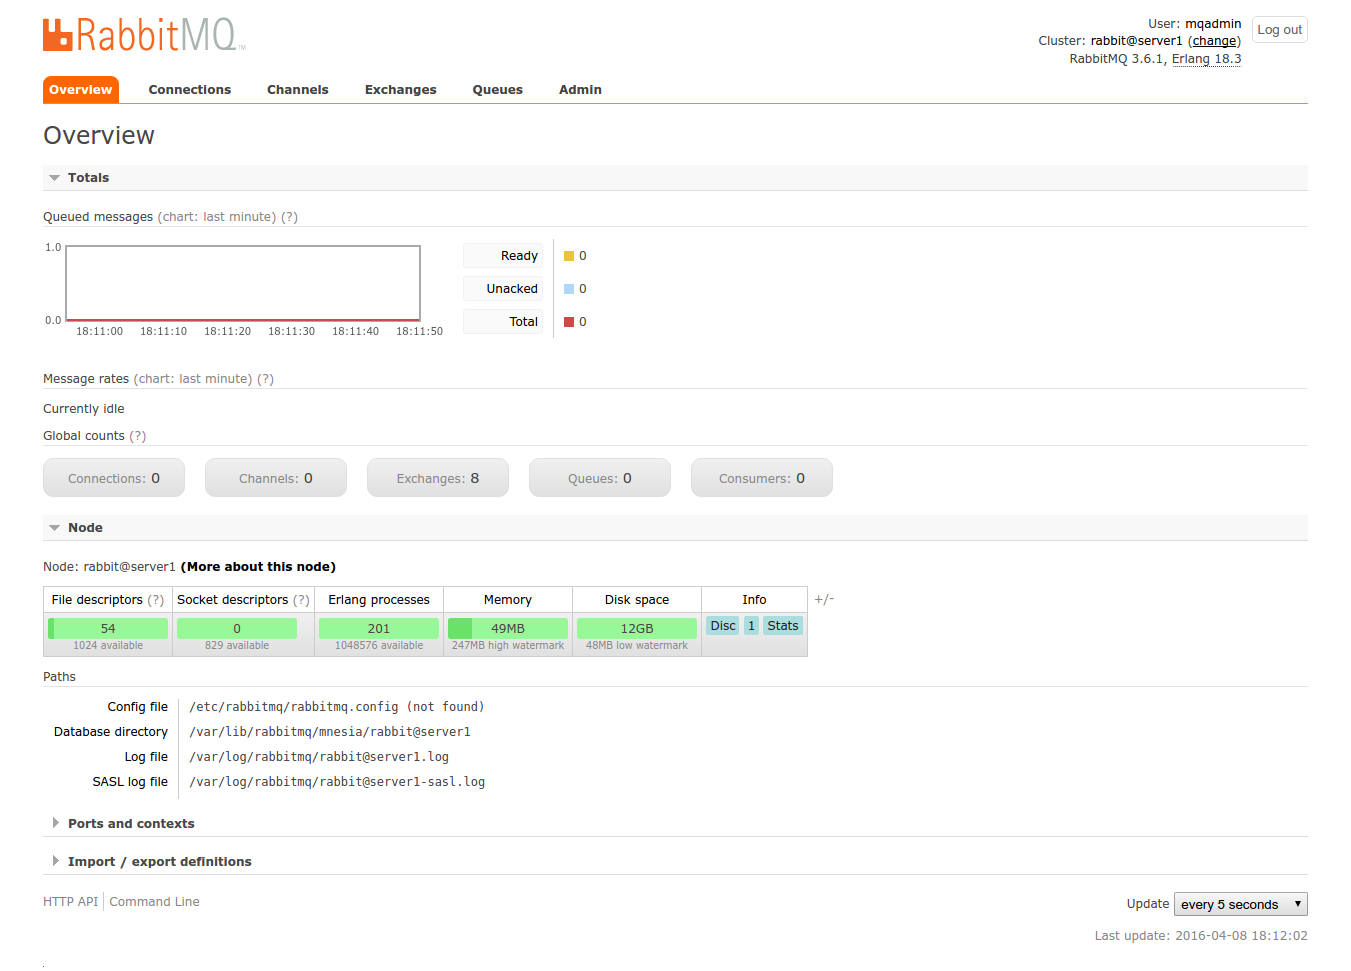
That’s all for now. Start using your RabbitMQ server.
For further details, check the links given at the end of this guide.
Cheers!
Reference links:


