
About PXE Server
PXE Server, stands for preboot execution environment, will help to install a system in the network without having a physical media. Unlike traditional installation methods, we can install any system in the network without having CD/DVD or USB drives. It is used to enable a network computer to boot only from a network interface card. This method will be very helpful, if a System Administrator want to install many systems which doesn’t have a CD/DVD device on the network. PXE environment needs a DHCP server that distributes the IP addresses to the client systems, and a TFTP server that downloads the installation files to the PXE clients. You don’t need any CD/DVD or USB bootable drives to install client systems. Just, copy the ISO images on the PXE server and start installing your Linux clients via network using PXE server.
Scenario
My test box (pxe server) details are given below:
- Operating System : CentOS 7 Minimal server.
- IP Address : 192.168.1.150/24.
- SELinux disabled on the PXE server.
- IP tables stopped on the PXE server.
In this tutorial, we are going to see how to setup a PXE server On CentOS 7 server, and install CentOS 7 64 bit edition on our client system using the PXE server.
Install PXE Server
First, you should Install and configure DHCP server on your PXE server. To install and configure DHCP server, refer the following link:
Now, install the following packages for setting up PXE environment:
yum install httpd xinetd syslinux tftp-server -y
Configure PXE Server
Go to /usr/share/syslinux/ directory:
cd /usr/share/syslinux/
Copy the following TFTP configuration files to the /var/lib/tftpboot/ directory.
cp pxelinux.0 menu.c32 memdisk mboot.c32 chain.c32 /var/lib/tftpboot/
Edit file /etc/xinetd.d/tftp
vi /etc/xinetd.d/tftp
Enable TFTP server. To do this, change “disable=yes” to “no”.
 # default: off
 # description: The tftp server serves files using the trivial file transfer \
 #       protocol.  The tftp protocol is often used to boot diskless \
 #       workstations, download configuration files to network-aware printers, \
 #       and to start the installation process for some operating systems.
 service tftp
 {
 socket_type             = dgram
 protocol                = udp
 wait                    = yes
 user                    = root
 server                  = /usr/sbin/in.tftpd
 server_args             = -s /var/lib/tftpboot
 disable                 = no
 per_source              = 11
 cps                     = 100 2
 flags                   = IPv4
}
Mount CentOS installation ISO file to any directory of your choice, for example /mnt. I already have CentOS 7 64 bit ISO image on my /root directory.
mount -o loop /root/CentOS-7.0-1406-x86_64-DVD.iso /mnt/
Next, create a directory to store CentOS installation ISO image.
mkdir /var/lib/tftpboot/centos7_x64
Note: If you want to install CentOS 32 bit edition, make a relevant directory called centos7_i386 (Ex. /var/lib/tftpboot/centos7_i386).
Copy the ISO file contents to /var/lib/tftpboot/centos7_x64/.
cp -fr /mnt/* /var/lib/tftpboot/centos7_x64/
Set the proper permissions to the above directory.
chmod -R 755 /var/lib/tftpboot/centos7_x64/
Create a apache configuration file for PXE server under /etc/httpd/conf.d/ directory:
vi /etc/httpd/conf.d/pxeboot.conf
Add the following lines:
Alias /centos7_x64 /var/lib/tftpboot/centos7_x64/

<Directory /var/lib/tftpboot/centos7_x64>
Options Indexes FollowSymLinks
Order Deny,Allow
Deny from all
Allow from 127.0.0.1 192.168.1.0/24
</Directory>
Save and close the file.
Then, create a configuration directory for PXE server:
mkdir /var/lib/tftpboot/pxelinux.cfg
Now, create PXE server configuration file under the pxelinux.cfg:
vi /var/lib/tftpboot/pxelinux.cfg/default
Add the following lines:
default menu.c32
prompt 0
timeout 300
ONTIMEOUT local

menu title ########## PXE Boot Menu ##########

label 1
menu label ^1) Install CentOS 7
kernel centos7_x64/images/pxeboot/vmlinuz
append initrd=centos7_x64/images/pxeboot/initrd.img method=http://192.168.1.150/centos7_x64 devfs=nomount

label 2
menu label ^2) Boot from local drive localboot
Save and close the file.
Configure DHCP Server
Now, we have to configure the DHCP server to work with PXE server.
Edit file /etc/dhcp/dhcpd.conf,
vi /etc/dhcp/dhcpd.conf
Add the following lines at the end:
allow booting;
allow bootp;
option option-128 code 128 = string;
option option-129 code 129 = text;
next-server 192.168.1.150;
filename "pxelinux.0";
Save and close the file.
Now, We have come to the end of PXE server configuration. Restart all the services to complete the configuration.
systemctl restart xinetd
systemctl restart httpd
systemctl restart dhcpd
Enable all services to start automatically on every reboot.
systemctl enable xinetd
systemctl enable httpd
systemctl enable dhcpd
Congratulations! We have completed the PXE server configuration.
Disable Firewall and SELinux
To reduce complexity, I have disabled both firewall and SELinux in my PXE server.
To disable firewall, run the following commands:
systemctl disable firewalld
systemctl stop firewalld
To disable SELinux, edit file /etc/sysconfig/selinux:
vi /etc/sysconfig/selinux
Find the line: SELINUX=enforcing and change it to SELINUX=disabled
# This file controls the state of SELinux on the system.
# SELINUX= can take one of these three values:
# enforcing - SELinux security policy is enforced.
# permissive - SELinux prints warnings instead of enforcing.
# disabled - No SELinux policy is loaded.
SELINUX=disabled
# SELINUXTYPE= can take one of these two values:
# targeted - Targeted processes are protected,
# minimum - Modification of targeted policy. Only selected processes are protected.
# mls - Multi Level Security protection.
SELINUXTYPE=targeted
Save and close the file. Reboot your PXE server to take effect the saved changes.
Now, let us configure PXE clients.
PXE Client Configuration
The client may be any system that has network boot enabled option (PXE boot). You can enable this option in your Bios settings.
For testing purpose, I have created a Virtual Machine client on my Oracle VirtualBox.
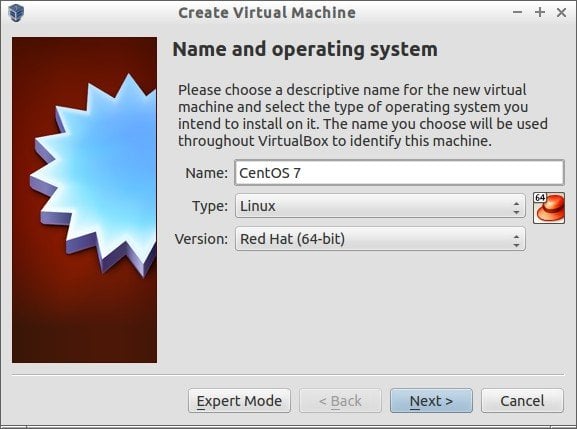
Open up the Oracle VirtualBox. Click on the New button in the menu bar.
Enter the Virtual machine name.
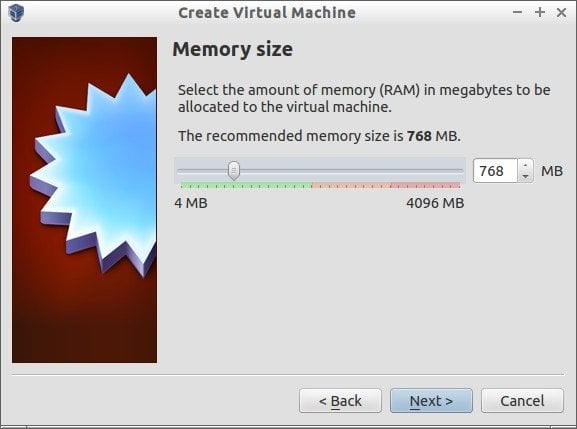
Enter the RAM size to the Virtual machine.
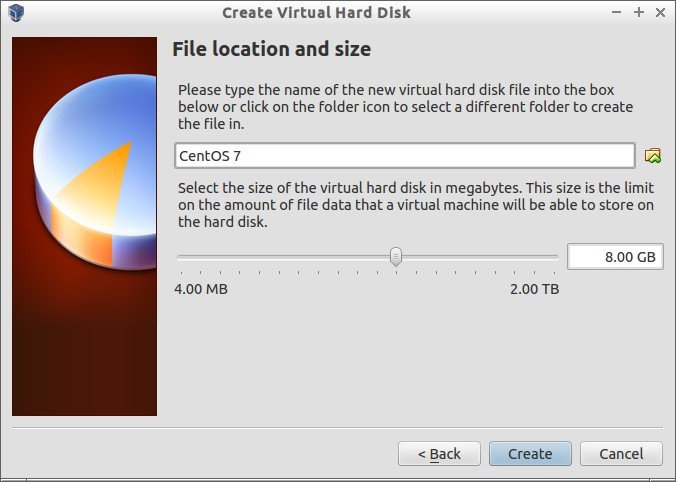
Select “Create a virtual hard drive now” option and click Create.

Select the Virtual hard drive file type. If you don’t know to what to select, leave the default option and click Next. Select whether the new virtual hard drive file should grow as it is used or if it should be created as fixed size.
Enter the Virtual hard drive size.
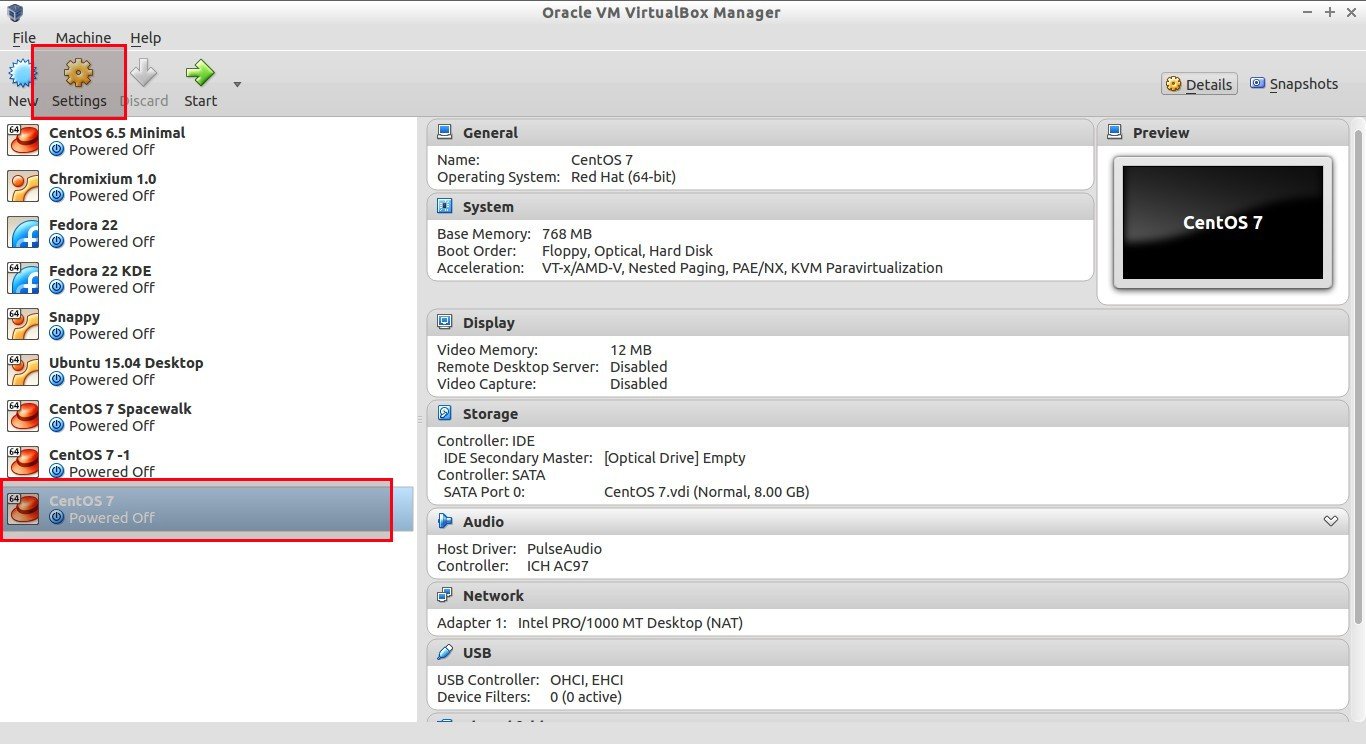
That’s it. Our Virtual Client machine has been created. Now, we should make the client to boot from the network. To do that, go to the Vitual machine Settings option.
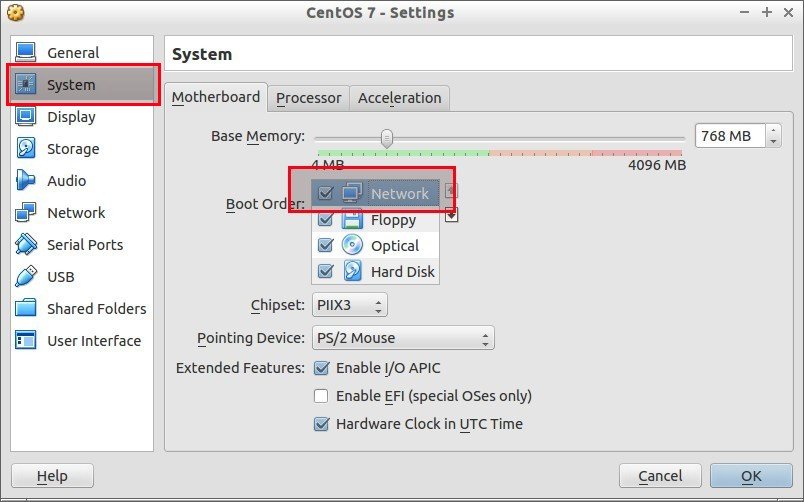
Select the System tab on the left, and Choose Network from the boot order option on the right side.
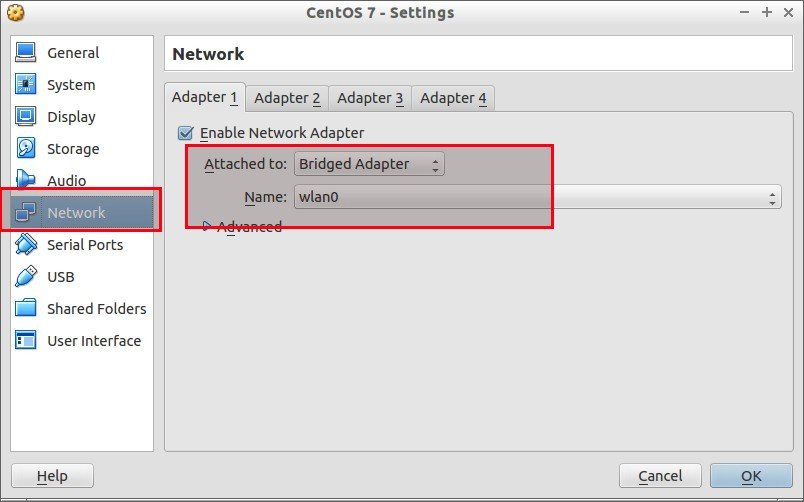
Then, go to the Network tab and select “Bridged Adapter” from the “Attached to” drop down box.
Once you done all the above steps, click OK to save the changes.
That’s it. Now, power on the Virtual client system. You should see the following screen.
![CentOS 7 [Running] - Oracle VM VirtualBox_014](http://unixmen.com/wp-content/uploads/2015/08/CentOS-7-Running-Oracle-VM-VirtualBox_014.jpg)
That’s it. Now you know what to do next. Start installing CentOS on your client using the PXE server.
In case, you want to serve CentOS ISO over FTP server instead of web server, and want to include a kickstart file to automate the PXE client installation, refer the following link.
Conclusion
Setting up network installation using PXE server is fun, efficient and time saving method. You can install as many as clients you want at a time in your local area network. All you need to do is sufficient hardware configuration server and pxe enabled clients. Also, PXE server and client configuration is not that difficult.
Good luck!
To setup PXE server in CentOS 6.x systems, refer the following link.
Reference:


