
Postfix is a free open source mail transfer agent (MTA). It is easy to administer, fast and as well as the secure MTA. It’s an alternative to Sendmail, which is the default MTA for RHEL.
Well, let us see how to setup a basic local mail server using Postfix, Dovecot and Squirrelmail On CentOS 6.5, although it should work on RHEL, Scientific Linux 6.x series.
For this tutorial, I use CentOS 6.5 32 bit minimal installation, with SELinux disabled. My test box details are given below.
OS : CentOS 6.5 32 bit Minimal Installation (fresh installation)
IP Address : 192.168.1.101/24
Hostname: server.unixmen.local
Prerequisites
1. Remove default MTA sendmail first if it’s already installed. Sendmail will not be installed by default in minimal installation, so you can skip this step.
# yum remove sendmail
2. Setup DNS server and add the Mail server MX records in the forward and reverse zone files. To install and configure DNS server, navigate to this link. And you’ll need to contact your ISP to point your external static IP to your mail domain.
3. Add hostname entries in /etc/hosts file as shown below:
# vi /etc/hosts
127.0.0.1   localhost localhost.localdomain localhost4 localhost4.localdomain4
::1         localhost localhost.localdomain localhost6 localhost6.localdomain6
192.168.1.101   server.unixmen.local      server
4. I disabled SELinux to reduce complexity in postfix configuration.
If you want to keep SELinux on, enter the following command in Terminal:
# togglesebool httpd_can_network_connect
Note: I didn’t check it and disabled SELinux completely. It was suggested by one of the unixmen regular reader Mr. Bob. I appreciate and thank him for the helpful tip.
5. Install EPEL Repository:
We will use Squirrelmail for webmail client. Squirrelmail will not be found on CentOS official repositories, so let us enable EPEL repository. Follow the below link to install and enable EPEL repository.
– Install EPEL Repository On CentOS / RHEL / Scientific Linux 6
6. Allow the Apache default port 80 through your firewall/router:
# vi /etc/sysconfig/iptables
[...]
-A INPUT -m state --state NEW -m tcp -p tcp --dport 80 -j ACCEPT
[...]
Install Postfix
Let us install postfix package using the command:
# yum install postfix -y
Configuring Postfix
Edit /etc/postfix/main.cf,
# vi /etc/postfix/main.cf
find and edit the following lines:
## Line no 75 - Uncomment and set your mail server FQDN ##
myhostname = server.unixmen.local

## Line 83 - Uncomment and Set domain name ##
mydomain = unixmen.local

## Line 99 - Uncomment ##
myorigin = $mydomain

## Line 116 - Set ipv4 ##
inet_interfaces = all

## Line 119 - Change to all ##
inet_protocols = all

## Line 164 - Comment ##

#mydestination = $myhostname, localhost.$mydomain, localhost,

## Line 165 - Uncomment ##\
mydestination = $myhostname, localhost.$mydomain, localhost, $mydomain

## Line 264 - Uncomment and add IP range ##
mynetworks = 192.168.1.0/24, 127.0.0.0/8

## Line 419 - Uncomment ##
home_mailbox = Maildir/
Save and exit the file. Start/restart Postfix service now:
# service postfix restart
# chkconfig postfix on
Testing Postfix mail server
First, create a test user called “SK“.
# useradd sk
# passwd sk
Access the server via Telnet and enter the commands manually shown in red colored text.
# telnet localhost smtp
Trying ::1...
Connected to localhost.
Escape character is '^]'.
220 server.unixmen.local ESMTP Postfix
ehlo localhost     ## type this command ##
250-server.unixmen.local
250-PIPELINING
250-SIZE 10240000
250-VRFY
250-ETRN
250-ENHANCEDSTATUSCODES
250-8BITMIME
250 DSN
mail from:<sk>     ## Type this - mail sender address##
250 2.1.0 Ok
rcpt to:<sk>     ## Type this - mail receiver address ##
250 2.1.5 Ok
data     ## Type this to input email message ##
354 End data with <CR><LF>.<CR><LF>
welcome to unixmen mail server     ## Enter the boddy of the email ##.
     ## type dot (.) to complete message ##
250 2.0.0 Ok: queued as B822221522
quit     ## type this to quit from mail ##
221 2.0.0 Bye
Connection closed by foreign host.
Now navigate to the user “sk“ mail directory and check for the new mail:
# ls /home/sk/Maildir/new/
Sample output:
1390215275.Vfd00Ie04f8M357080.server.unixmen.local
A new mail is received to the user “sk“. To read the mail, enter the following command:
# cat /home/sk/Maildir/new/1390215275.Vfd00Ie04f8M357080.server.unixmen.local
Sample output:
Return-Path: <sk@unixmen.local>
X-Original-To: sk
Delivered-To: sk@unixmen.local
Received: from localhost (localhost [IPv6:::1])
    by server.unixmen.local (Postfix) with ESMTP id B822221522
    for <sk>; Mon, 20 Jan 2014 16:23:54 +0530 (IST)
Message-Id: <20140120105404.B822221522@server.unixmen.local>
Date: Mon, 20 Jan 2014 16:23:54 +0530 (IST)
From: sk@unixmen.local
To: undisclosed-recipients:;

welcome to unixmen mail server
Installing Dovecot
Dovecot is an open source IMAP and POP3 mail server for Unix/Linux systems. To install:
# yum install dovecot
Configuring Dovecot
Edit the file /etc/dovecot/dovecot.conf file,
# vi /etc/dovecot/dovecot.conf
Uncomment the following line:
## Line 20 - umcomment ##
protocols = imap pop3 lmtp
Edit file /etc/dovecot/conf.d/10-mail.conf file
# vi /etc/dovecot/conf.d/10-mail.conf
Make the changes as shown below:
## Line 24 - uncomment ##
mail_location = maildir:~/Maildir
Edit /etc/dovecot/conf.d/10-auth.conf
# vi /etc/dovecot/conf.d/10-auth.conf
And make the changes as shown below:
## line 9 - uncomment##
disable_plaintext_auth = yes

## Line 97 - Add a letter "login" ##
auth_mechanisms = plain login
Edit file /etc/dovecot/conf.d/10-master.conf,
# vi /etc/dovecot/conf.d/10-master.conf
Make changes as shown below:
## Line 83, 84 - Uncomment and add "postfix"
#mode = 0600
   user = postfix
   group = postfix
Start Dovecot service:
# service dovecot start
# chkconfig dovecot on
Testing Dovecot
It’s time to test Dovecot configuration. Enter the following command in Terminal:
# telnet localhost pop3
Enter the commands manually marked in red color:
Trying ::1...
Connected to localhost.
Escape character is '^]'.
+OK Dovecot ready.
user sk     ## log in as user sk ##
+OK
pass centos     ## input user password ##
+OK Logged in.
retr 1
+OK 439 octets
Return-Path: <sk@unixmen.local>
X-Original-To: sk
Delivered-To: sk@unixmen.local
Received: from localhost (localhost [IPv6:::1])
    by server.unixmen.local (Postfix) with ESMTP id B822221522
    for <sk>; Mon, 20 Jan 2014 16:23:54 +0530 (IST)
Message-Id: <20140120105404.B822221522@server.unixmen.local>
Date: Mon, 20 Jan 2014 16:23:54 +0530 (IST)
From: sk@unixmen.local
To: undisclosed-recipients:;

welcome to unixmen mail server
.
quit
+OK Logging out.
Connection closed by foreign host.
As you see in the above, Dovecot is working!
Working with mail in command modes little bit difficult for us. So we will install a webmail client called Squirrelmail to send/receive emails via a web browser.
Installing Squirrelmail
Make sure that you’ve installed and enabled EPEL repository. Now install Squirrelmail using the following command:
# yum install squirrelmail -y
Configuring Squirrelmail
Navigate to /usr/share/squirrelmail/config/ directory and run the command conf.pl:
# cd /usr/share/squirrelmail/config/
# ./conf.pl
The following wizard will open. Enter choice “1” to set your organization details:
SquirrelMail Configuration : Read: config.php (1.4.0)
---------------------------------------------------------
Main Menu --
1.  Organization Preferences
2.  Server Settings
3.  Folder Defaults
4.  General Options
5.  Themes
6.  Address Books
7.  Message of the Day (MOTD)
8.  Plugins
9.  Database
10. Languages

D.  Set pre-defined settings for specific IMAP servers

C   Turn color off
S   Save data
Q   Quit

Command >> 1
The following wizard will open. Enter “1” again to modify your organization details:
SquirrelMail Configuration : Read: config.php (1.4.0)
---------------------------------------------------------
Organization Preferences
1.  Organization Name      : SquirrelMail
2.  Organization Logo      : ../images/sm_logo.png
3.  Org. Logo Width/Height : (308/111)
4.  Organization Title     : SquirrelMail $version
5.  Signout Page           :
6.  Top Frame              : _top
7.  Provider link          : http://squirrelmail.org/
8.  Provider name          : SquirrelMail

R   Return to Main Menu
C   Turn color off
S   Save data
Q   Quit

Command >> 1
Set your Organization name and press Enter:
We have tried to make the name SquirrelMail as transparent as
possible.  If you set up an organization name, most places where
SquirrelMail would take credit will be credited to your organization.

If your Organization Name includes a '$', please precede it with a \.
Other '$' will be considered the beginning of a variable that
must be defined before the $org_name is printed.
$version, for example, is included by default, and will print the
string representing the current SquirrelMail version.

[SquirrelMail]: Unixmen
By this way, setup all the details such as organization title, logo, provider name in the above wizard. Once you done, press “S” to save changes and press “R” to return back to your main menu:
SquirrelMail Configuration : Read: config.php (1.4.0)
---------------------------------------------------------
Organization Preferences
1.  Organization Name      : Unixmen
2.  Organization Logo      : ../images/sm_logo.png
3.  Org. Logo Width/Height : (308/111)
4.  Organization Title     : SquirrelMail $version
5.  Signout Page           :
6.  Top Frame              : _top
7.  Provider link          : http://squirrelmail.org/
8.  Provider name          : Unixmen Mail

R   Return to Main Menu
C   Turn color off
S   Save data
Q   Quit

Command >> s
Now enter “2” to setup mail Server settings such as domain name and mail agent etc.:
SquirrelMail Configuration : Read: config.php (1.4.0)
---------------------------------------------------------
Main Menu --
1.  Organization Preferences
2.  Server Settings
3.  Folder Defaults
4.  General Options
5.  Themes
6.  Address Books
7.  Message of the Day (MOTD)
8.  Plugins
9.  Database
10. Languages

D.  Set pre-defined settings for specific IMAP servers

C   Turn color off
S   Save data
Q   Quit

Command >> 2
Enter “1”, Enter your mail domain (ex. unixmen. local) and press Enter key.
SquirrelMail Configuration : Read: config.php (1.4.0)
---------------------------------------------------------
Server Settings

General
-------
1.  Domain                 : localhost
2.  Invert Time            : false
3.  Sendmail or SMTP       : Sendmail

A.  Update IMAP Settings   : localhost:143 (uw)
B.  Change Sendmail Config : /usr/sbin/sendmail

R   Return to Main Menu
C   Turn color off
S   Save data
Q   Quit

Command >> 1
The domain name is the suffix at the end of all email addresses.  If
for example, your email address is jdoe@example.com, then your domain
would be example.com.

[localhost]: unixmen.local
Enter “3” and change from sendmail to Postfix MTA (i.e. SMTP):
SquirrelMail Configuration : Read: config.php (1.4.0)
---------------------------------------------------------
Server Settings

General
-------
1.  Domain                 : unixmen.local
2.  Invert Time            : false
3.  Sendmail or SMTP       : Sendmail

A.  Update IMAP Settings   : localhost:143 (uw)
B.  Change Sendmail Config : /usr/sbin/sendmail

R   Return to Main Menu
C   Turn color off
S   Save data
Q   Quit

Command >> 3
Enter “2” to switch from sendmail MTA to postfix.
You now need to choose the method that you will use for sending
messages in SquirrelMail.  You can either connect to an SMTP server
or use sendmail directly.

  1.  Sendmail
  2.  SMTP
Your choice [1/2] [1]: 2
Now enter “S” followed by “Q” to save and exit Squirrelmail configuration.
Create a squirrelmail vhost in apache config file:
# vi /etc/httpd/conf/httpd.conf
Add the following lines at the end:
Alias /webmail /usr/share/squirrelmail
<Directory /usr/share/squirrelmail>
    Options Indexes FollowSymLinks
    RewriteEngine On
    AllowOverride All
    DirectoryIndex index.php
    Order allow,deny
    Allow from all
</Directory>
Restart the Apache service:
# service httpd restart
Create users
Create some users for testing. In my case i create two users called “senthil“ and “kumar“ respectively.
# useradd senthil
# useradd kumar
# passwd senthil
# passwd kumar
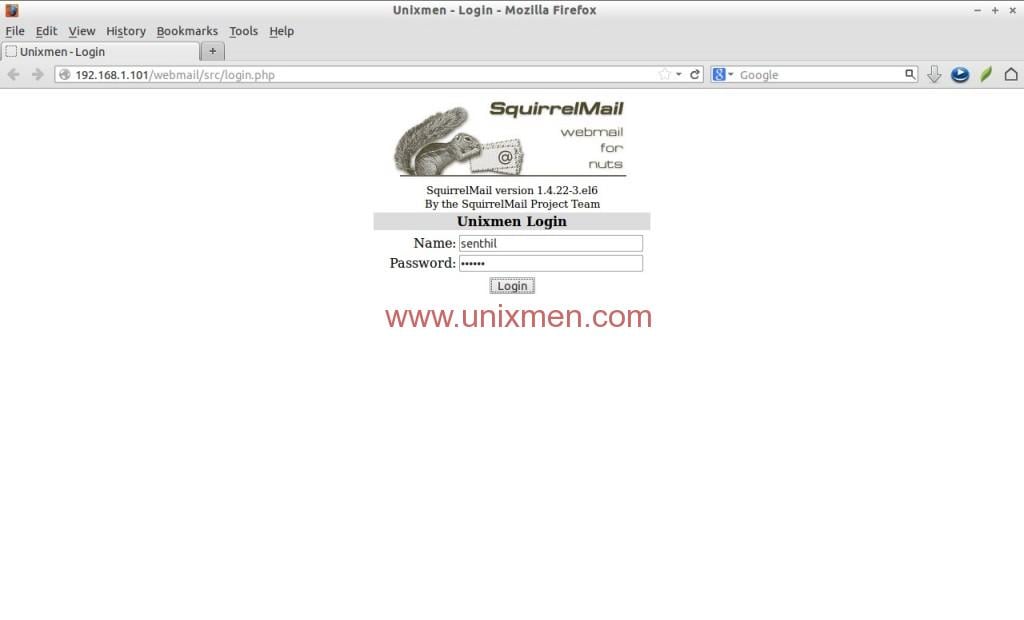
Access Webmail
Now navigate to http://ip-address/webmail or http://domain-name/webmail from your browser. The following screen should appear. Enter the username and password of the user.
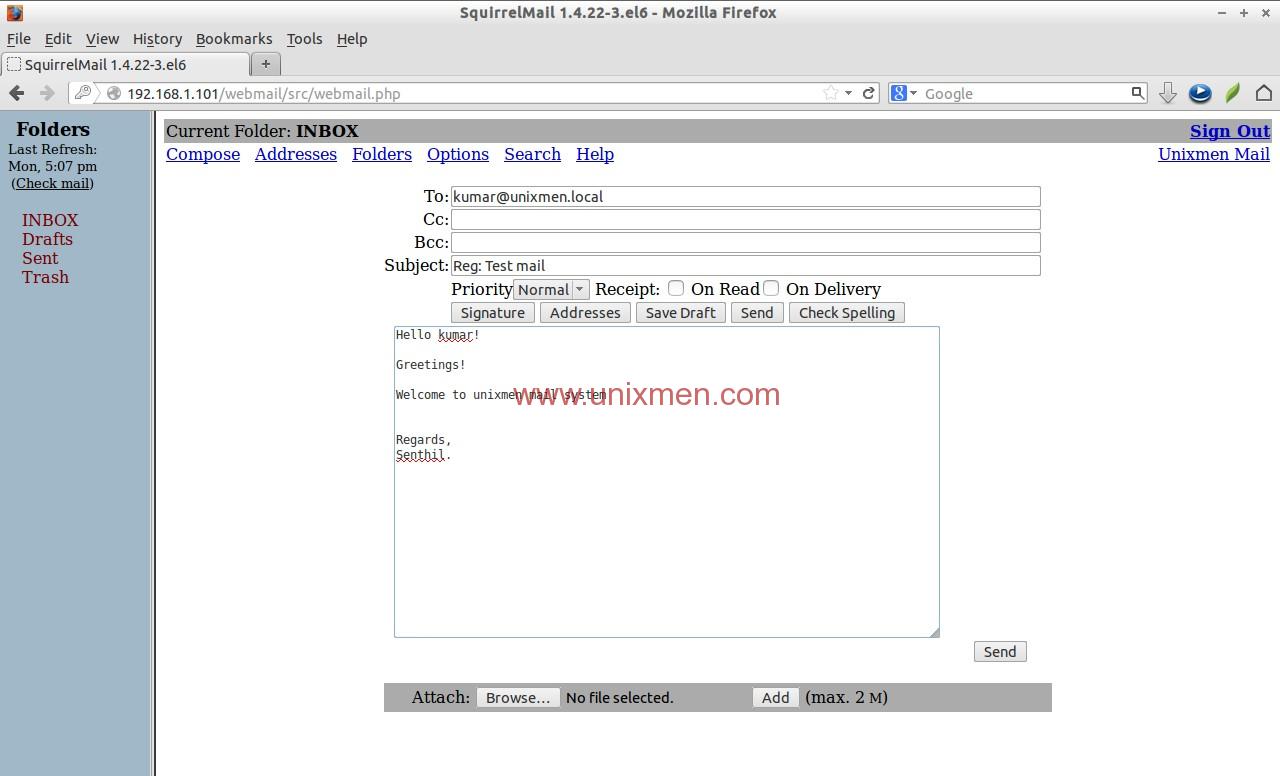
Now you’ll be able to access the user senthil mail box. Let us compose a test mail from user “senthil“ to user “kumar“. Click on the Compose link on the top. Enter the recipient mail id (ex. kumar@unixmen.local), subject and body of the mail and click Send.
Now log out from user “senthil“ and log in to user “kumar“ mail and check for any new mail.
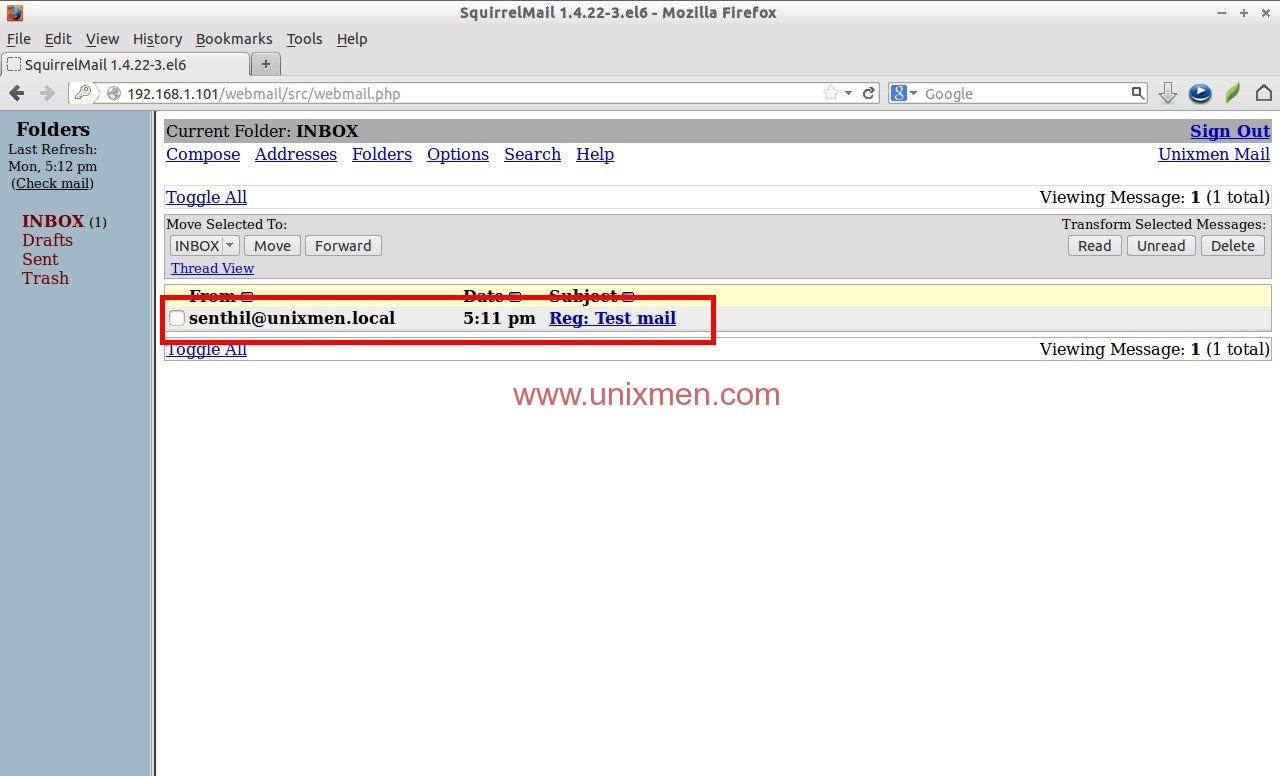
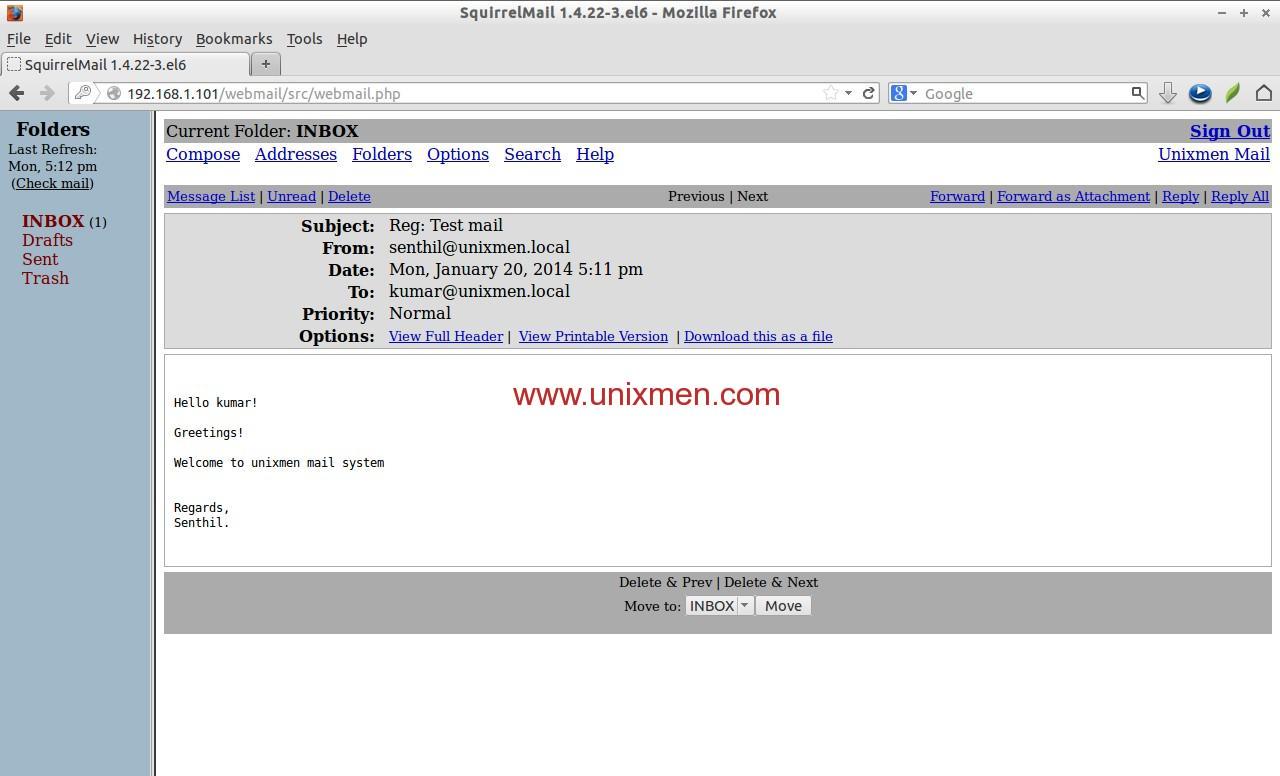
Hurrah! We have got a new mail from senthil@unixmen.local mail id. To read the mail, click on it. You’ll now be able to read, reply, delete or compose a new mail.
That’s it for now. We’ve successfully configured a local mail server that will serve in/out mails within a local area network. But i want to configure a public mail server to send and receive mails to outside of our LAN, what should i do? That’s not that difficult either.
You should configure mail server with a public IP and request your ISP to put the MX record of your mail server into their DNS server and you’re done! Everything will be same as i described above.
If you want to setup mail server in CentOS 7, refer the following link.
Cheers!


