
Percona Server is an enhanced drop-in replacement of MySQL. The latest version Percona Server 5.6 is made available for download with new features and many improvements. In this tutorial let me show you how to install it on Debian 7 Wheezy server.
Install Percona Server 5.6 On Debian 7
Before installing Percona Server on your machine, I strongly suggest you to backup your existing database backup if any. And then remove the existing MySQL server using the following commands:
apt-get remove mysql*
apt-get purge mysql*
apt-get autoremeve
Also remove any web based database administration tools like phpMyAdmin.
apt-get remove phpmyadmin
apt-get autoremove
First you should add the key to your server.
apt-key adv --keyserver keys.gnupg.net --recv-keys 1C4CBDCDCD2EFD2A
Then add the Percona Server Repository to your Debian 7 server.
To do so, open the file /etc/apt/sources.list in any editor.
nano /etc/apt/sources.list
Add the following lines in it.
deb http://repo.percona.com/apt wheezy main
deb-src http://repo.percona.com/apt wheezy main
You might want to “pin” the Percona packages to avoid the upgrades from the distribution repositories.
Create a file /etc/apt/preferences.d/00percona.pref using the following command.
nano /etc/apt/preferences.d/00percona.pref
Add the following lines:
Package: *
Pin: release o=Percona Development Team
Pin-Priority: 1001
Update the sources list using the following command:
apt-get update
Now install Percona Server using the following command.
apt-get install percona-server-server-5.6 percona-server-client-5.6
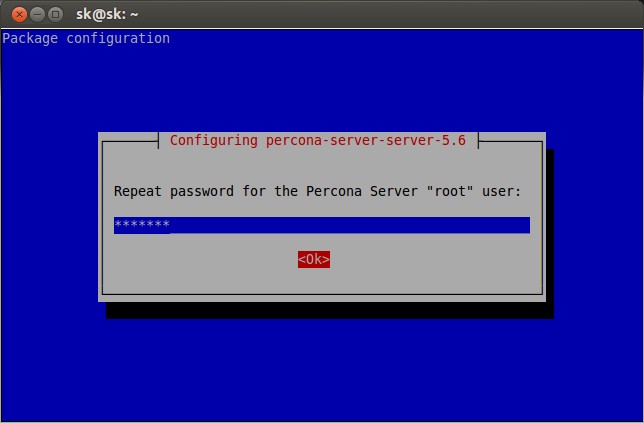
During installation, you’ll be prompted to enter the password for Percona server ‘root’ user password.
 Re-enter the password and continue installation.
 If you’re ending with failed installation due to missing or conflicting dependencies, just run the following command to fix them.
apt-get install -f
This command will install all the missing dependencies and you will get successful installation.
Verify Percona Server
Enter the following command to check the successful installation of Percona Server.
mysql -u root -p
Sample output:
Welcome to the MySQL monitor.  Commands end with ; or \g.
Your MySQL connection id is 201
Server version: 5.6.14-62.0 Percona Server (GPL), Release 62.0

Copyright (c) 2009-2013 Percona LLC and/or its affiliates
Copyright (c) 2000, 2013, Oracle and/or its affiliates. All rights reserved.

Oracle is a registered trademark of Oracle Corporation and/or its
affiliates. Other names may be trademarks of their respective
owners.

Type 'help;' or '\h' for help. Type '\c' to clear the current input statement.

mysql>
As you see in the above output, we’re using Percona Server 5.6 now.
Manage Percona Databases using phpMyAdmin
phpMyAdmin is a free open-source web interface tool used to manage your MySQL databases. It is available in the Official Debian repositories.
Install phpMyAdmin using command:
apt-get install phpmyadmin
During installation you’ll be asked to select the webserver to configure automatically with phpMyAdmin. Here i chose apache webserver.
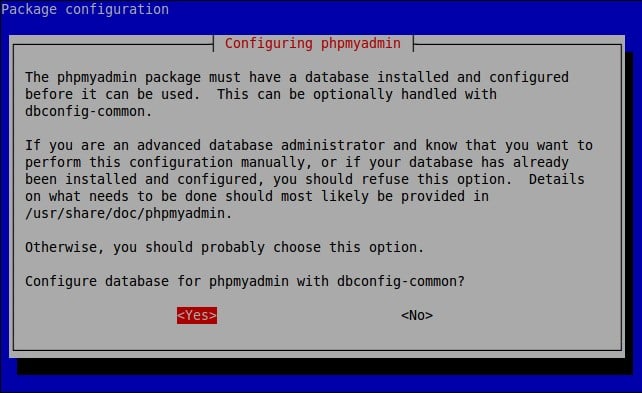
Select Yes to configure database for phpMyAdmin with dbconfig-common.
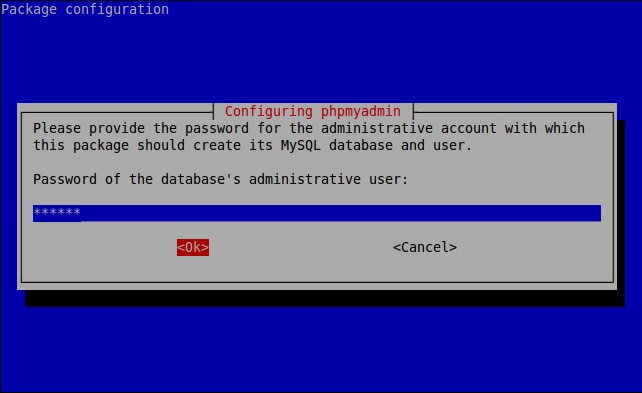
 Enter the Percona administrative root user password.
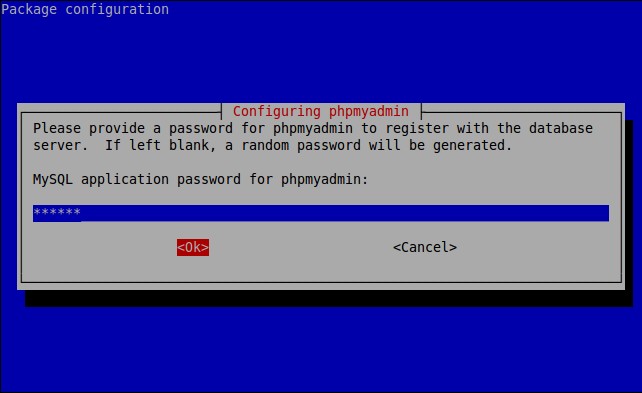
 Now provide a password for phpMyAdmin to register with Percoana database server.
 Re-enter password.
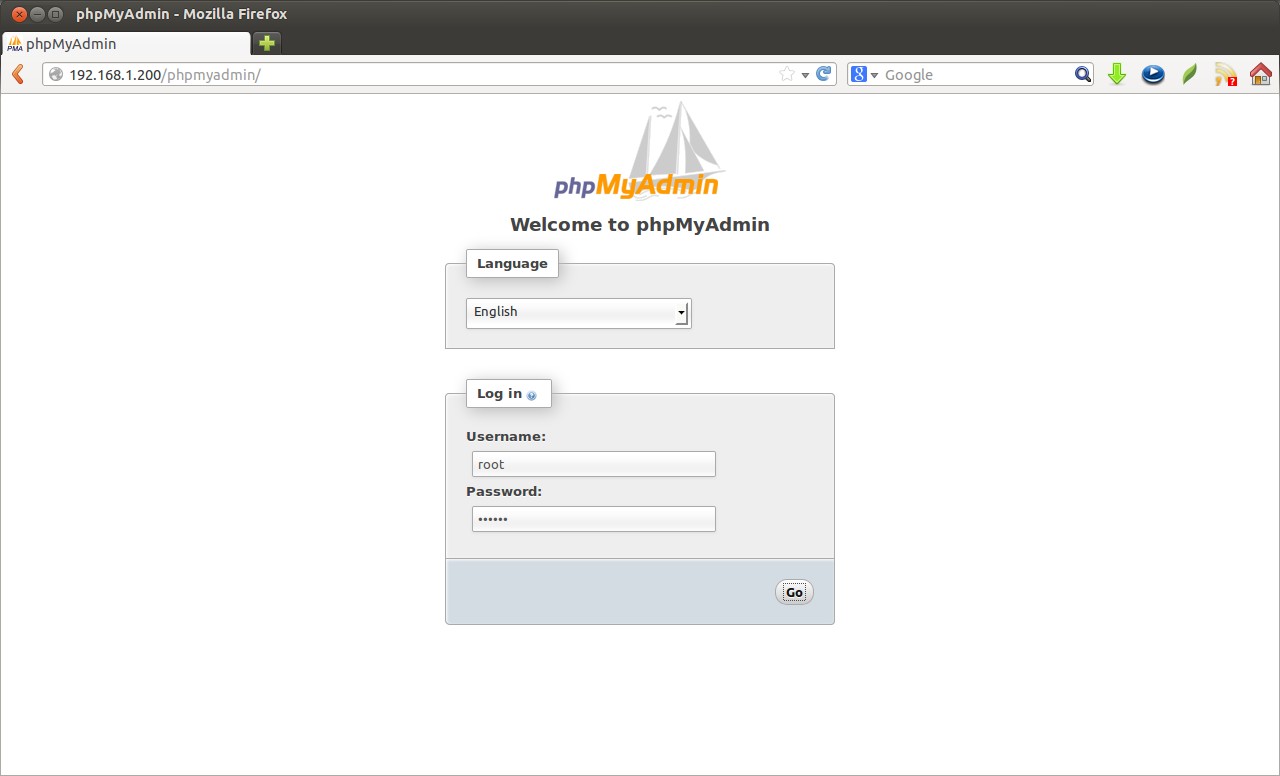
 That’s it. Access the phpMyAdmin web console from your browser with URL http://domain-name/phpmyadmin or http://ip-address/phpmyadmin.
You should see the following screen. Enter the Percona database user name and password to login.
 This is how your phpMyAdmin web interface will look.
 Congratulations! You’ve successfully installed Percona Server with phpMyAdmin now. Enjoy!


