
It is easy to install Oracle VirtualBox on any GUI Linux desktops, isn’t it? But, what about in a Linux Server that has no GUI? No worries! It is not that difficult either.
This step by step tutorial will teach you how to install Oracle VirtualBox on Ubuntu 15.10 headless server. The same procedure should work on Ubuntu 15.04 server and other older versions.
Here is my test box details:
- Operating System: Ubuntu 15.10 64 bit Server (No GUI)
- IP Address: 192.168.1.103/24
Preparing Ubuntu 15.10 Server
Before installing VirtualBox, we have to do a couple of tasks.
First of all, update your server with command:
sudo apt-get update && sudo apt-get upgrade -y
Now, install the following prerequisites which will need by oracle VirtualBox.
sudo apt-get install build-essential dkms unzip -y
Reboot your server once to take effect all the changes.
Install Oracle VirtualBox on Ubuntu 15.10 server
Edit /etc/apt/sources.list file:
sudo nano /etc/apt/sources.list
Add the latest oracle virtualbox repository to your Ubuntu server. You can download the oracle virtualbox latest repository from here.
I am running Ubuntu 15.10, so I added the following line.
[...]
deb http://download.virtualbox.org/virtualbox/debian wily contrib
Add the virtualbox public key:
wget -q http://download.virtualbox.org/virtualbox/debian/oracle_vbox.asc -O- | sudo apt-key add -
Now, update the repository and install latest oracle virtualbox version.
sudo apt-get update
sudo apt-get install virtualbox-5.0
After installing virtualbox, add the system user, for example sk, to the vboxusers group. sk is the system normal user that I have created already. You can create and use a separate new user of your choice. If you use different user, log out and log in back to that user and do the rest of the steps.
sudo usermod -aG vboxusers sk
Now, run the following command to check if virtualbox kernel modules are loaded or not.
sudo systemctl status vboxdrv
Or
sudo /etc/init.d/vboxdrv status
Sample output:
● vboxdrv.service - VirtualBox Linux kernel module
 Loaded: loaded (/usr/lib/virtualbox/vboxdrv.sh; enabled; vendor preset: enabled)
 Active: active (exited) since Thu 2015-11-26 16:38:30 IST; 42s ago

Nov 26 16:38:29 server systemd[1]: Starting VirtualBox Linux kernel module...
Nov 26 16:38:30 server systemd[1]: Started VirtualBox Linux kernel module.
Nov 26 16:38:30 server vboxdrv.sh[15008]: Starting VirtualBox kernel modules....
Hint: Some lines were ellipsized, use -l to show in full.
If it, not loaded, run the following command to load them:
sudo /etc/init.d/vboxdrv setup
Install Oracle VirtualBox Extension pack
Starting with VirtualBox 4.0, we should install Extension pack to manage and connect our remote guest consoles via web interface. This Extension pack provides the following functionalities to the VirtualBox guests.
- The virtual USB 2.0 (EHCI) device
- VirtualBox Remote Desktop Protocol (VRDP) support
- Host webcam passthrough
- Intel PXE boot ROM
- Experimental support for PCI passthrough on Linux hosts
VirtualBox extension pack should be same version as VirtualBox base package. Download Extension pack for VirtualBox 5 from here.
wget http://download.virtualbox.org/virtualbox/5.0.10/Oracle_VM_VirtualBox_Extension_Pack-5.0.10-104061.vbox-extpack
Then, Install Extension pack as shown below.
sudo VBoxManage extpack install Oracle_VM_VirtualBox_Extension_Pack-5.0.10-104061.vbox-extpack
Sample output:
0%...10%...20%...30%...40%...50%...60%...70%...80%...90%...100%
Successfully installed "Oracle VM VirtualBox Extension Pack".
That’s it. Oracle VirtualBox and Extension pack have been installed successfully on our Ubuntu 15.04 server. Start using Oracle VirtualBox!
Create and manage VMs from command line
First, let us create a Ubuntu 14.04 server VM with 512MB RAM and 8GB virtual hdd.
To do that, run:
VBoxManage createvm --name "Ubuntu 14.04" --register
Sample output:
Virtual machine 'Ubuntu 14.04' is created and registered.
UUID: c5f89cfd-b0ee-40da-93b8-d4d3a5324bea
Settings file: '/home/sk/VirtualBox VMs/Ubuntu 14.04/Ubuntu 14.04.vbox'
Next, assign the RAM size and network card mode(Bridge or NAT).
VBoxManage modifyvm "Ubuntu 14.04" --memory 512 --acpi on --boot1 dvd --nic1 bridged --bridgeadapter1 eth0
Assign virtual hard drive size.
VBoxManage createhd --filename Ubuntu_14_04.vdi --size 8000
Sample Output:
0%...10%...20%...30%...40%...50%...60%...70%...80%...90%...100%
Disk image created. UUID: 8d48aef4-eb92-4181-aed1-63ccbae0f2b1
Add Storage controller:
VBoxManage storagectl "Ubuntu 14.04" --name "IDE Controller" --add ide
Attach the Virtual hard drive file(vdi) to the storage controller using command:
VBoxManage storageattach "Ubuntu 14.04" --storagectl "IDE Controller" --port 0 --device 0 --type hdd --medium /home/sk/Ubuntu_14_04.vdi
Now, Assign the Ubuntu ISO media using command:
VBoxManage storageattach "Ubuntu 14.04 Server" --storagectl "IDE Controller" --port 1 --device 0 --type dvddrive --medium /home/sk/ubuntu-14.04-server-i386.iso
That’s it. The new VM has been created.
To know about VBoxManage command, run:
VBoxManage --help
Or, refer the Official guide.
Now, start the VM using command:
VBoxHeadless --startvm "Ubuntu 14.04"
To stop a running VM, enter the following command:
VBoxManage controlvm "Ubuntu 14.04" poweroff
Similarly we can pause a VM, using command:
VBoxManage controlvm "Ubuntu 14.04" pause
To reset a VM, enter:
VBoxManage controlvm "Ubuntu 14.04" reset
To learn more about VBoxHeadless options, run:
VBoxHeadless --help
Sample output:
Oracle VM VirtualBox Headless Interface 4.3.28
(C) 2008-2015 Oracle Corporation
All rights reserved.

Usage:
   -s, -startvm, --startvm <name|uuid>   Start given VM (required argument)
   -v, -vrde, --vrde on|off|config       Enable (default) or disable the VRDE
                                         server or don't change the setting
   -e, -vrdeproperty, --vrdeproperty <name=[value]> Set a VRDE property:
                                         "TCP/Ports" - comma-separated list of ports
                                         the VRDE server can bind to. Use a dash between
                                         two port numbers to specify a range
                                         "TCP/Address" - interface IP the VRDE server
                                         will bind to
   --settingspw <pw>                     Specify the settings password
   --settingspwfile <file>               Specify a file containing the settings password
   -c, -capture, --capture               Record the VM screen output to a file
   -w, --width                           Frame width when recording
   -h, --height                          Frame height when recording
   -r, --bitrate                         Recording bit rate when recording
   -f, --filename                        File name when recording. The codec used
                                         will be chosen based on the file extension
For more details, refer the official manual.
Creating and managing VMs from the command line mode might be bit difficult and time consuming method for some lazy administrators. If you are one of them, there is another way to create and manage VMs in the headless from a Remote system web browser using a tool called “phpvirtualbox”.
What is phpVirtualBox?
phpVirtualBox is an open source, web-based client written using PHP. It can be used to manage and administer Oracle VirtualBox headless instances.
Install phpVirtualBox
Before installing phpVirtualBox, we have to install Apache web server and PHP.
sudo apt-get install apache2 php5 php5-mysql libapache2-mod-php5 php-soap
Restart the web server to take effect the changes.
sudo systemctl restart apache2
Or
sudo /etc/init.d/apache2 restart
Now, Download the latest version from the phpVirtualBox official site.
wget http://sourceforge.net/projects/phpvirtualbox/files/phpvirtualbox-5.0-3.zip
Extract the zip file using the following command:
unzip phpvirtualbox-5.0-3.zip
Move the extracted folder to your apache root folder.
sudo mv phpvirtualbox-5.0-3 /var/www/html/phpvirtualbox
Give full rights to the phpvirtualbox folder.
sudo chmod 777 /var/www/html/phpvirtualbox
Restart all services to take effect the changes.
sudo systemctl restart vboxweb-service
sudo systemctl restart vboxdrv
sudo systemctl restart apache2
Configure phpVirtualBox
Edit phpVirtualBox config.php file:
sudo cp /var/www/html/phpvirtualbox/config.php-example /var/www/html/phpvirtualbox/config.php
sudo nano /var/www/html/phpvirtualbox/config.php
Change the username/password for system user that runs VirtualBox. In our case, the username/password is sk/ubuntu.
[...]
var $username = 'sk';
var $password = 'ubuntu';
[...]
Save and close the file.
Create a file called /etc/default/virtualbox:
sudo nano /etc/default/virtualbox
Append the following line:
VBOXWEB_USER=sk
Now, start vboxweb-service, and make it to start automatically on every reboot.
sudo systemctl status vboxweb-service
Or
sudo /etc/init.d/vboxweb-service start
Sample output:
Starting VirtualBox web service ...done.
Access phpVirtualBox Web console
Now, go to any client systems that has installed with GUI desktop environements, and try to access the URL http://ip-address-of-virtualbox-headless-server/phpvirtualbox from the web browser.
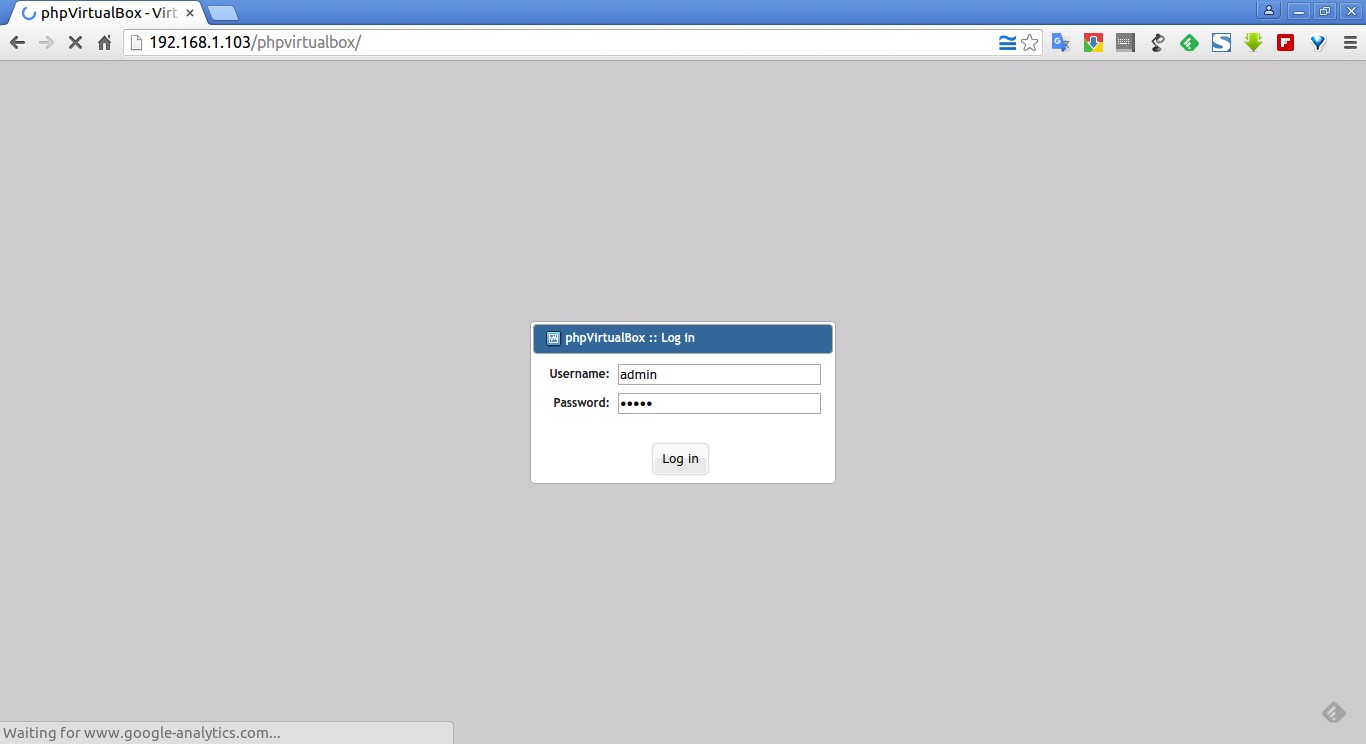
Now, try again the same URL mentioned above. The following screen should appear. Enter the username/password.
The default username/password is admin/admin.
Here it is how my phpVirtualBox dashboard looks like.
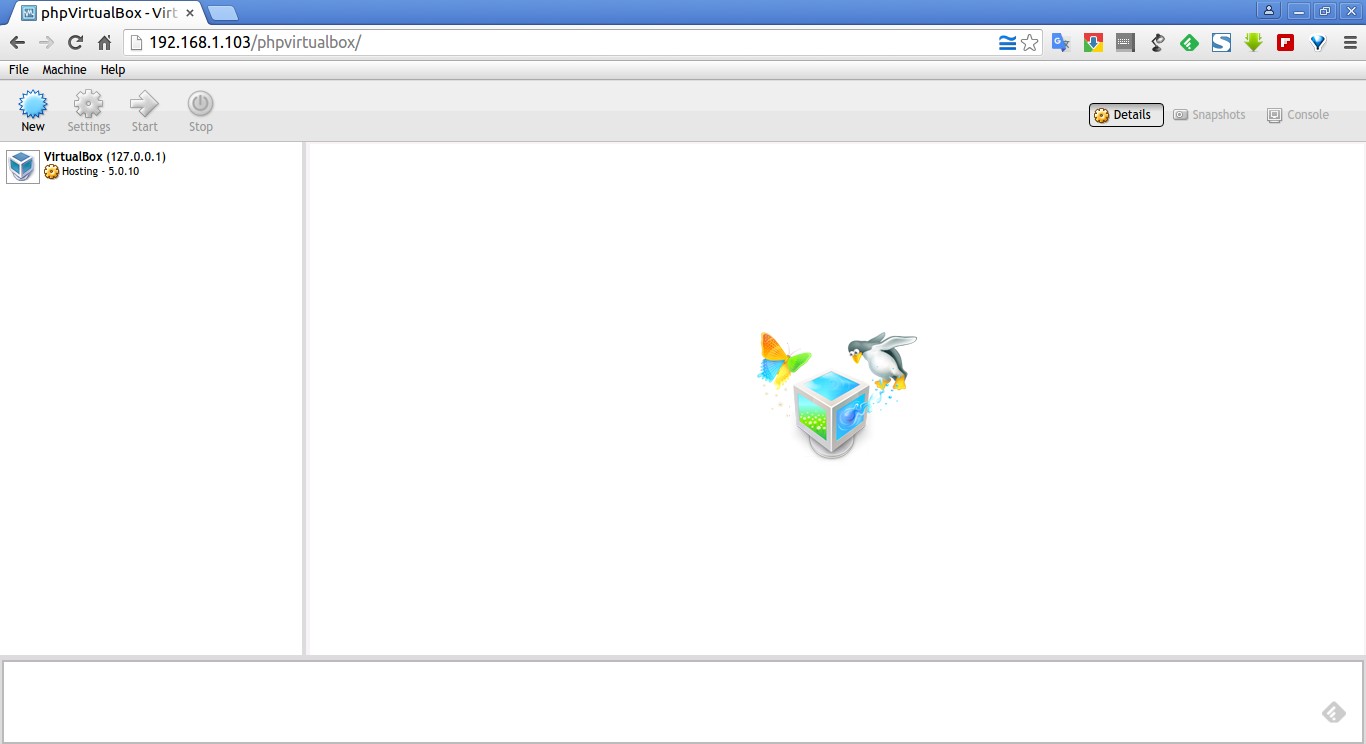
From here, you can create, modify, delete, and manage virtual machines as the way you do in the normal VirtualBox GUI application.
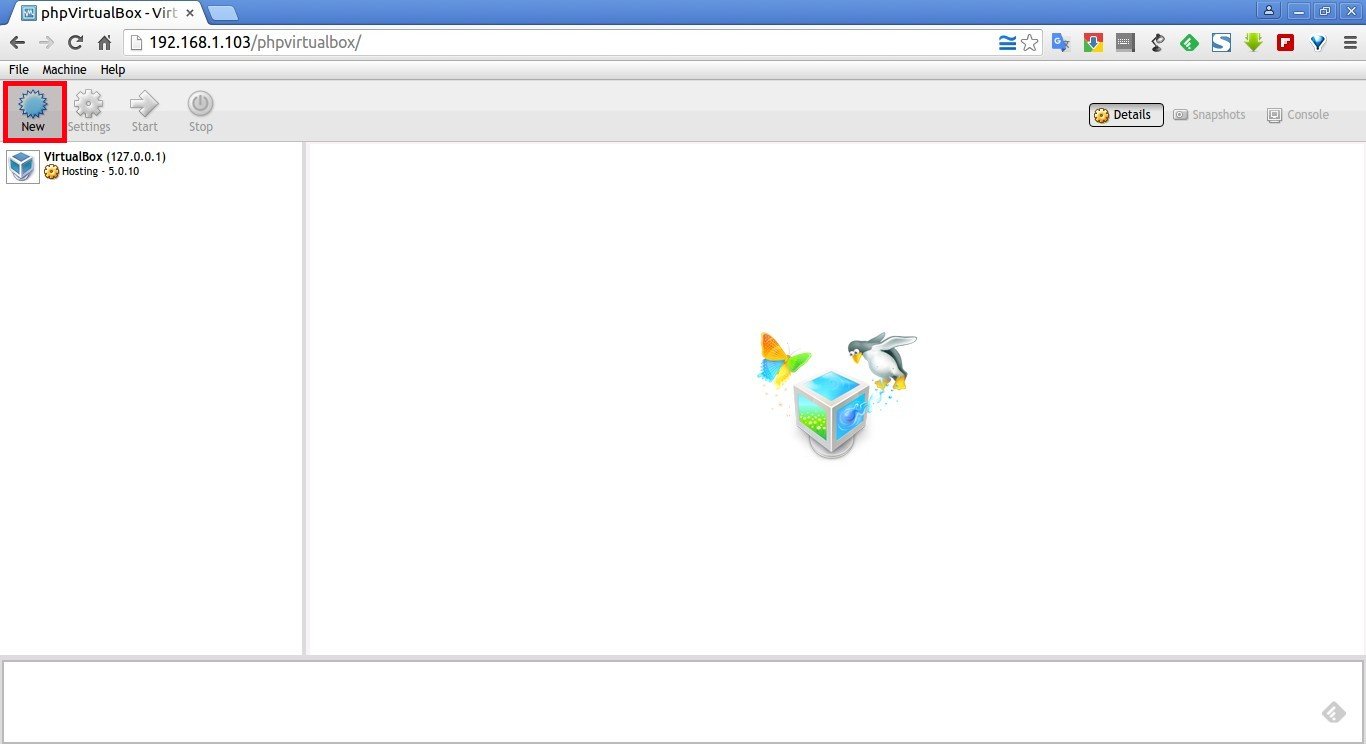
Creating sample Virtual Machine
Let us create a sample virtual machine to install Ubuntu 14.04 Server.
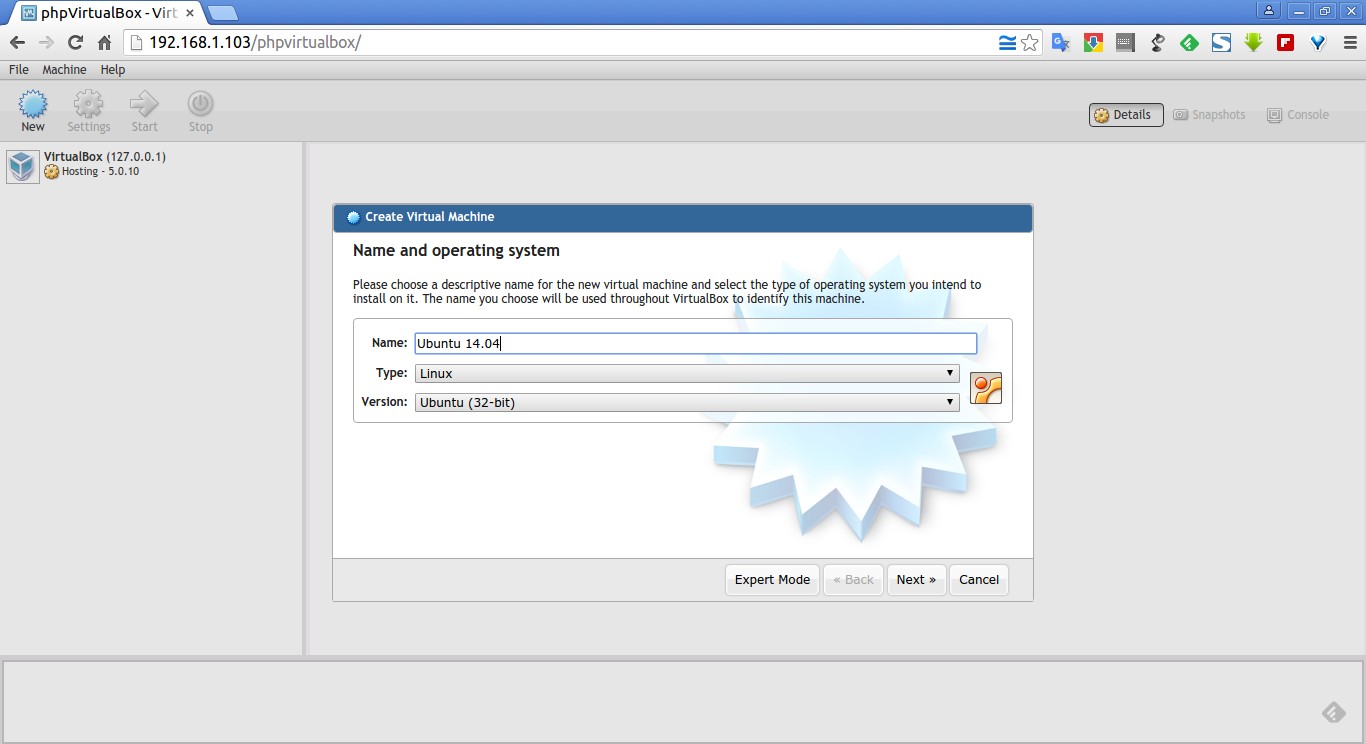
Click on the New button on the top left corner and enter the Virtual machine name.
Enter the VM name and select version etc.
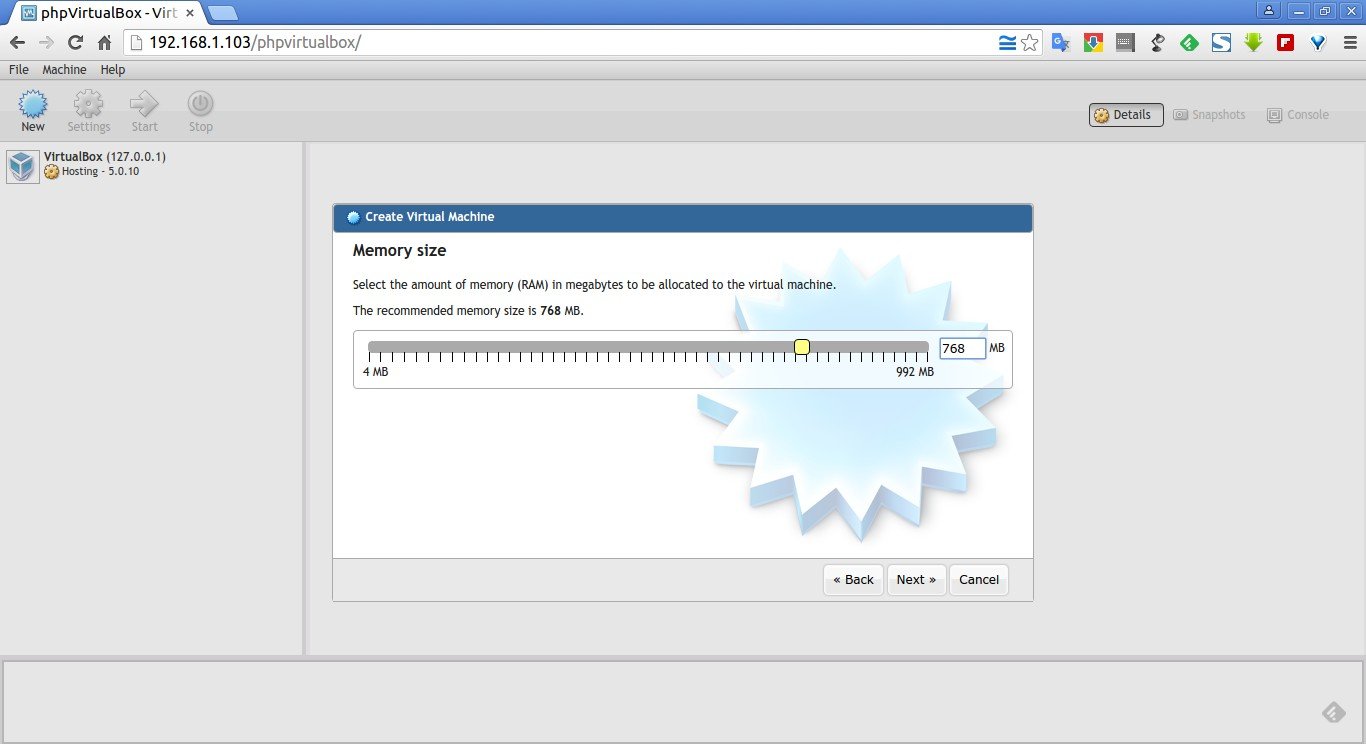
Set the Memory size for the virtual machine.
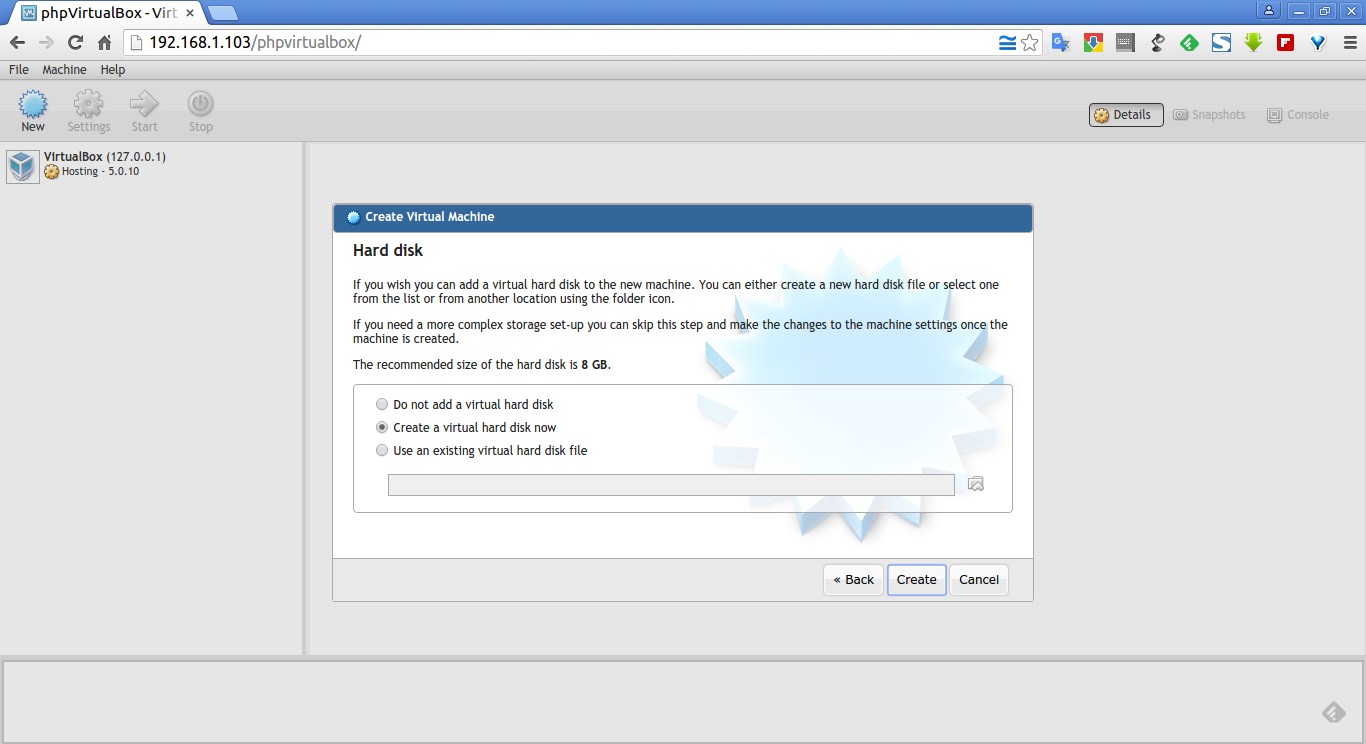
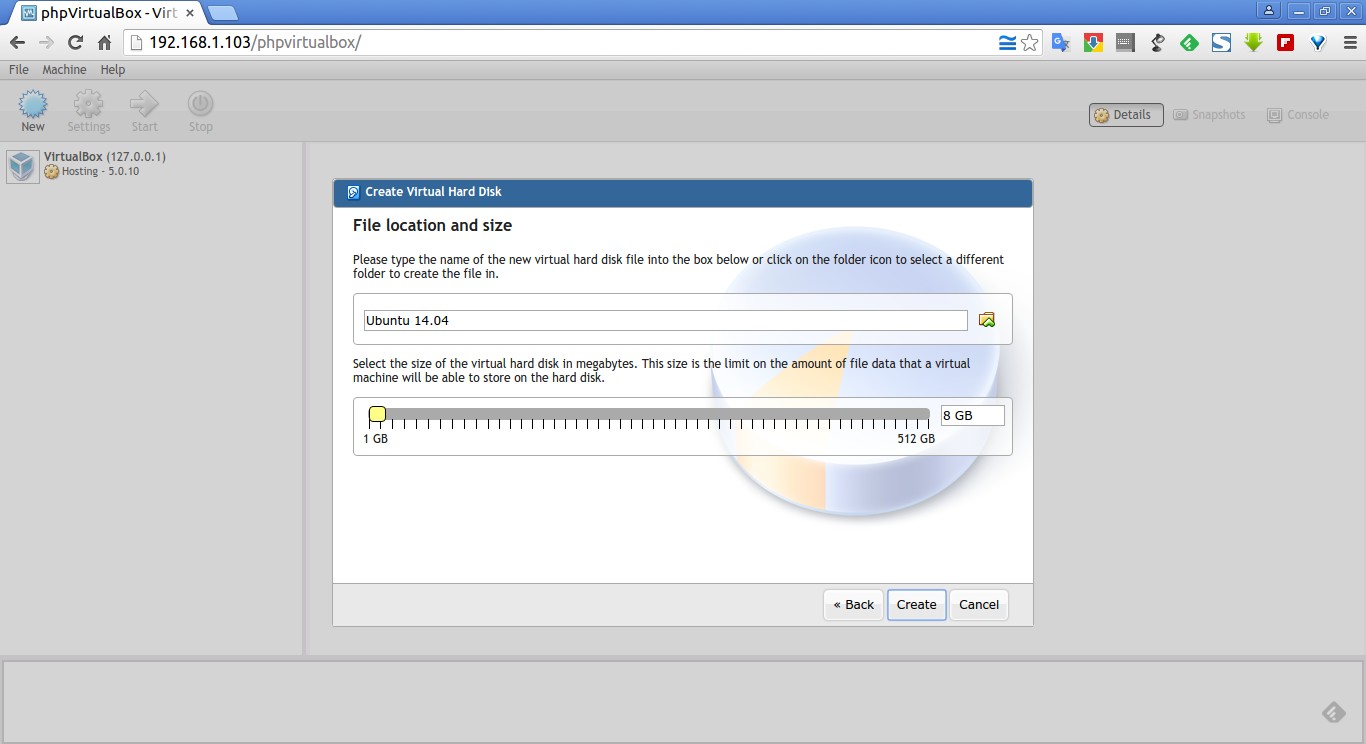
You can either create a new hard drive file or select one from the list or from another location using the folder icon. The recommended size of the hard drive is 8 GB.
Here, I am going to create a new hard drive. So, Select “Create a virtual hard drive now” option.
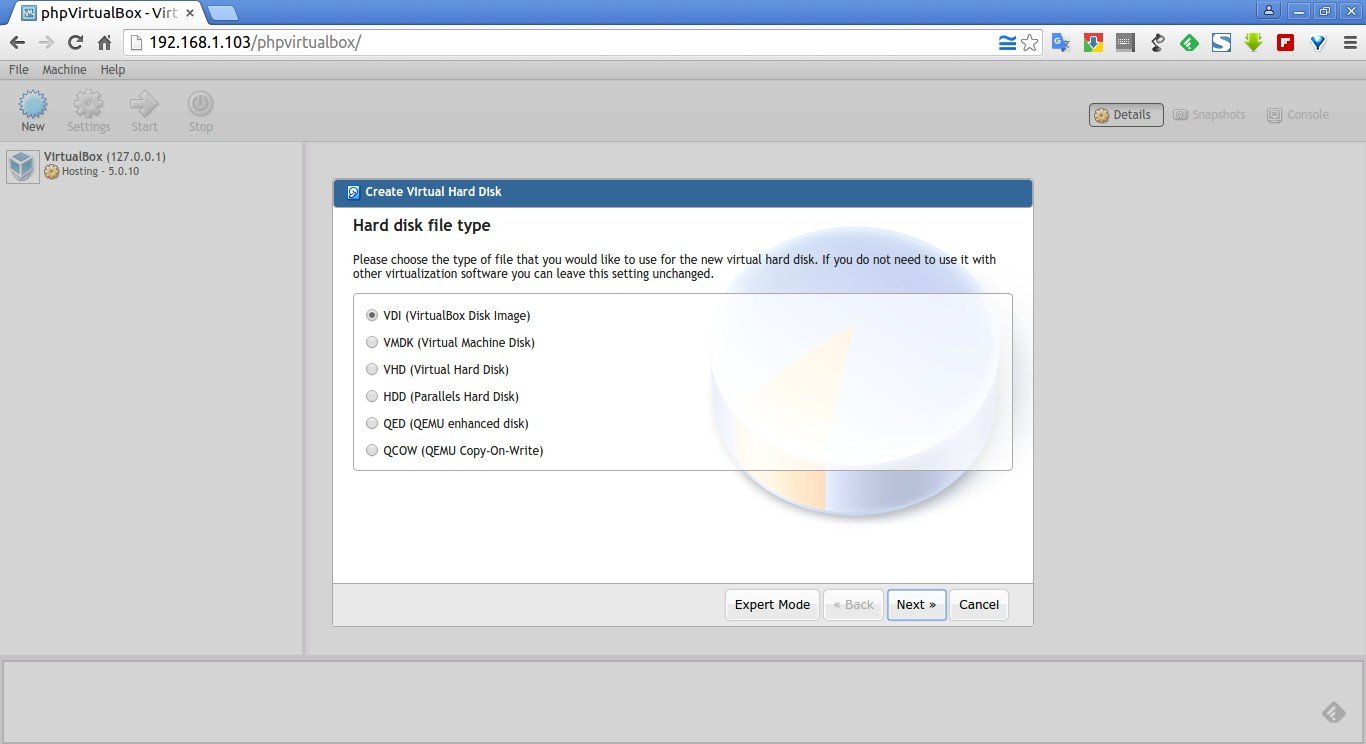
Please choose the type of file that you would like to use for the new virtual hard drive. If you do not need to use it with other virtualization software you can leave this setting unchanged.
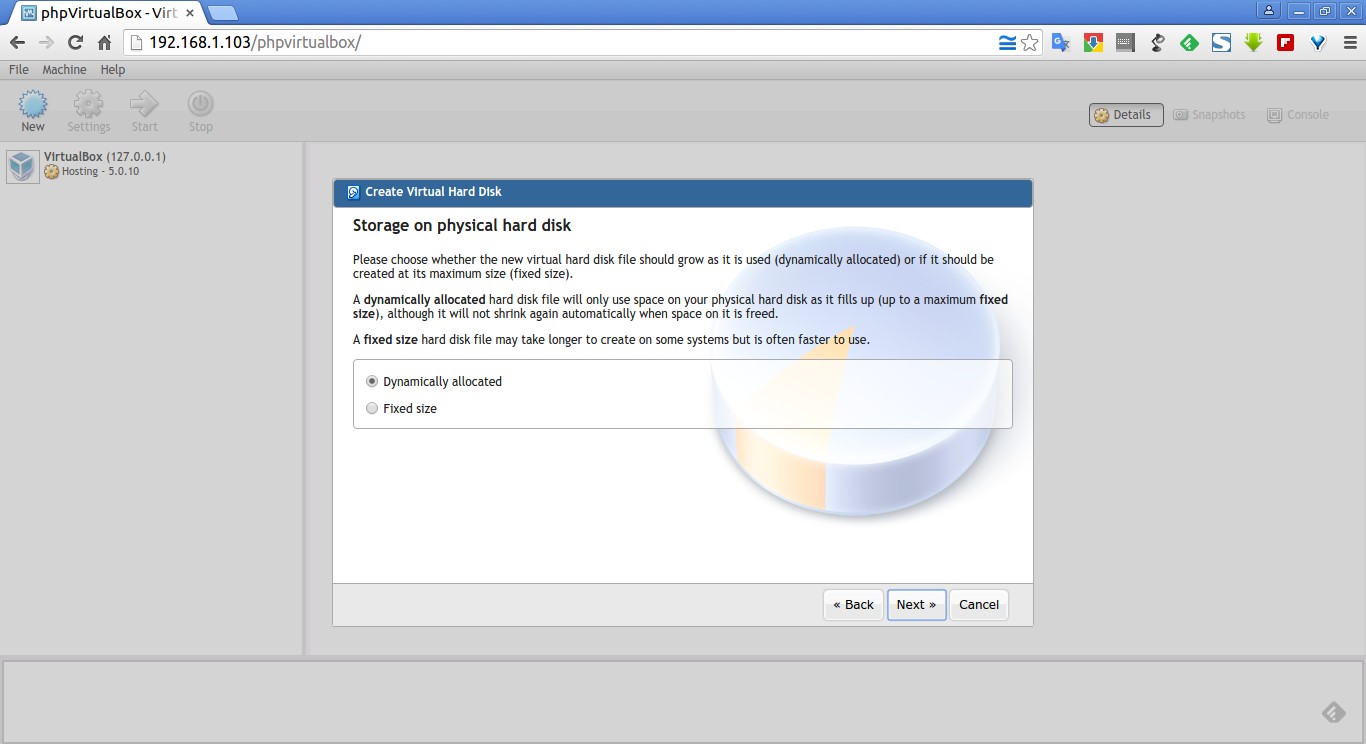
Choose whether the new virtual hard drive file should grow as it is used (dynamically allocated) or it should be created at its maximum size (fixed size).
Enter the size of the virtual hdd.
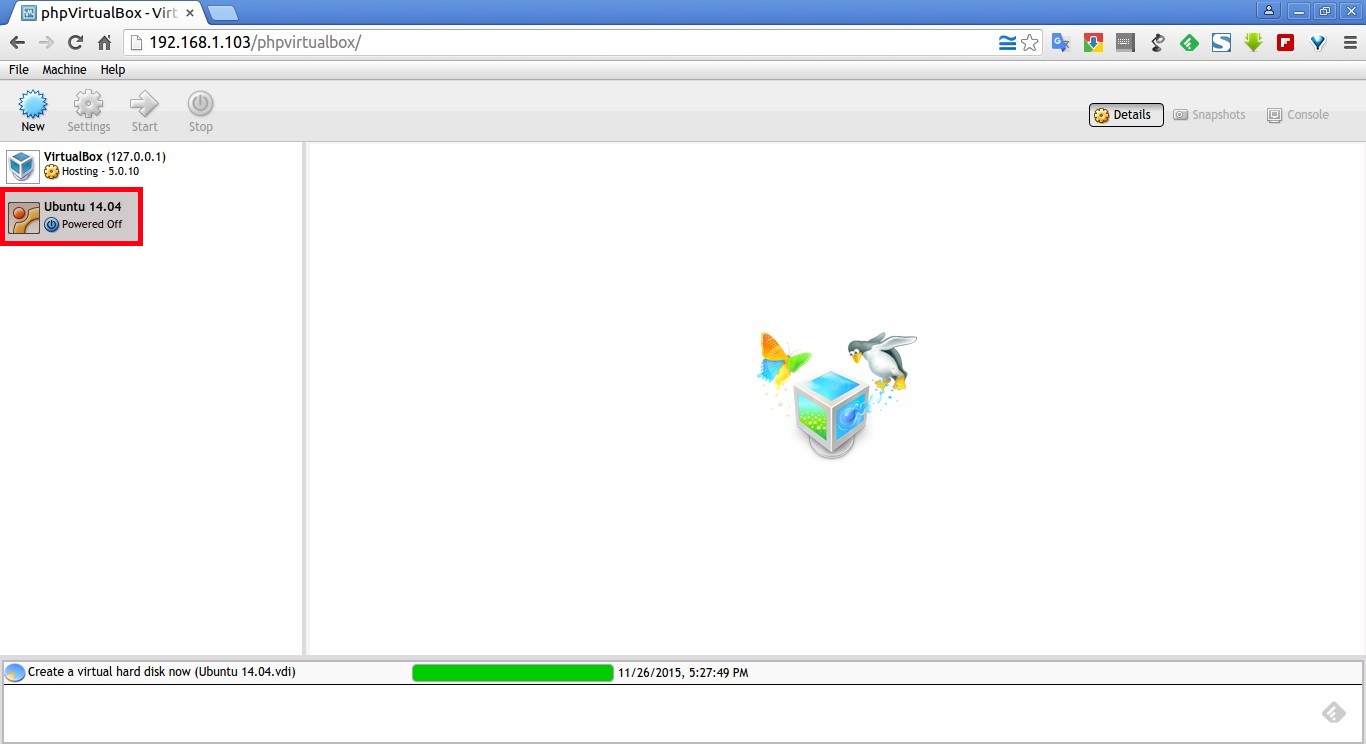
That’s it. The virtual machine has been created. Start installing the OS, and use the virtual machine.
phpVirtualBox tool will definitely help the system administrators who are working on headless remote Ubuntu server. Using phpVirtualBox, you can easily run virtual machines as many as your hardware supports from your headless Ubuntu server. Unfortunately, phpVirtualBox only allows you to create 32bit guests at present. if you want to deploy, 64bit guests, follow the command line way. It was not difficult either.
Reference Links:


