Introduction
From Wikipedia:
OpenMRS , Stands for Open Medical Record System, is a collaborative open source project to develop software to support the delivery of health care in developing countries. It grew out of the critical need to scale up the treatment of HIV in Africa but from the start was conceived as a general purpose electronic medical record system that could support the full range of medical treatments.
For more details, refer the OpenMRS website.
Prerequisites
In this tutorial, let us see how to install OpenMRS enterprise edition on CentOS 6.5 server. You should install Java 1.6, MySQL server, and Apache Tomcat 6 on your server before installing OpenMRS. Be mindful that OpenMRS doesn’t support Java 1.7 and Tomcat 7 or later versions, so don’t install them.
To install Java on CentOS 6.5, do the following:
From the Terminal, first search for the already installed java versions.:
rpm -qa | grep -E '^open[jre|jdk]|j[re|dk]'
Sample output:
java-1.6.0-openjdk-1.6.0.0-1.66.1.13.0.el6.i686
eject-2.1.5-17.el6.i686
perl-Object-Accessor-0.34-136.el6.i686
java-1.7.0-openjdk-1.7.0.45-2.4.3.4.el6_5.i686
openjpeg-libs-1.3-10.el6_5.i686
As you see above, openjdk 1.6 and 1.7 have been already installed. So let us remove the 1.7 version.
yum remove java-1.7.0-openjdk
Now, check again the Java version.
java -version
Sample output:
java version "1.6.0_28"
 OpenJDK Runtime Environment (IcedTea6 1.13.0pre) (rhel-1.66.1.13.0.el6-i386)
 OpenJDK Client VM (build 23.25-b01, mixed mode)
If you haven’t installed Java 1.6, install it as shown below:
yum install java-1.6.0-openjdk
Now, we’ve got the JDK 6 version installed on our system. Then, install MySQL server and Tomcat as follows.
To install, MySQL on CentOS 6.5, fire up the Terminal and run the following command:
yum install mysql mysql-server
Start mysql service as follows:
service mysqld start
chkconfig mysqld on
By default, mysql root password is empty. Leaving mysql administrative user password as empty is not advisable. So, let us setup mysql root user password using the following command:
mysql_secure_installation
Enter your root password twice, and continue with the default values by simply pressing “y”, and you’re done.
Now, let us install Tomcat as follows.
yum install tomcat6 tomcat6-webapps tomcat6-admin-webapps
Start the Tomcat service:
service tomcat6 start
chkconfig tomcat6 on
Edit iptables, and allow the Tomcat default port 8080.
vi /etc/sysconfig/iptables
Add the following rule:
[...]
-A INPUT -m state --state NEW -m tcp -p tcp --dport 8080 -j ACCEPT
[...]
Restart the iptables service to take effect the saved changes.
service iptables restart
Now, you can access the Apache Tomcat homepage using the URL: http://ip-address:8080
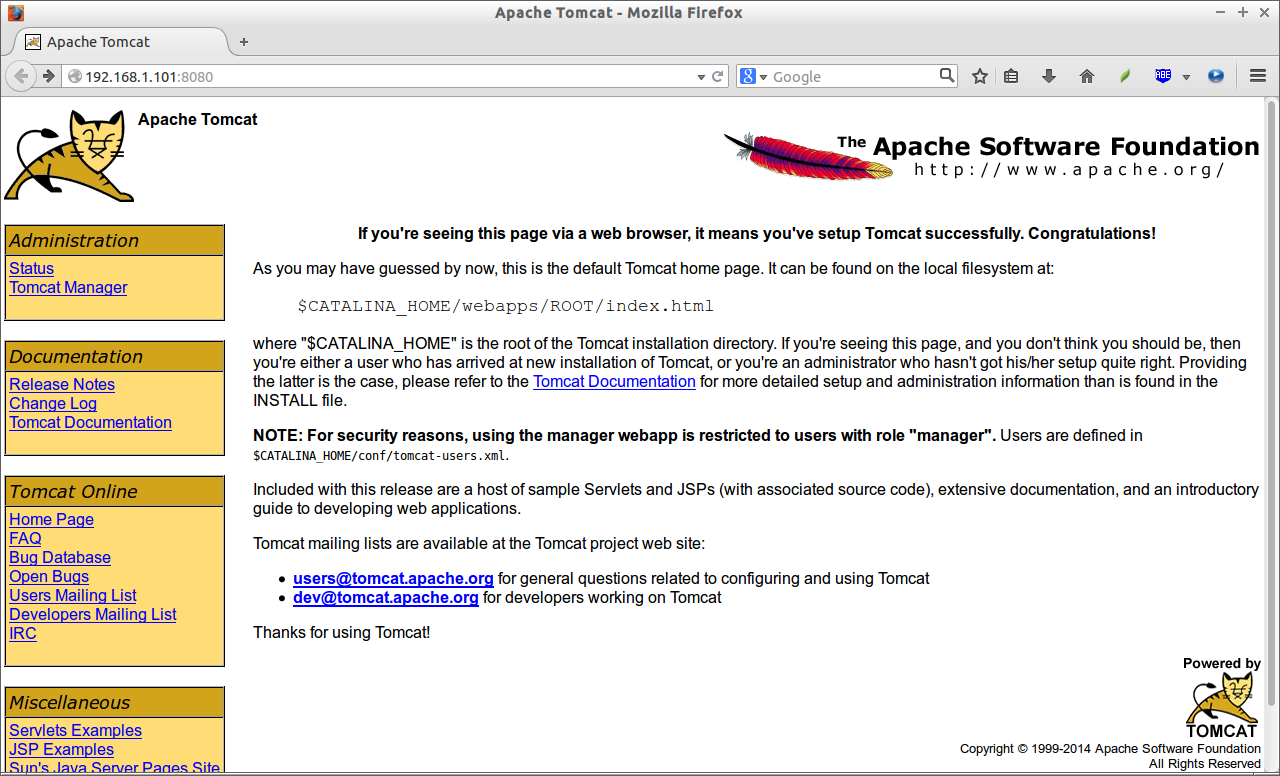
For security reasons, using the manager webapp is restricted to users with role “manager”. Let us enable a user to access the Tomcat manager webapp, so that we can deploy the OpenMRS through Tomcat. Users are defined in $CATALINA_HOME/conf/tomcat-users.xml.
To do this, edit file /usr/share/tomcat6/conf/tomcat-users.xml,
vi /usr/share/tomcat6/conf/tomcat-users.xml
Add the following directive. Replace the username and password with your own values.
[...]
<role rolename="manager"/>
<user name="admin" password="centos" roles="manager" />
[...]
Restart Tomcat service.
service tomcat6 restart
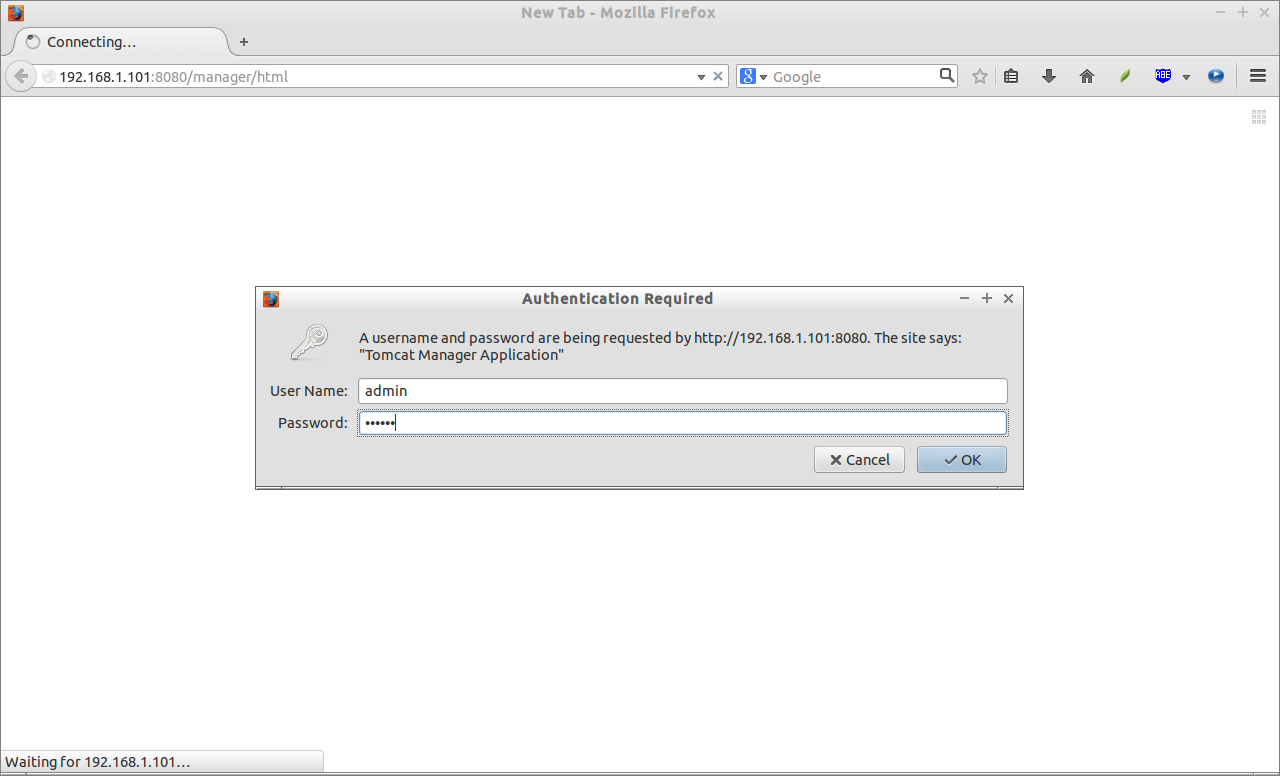
Now, you can access the Tomcat manager using URL: http://ip-address:/manager/html
Enter the username and password which we have defined in the tomcat-users.xml file.
This is how my Tomct Manager window looked. From here, we can deploy OpenMRS.
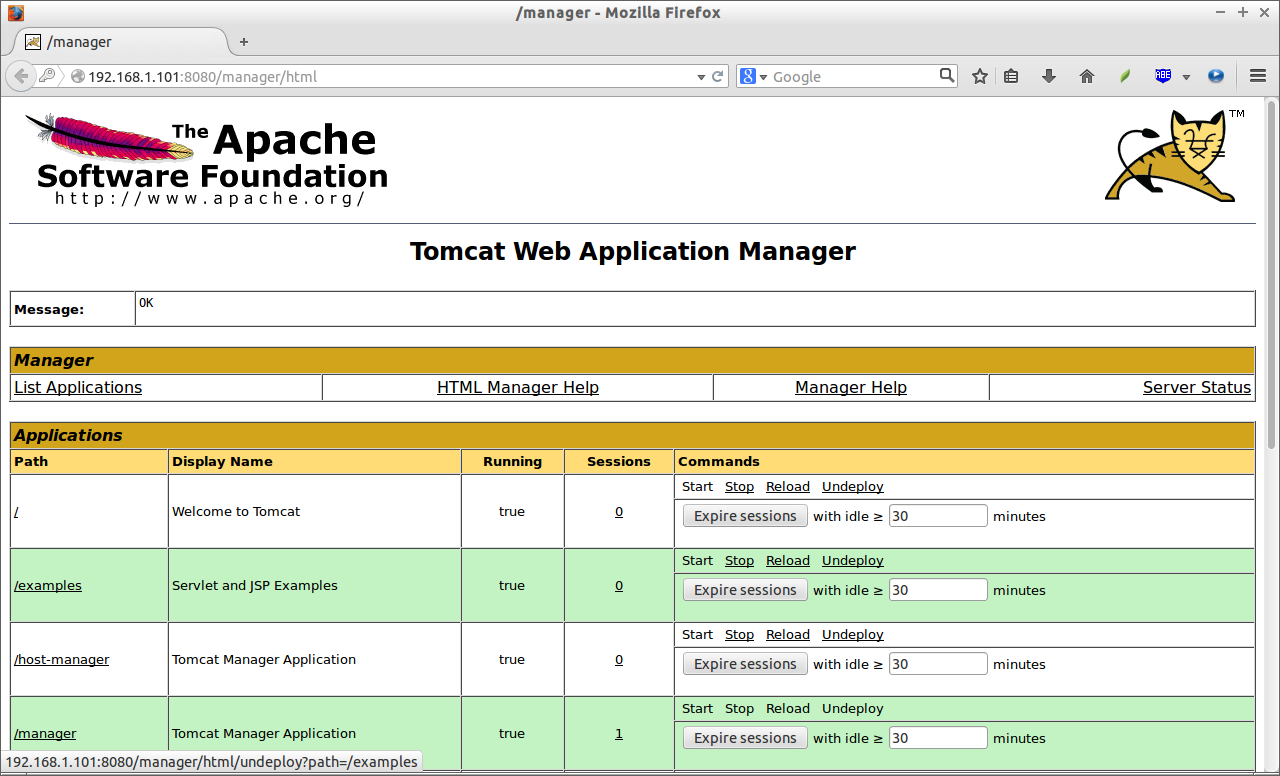
That’s it. We installed all the required prerequisites. It’s time to install OpenMRS.
Download And Install OpenMRS
Go to the OpenMRS download page and download the OpenMRS enterprise(openmrs.war file) latest version. At the time writing this document, the latest version is 1.9.7.
Create a directory for OpenMRS, and change the ownership of that directory to the tomcat user.
mkdir /usr/share/tomcat6/.OpenMRS/
chown -R tomcat:root /usr/share/tomcat6/.OpenMRS/
After downloading the openmrs.war file, open the Tomcat manager using the URL http://ip-address/manager/html. Scroll down to the Deploy section, and browse to the openmrs.war file. Click Deploy button to start deploying the OpenMRS.
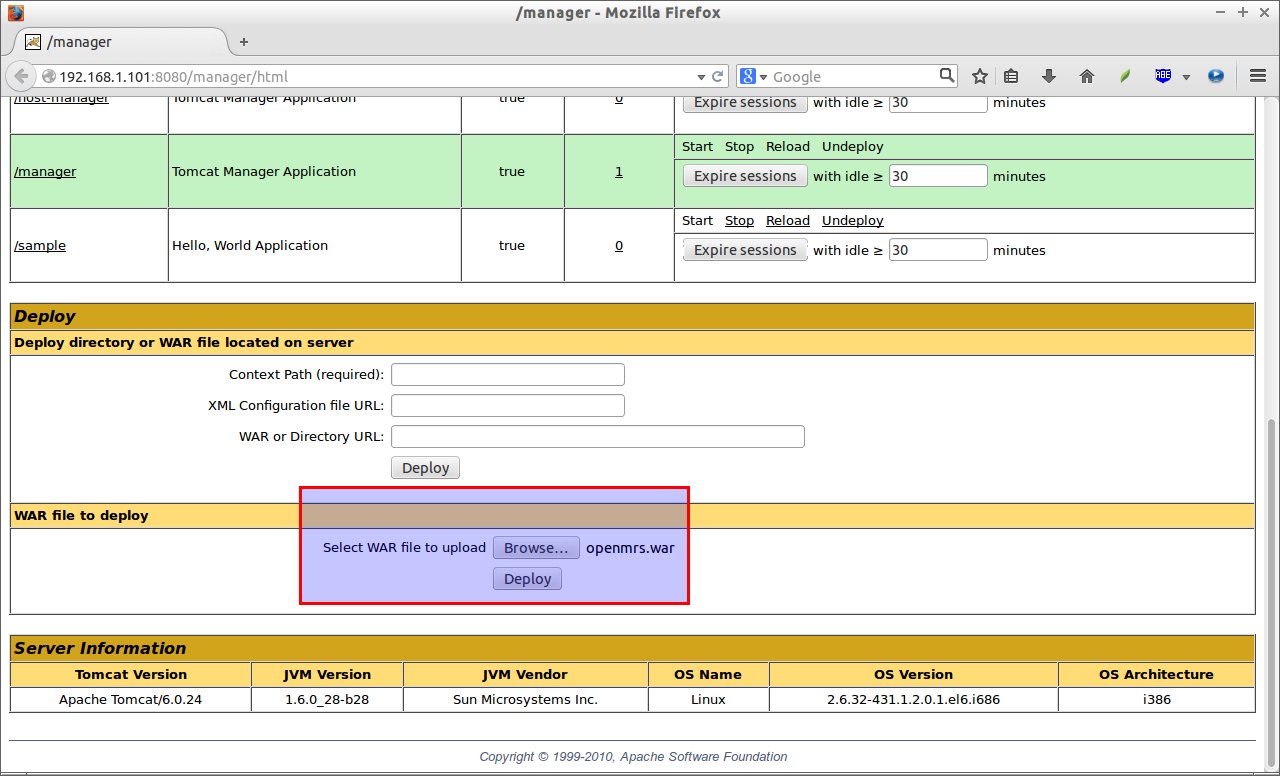
The deploying session will take a while depending upon the speed of your Internet connection. After deploying the OpenMRS application, the Tomcat manager page will be automatically refreshed, and the openmrs application will be showed up in list applications.

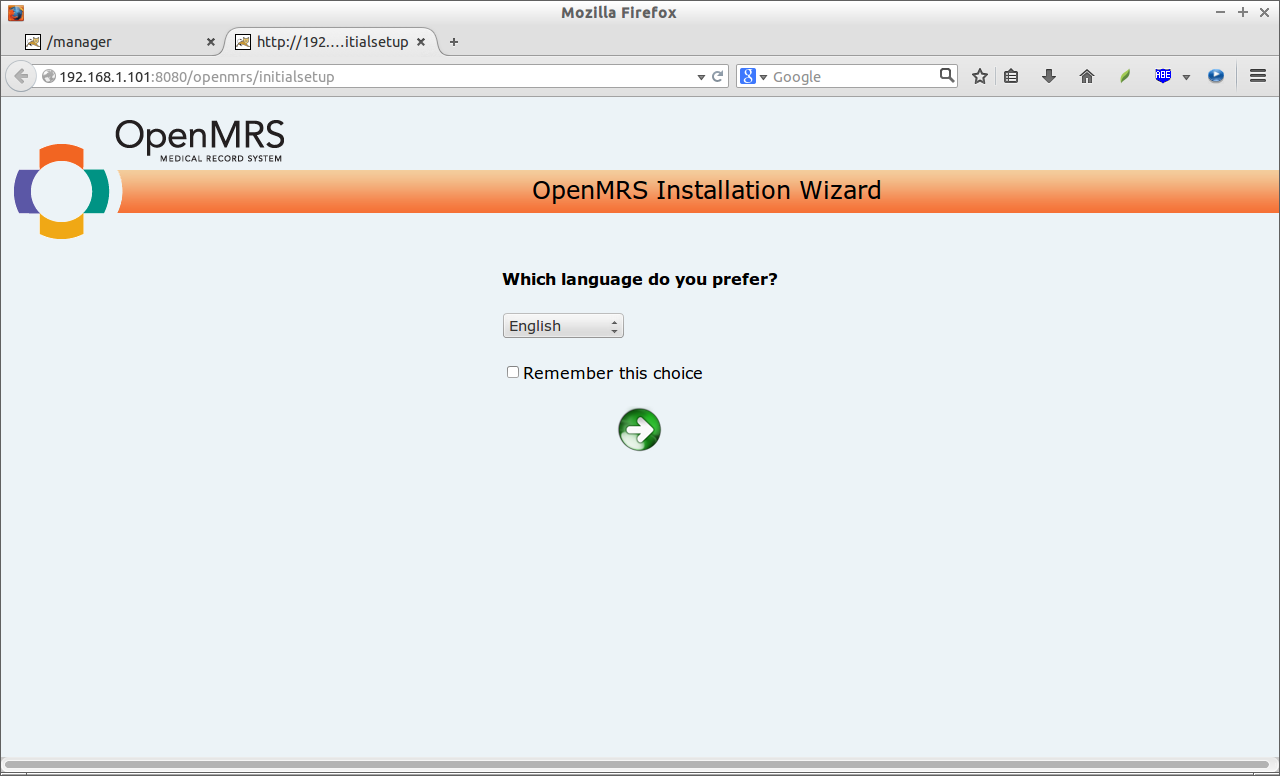
Click on the /openmrs link in the Application section or navigate to http://ip-address:8080/openmrs to install it.. The following screen should open. Select your preferred language and click on the forward arrow button.
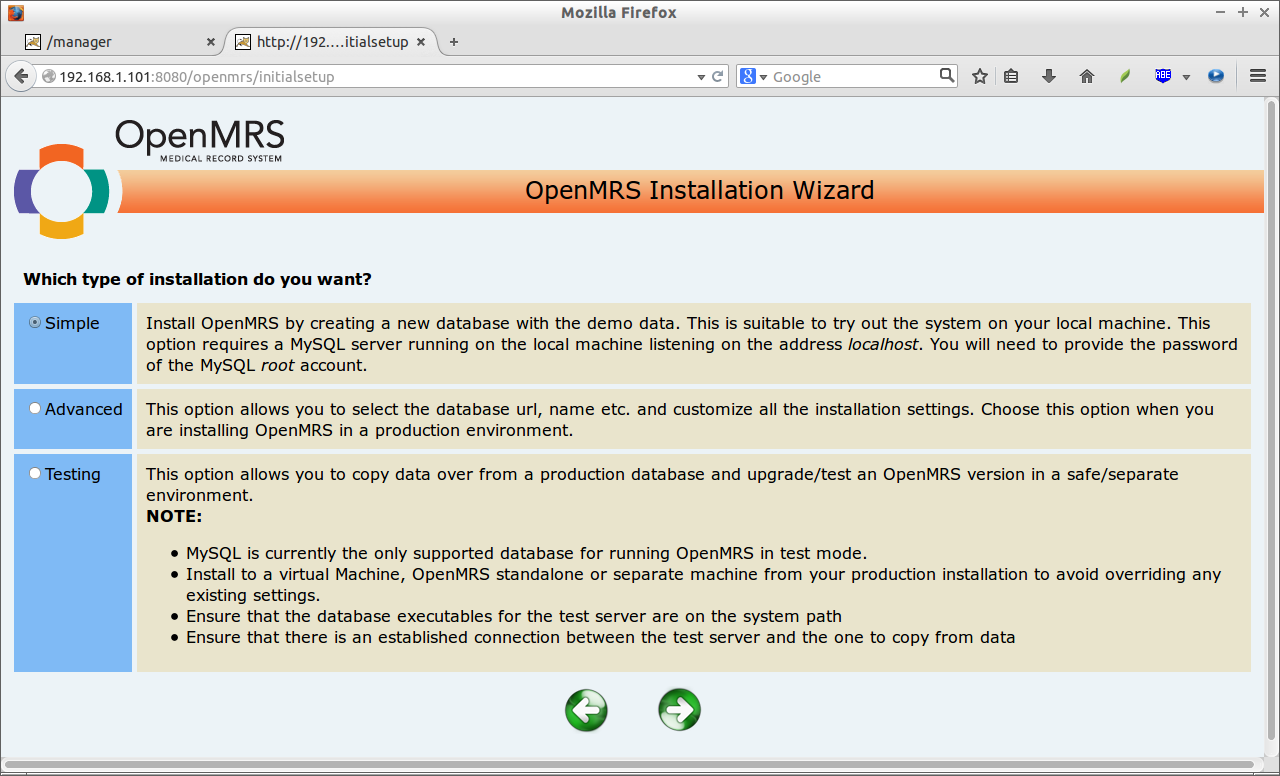
Select the type of your Installation and click the forward arrow button. OpenMRS has three installation types called Simple, Advanced and Testing respectively.
Simple Installation:
This option allows you to install OpenMRS by creating a new database with the demo data. This is suitable to try out the system on your local machine. This option requires a MySQL server running on the local machine listening on the address localhost. You will need to provide the password of the MySQL root account.
Advanced Installation:
This option allows you to select the database url, name etc. and customize all the installation settings. Choose this option when you are installing OpenMRS in a production environment.
Testing Installation:
This option allows you to copy data over from a production database and upgrade/test an OpenMRS version in a safe/separate environment.
As I wish to test it in my local machine, I selected the Simple installation type.
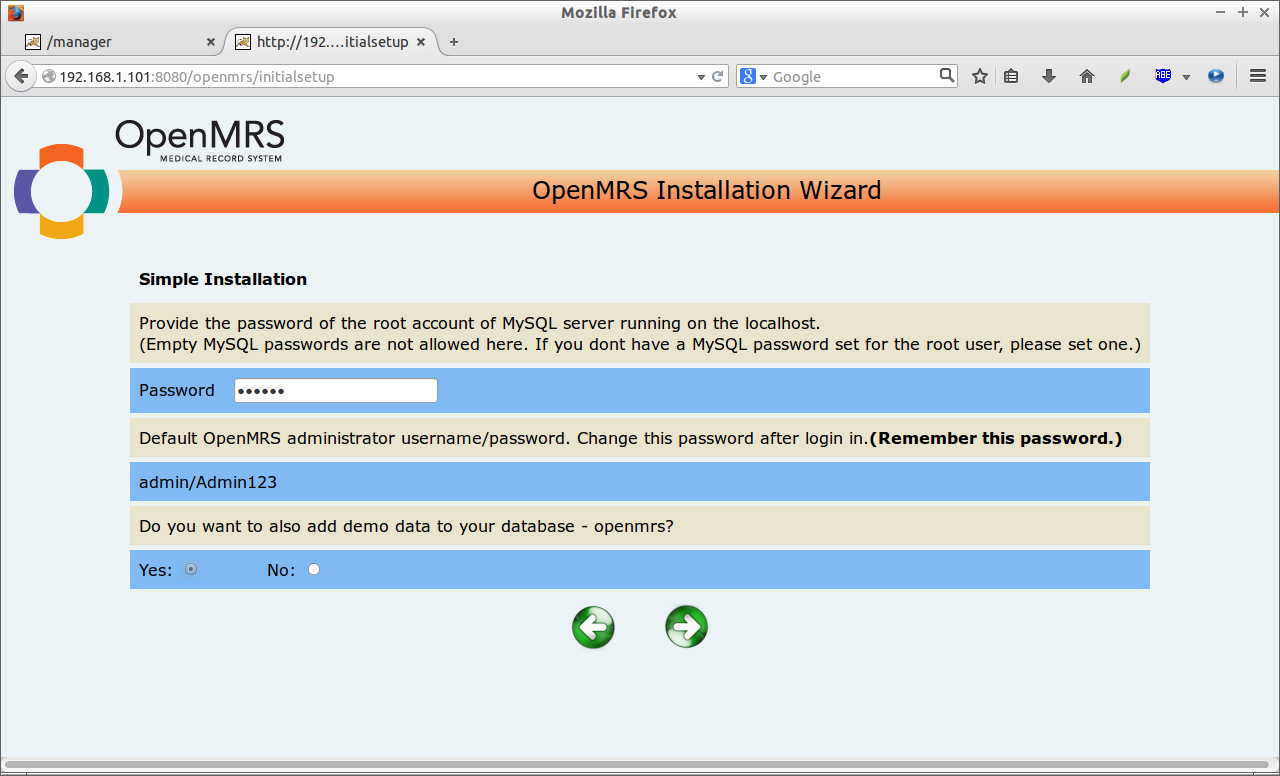
Enter the MySQl root user password. Note down the OpenMRS administrative default username/password. You should change default credentials immediately after log in. The default username is: admin, and the default password is: Admin123. If you want to add demo data to your database, select Yes and click on the forward arrow.
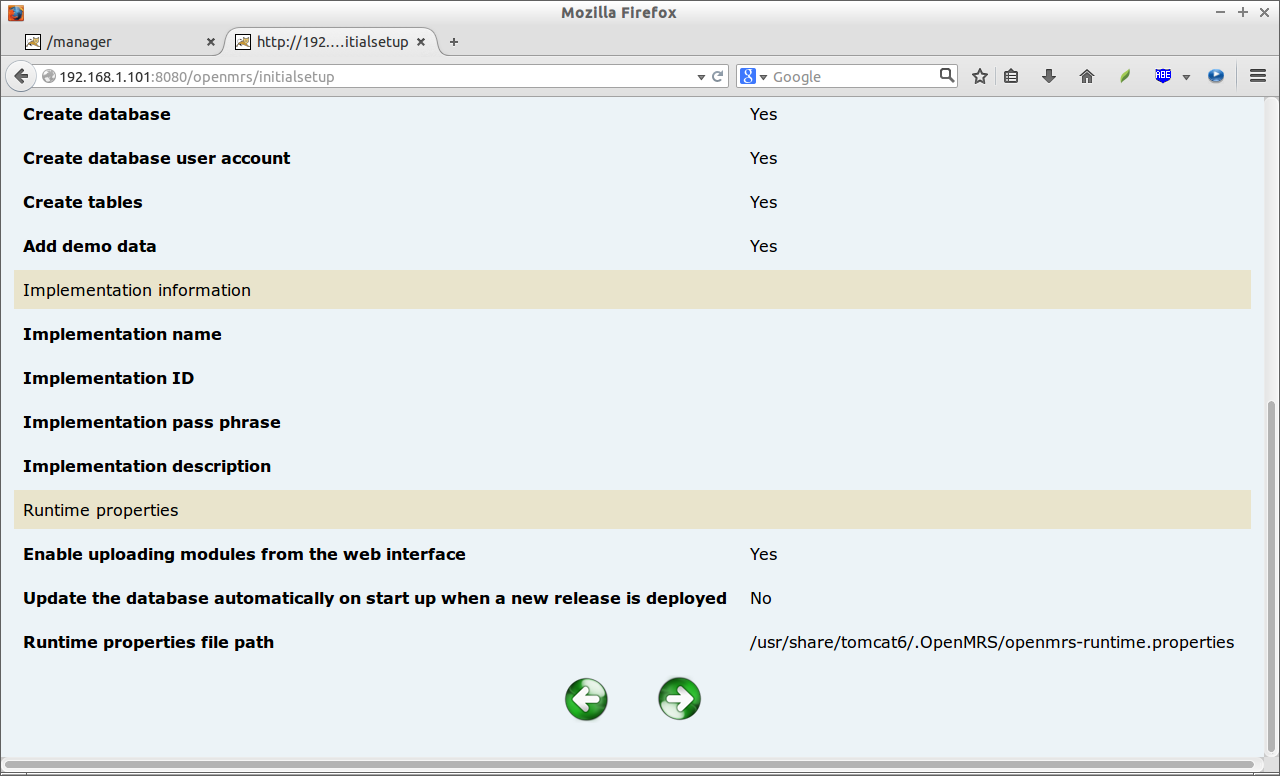
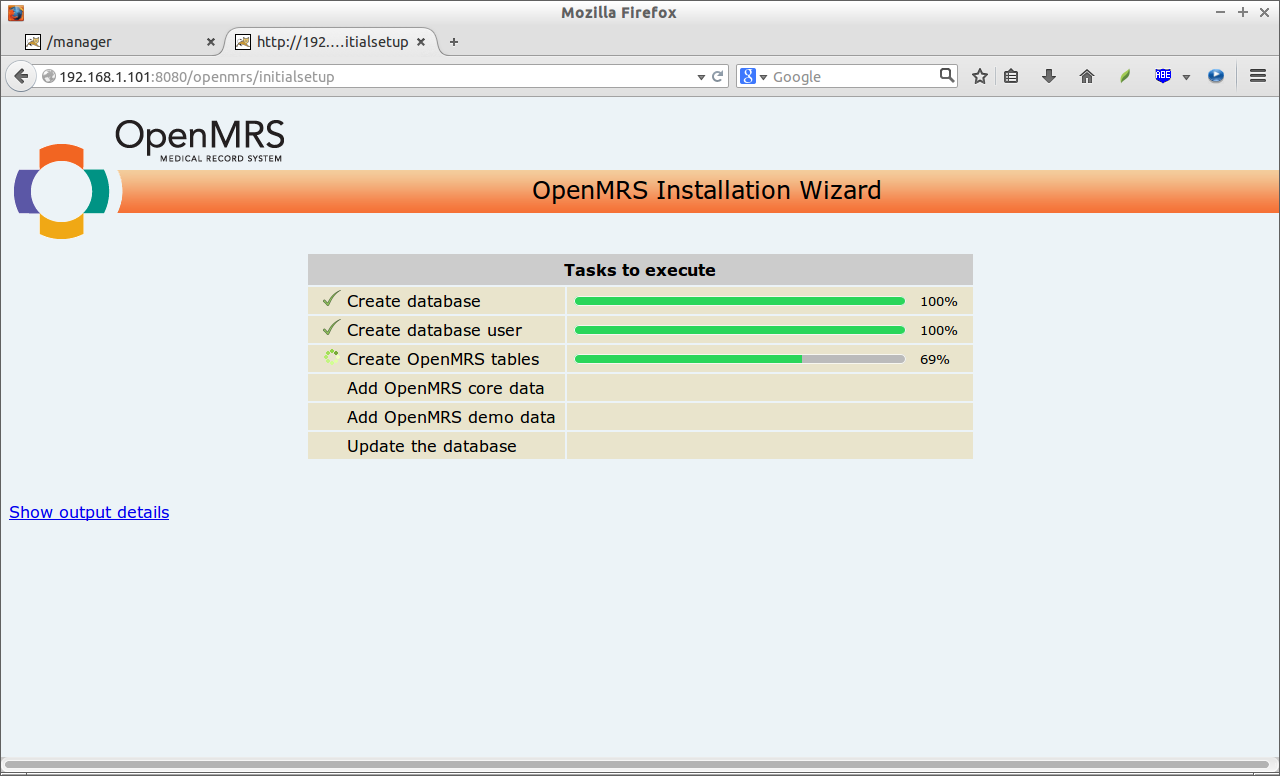
Now, all required input has been collected and is ready to be processed. Click the right arrow button to create tables, data, etc. This could take up to several minutes.
OpenMRS installation is in progress.
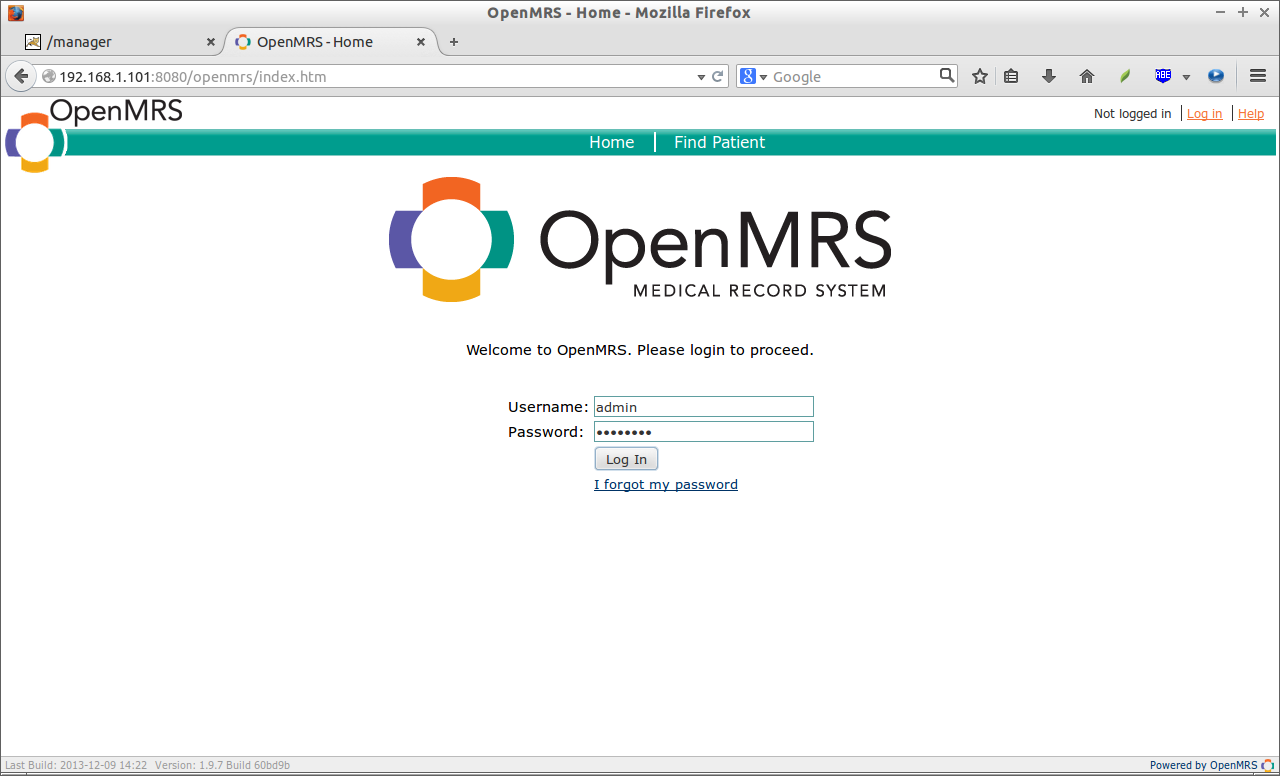
When complete, you will be taken to the OpenMRS main screen. Enter the administrative username and password. As I mentioned before, the default username/password is admin/Admin123.
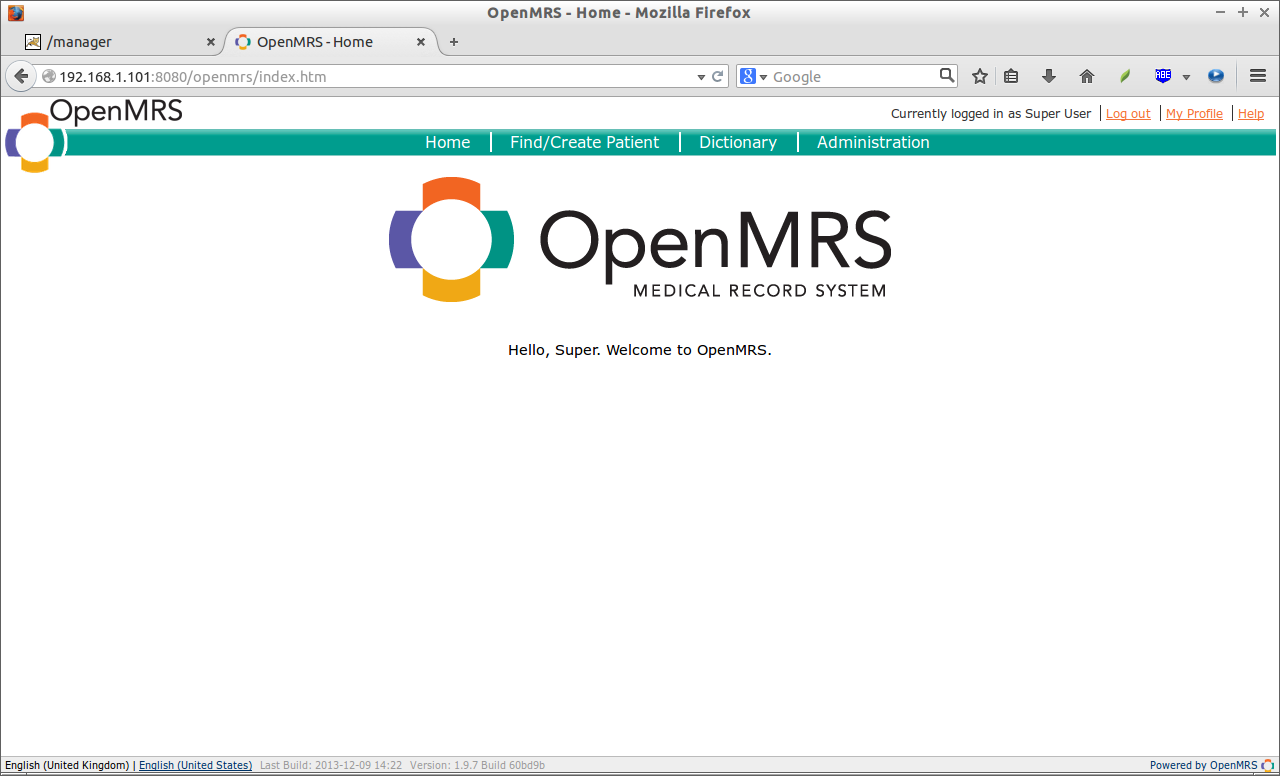
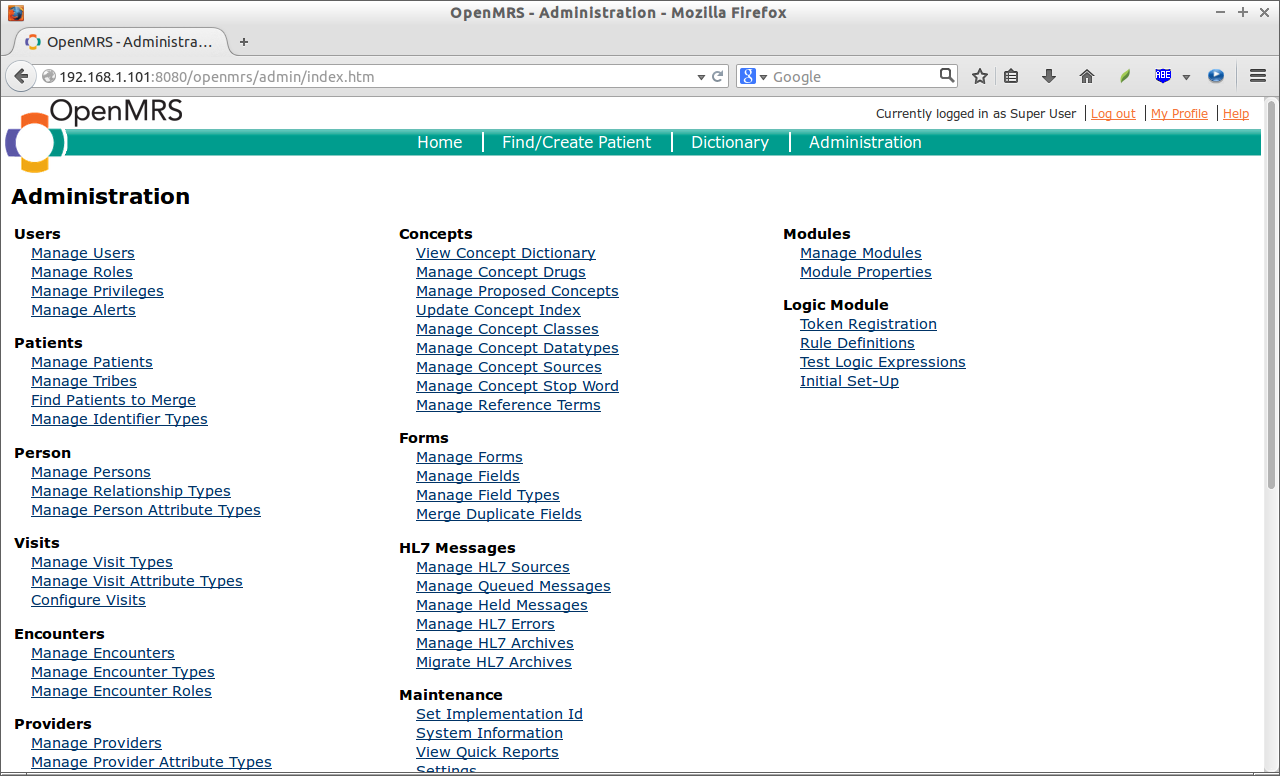
Great! Welcome to the OpenMRS Administrative dashboard!
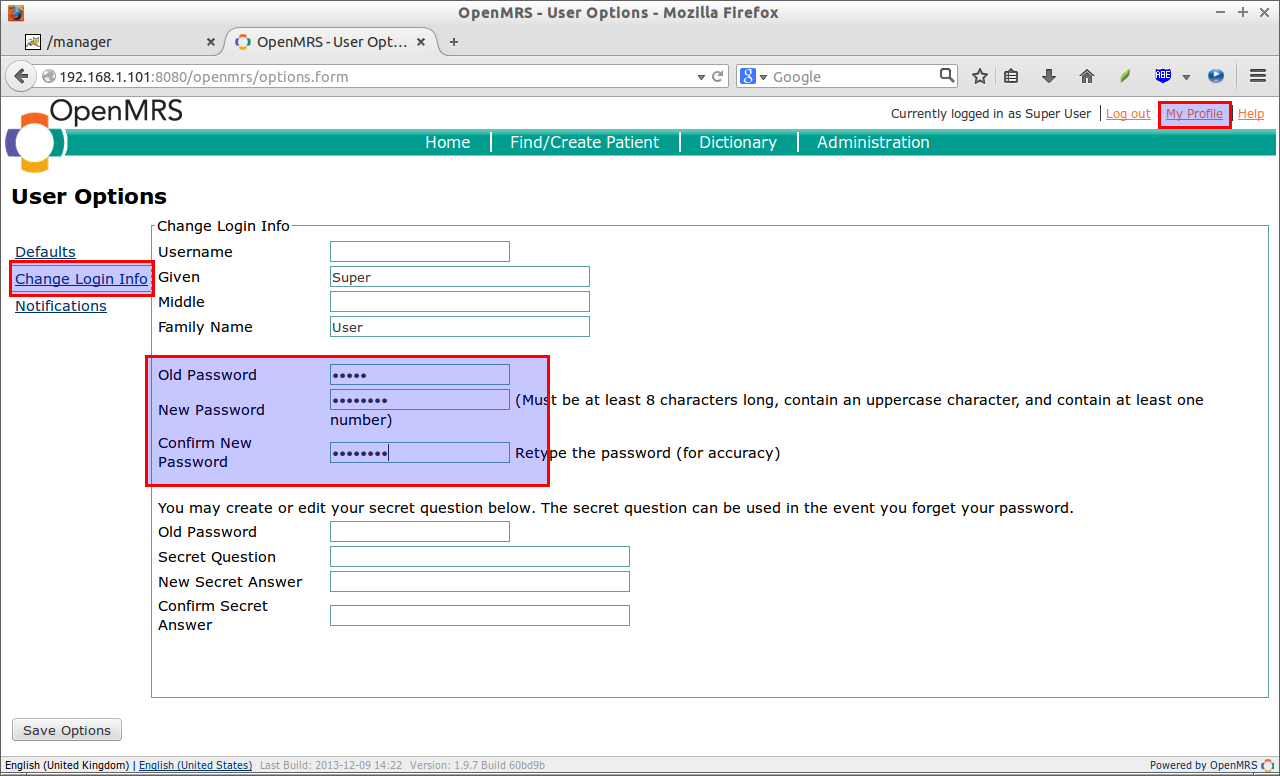
As a security precaution, we must change the default administrative user password. To do that, go to the My Profile section on the top right corner of the dashboard. Navigate to Change Login Info tab, and enter the old password and new password twice.
That’s it. Now log out and log in back to OpenMRS. Go to the Administration section. From here, you can create/manage users & patients, patient visits, orders, programs and all kind of administrative tasks related to the Hospital.
Installation task is over. It is time to learn how to use OpenMRS. Nothing is difficult, OpenMRS community offers both user guide and Administrator guide. Read them and start using OpenMRS!
Cheers!


