
Introduction
I believe that most of us are already familiar with Moodle Online e-learning platform, many articles has been published several times on uixmen, reference links are provided below
- http://unixmen.com/install-moodle-learning-managment-system-on-centos-6/
- http://unixmen.com/how-to-install-moodle-cms-in-ubuntu/
- http://unixmen.com/install-moodle-learning-managment-system-on-centos-6/installation-moodle-2-5-build-20130627-mozilla-firefox_006/
Features
Moodle is a very popular online learning management platform which is used by educators, trainers, schools and colleges. It is highly customizable and easy to use utility with the help of which a user can create their own private website filled with multiple courses. Highlights of some of its features are listed below.
- Customizable dashboard
- Easy to use interface
- All in one calendar
- Multilingual support
- Bulk course creating and management
- Detailed reports and results generation capability
Installation
We will use updated version of moodle i.e. 3.0 with CentOS 7 platform.
Minimum 2 GB RAM, Dual Core Processor and 5 GB storage capacity will be sufficient. LAMP Stalk is required for software installation.
Update System
# yum update -y
Installed required LAMP stalk on CentOS 7
# yum install httpd mariadb mariadb-server php php-mysql
# yum install php-iconv php-mbstring php-curl php-openssl php-tokenizer php-xmlpc php-soap php-ctype php-zip php-gd php-simplexml php-spl php-pcre php-dom php-xml php-intl php-json php-ldap php-pecl-apc
Start httpd and mysql services
# systemctl enable httpd
# systemctl start  httpd
# systemctl enable mariadb
# systemctl start mariadb
Create root admin password of mysql
# mysqladmin -u root password password
Create a database and a database user and assign all privileges to that newly created database user
Sample output
# mysql -u root -p
MariaDB [(none)]> create database moodle;
MariaDB [(none)]> create user 'unixmen'@'localhost' identified by 'password';
MariaDB [(none)]> grant all priviledges on moodle.* to 'unimxmen'@'localhost';
MariaDB [(none)]> flush privileges;
MariaDB [(none)]> exit
Bye
Download latest version of Moodle and configure web services accordingly
# cd  /var/www/html
# wget https://download.moodle.org/stable30/moodle-3.0.tgz
# tar -xvf moodle-3.0.tgz
# chown -R apache:apache /var/www/html/moodle
# chmod -R 755 /var/www/html/moodle
Additionally, we have to create a data director for moodle under /var/www/ named as ‘moodledata’ which will be used by moodle, change permissions and ownership for that directory as required.
# cd /var/www/
# mkdir moodledata
# chmod -R 755 /var/www/moodledata
# chown -R apache:apache /var/www/html/moodledata
Restart httpd services
#systemctl restart httpd
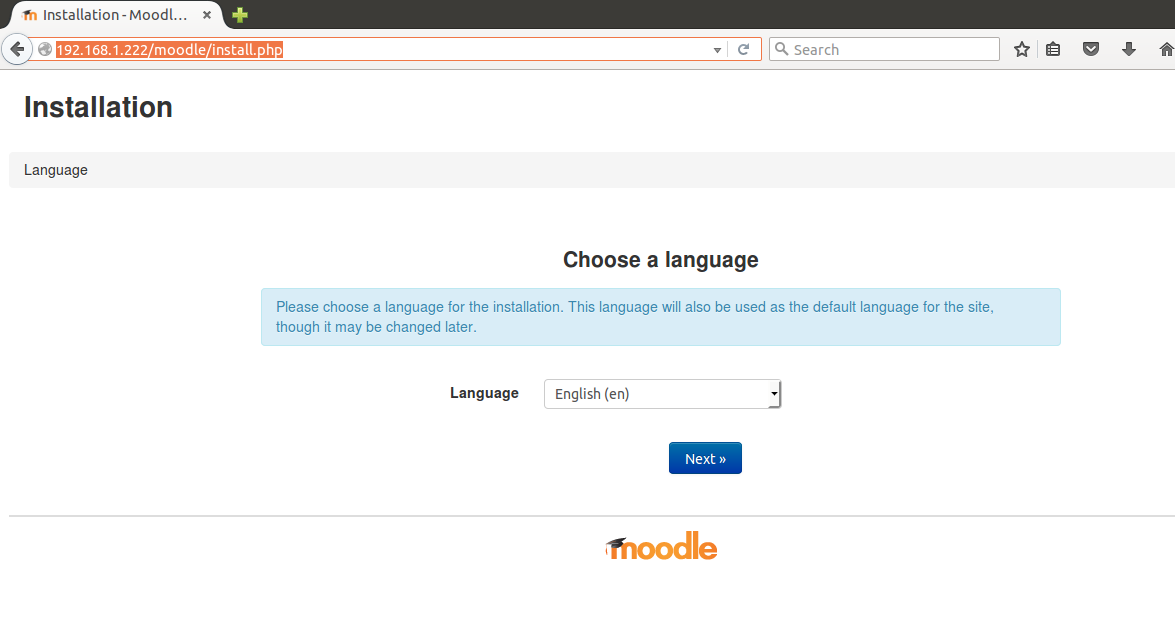
Installation process is over at this stage, lets configure moodle server, open a browser type <ip_address>/moodle
Choose language and click next.
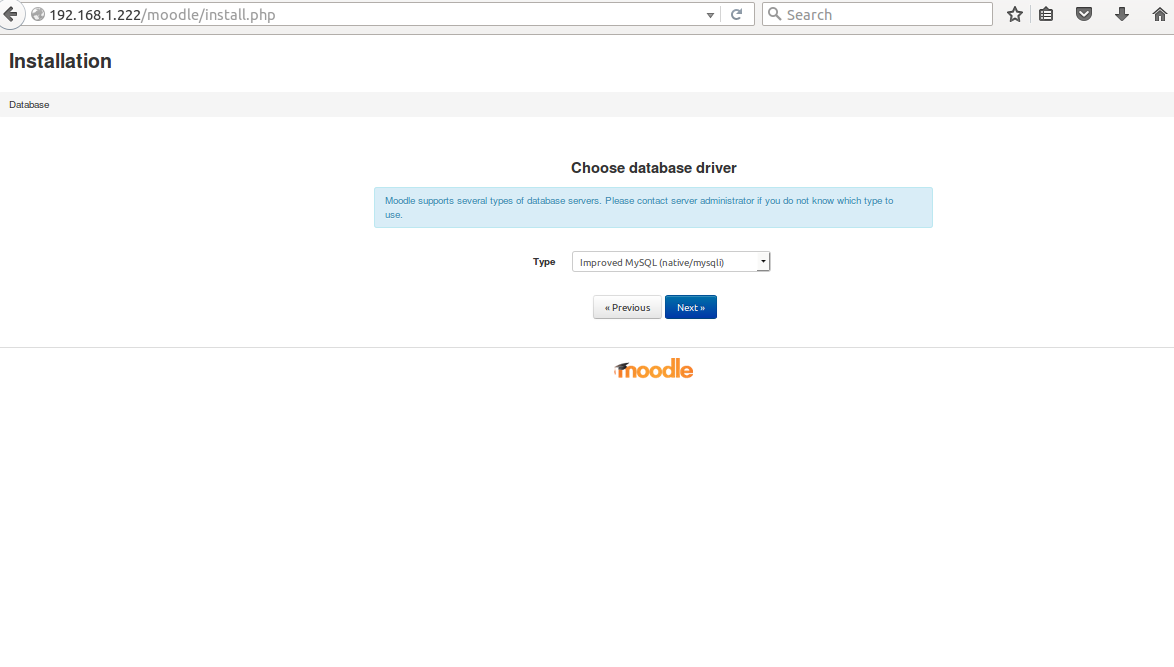
Choose a database driver (default) and click next
 Verify or modify directory path as required and click next.
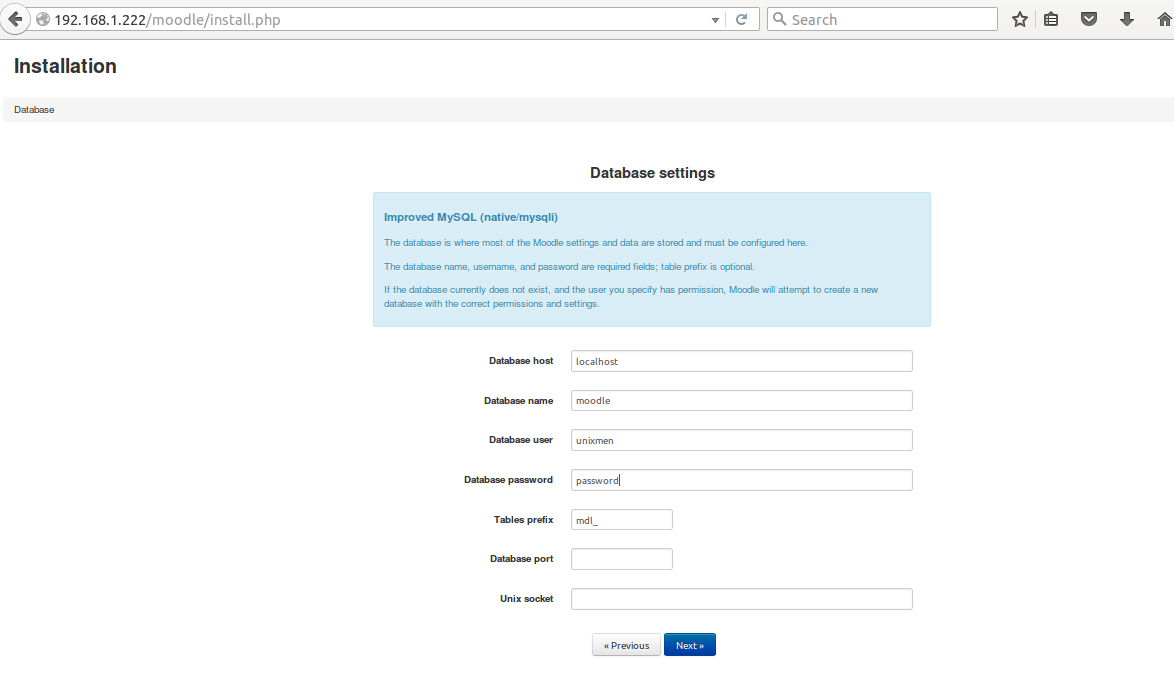
 Provide required database name and database user credentials which were created in previous steps.
 Click on confirm and proceed for next step
 System will check for all of the dependencies are fulfilled or not, if everything looks good then click to continue.
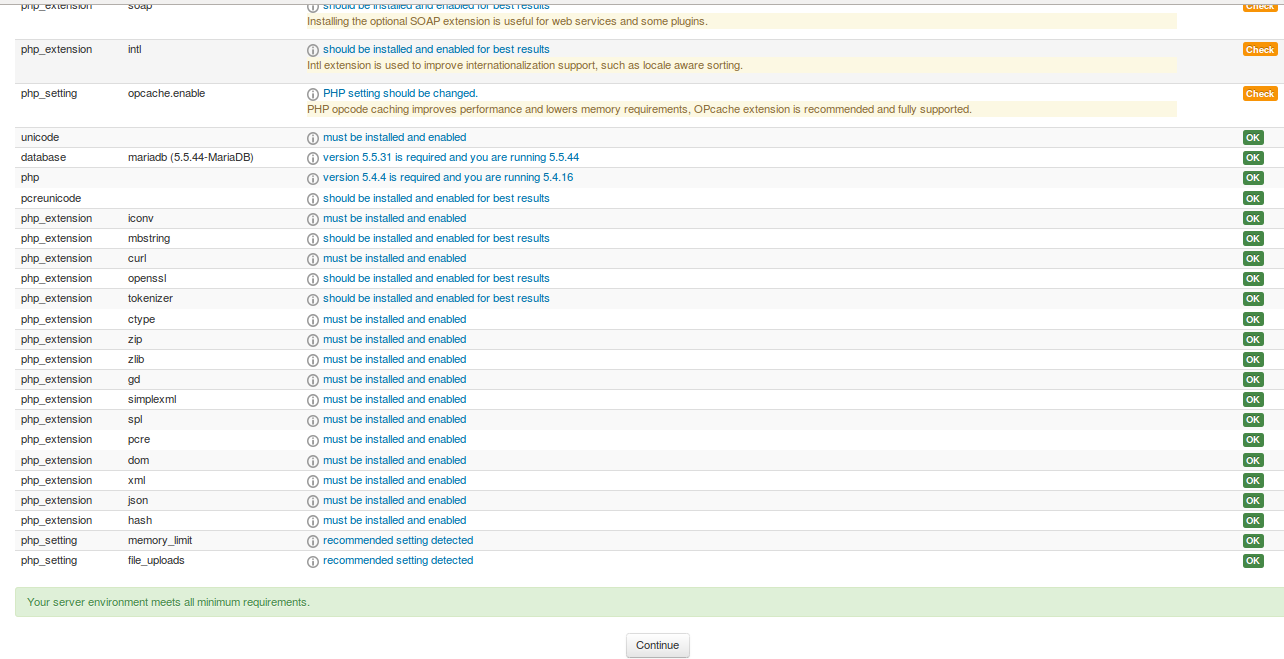
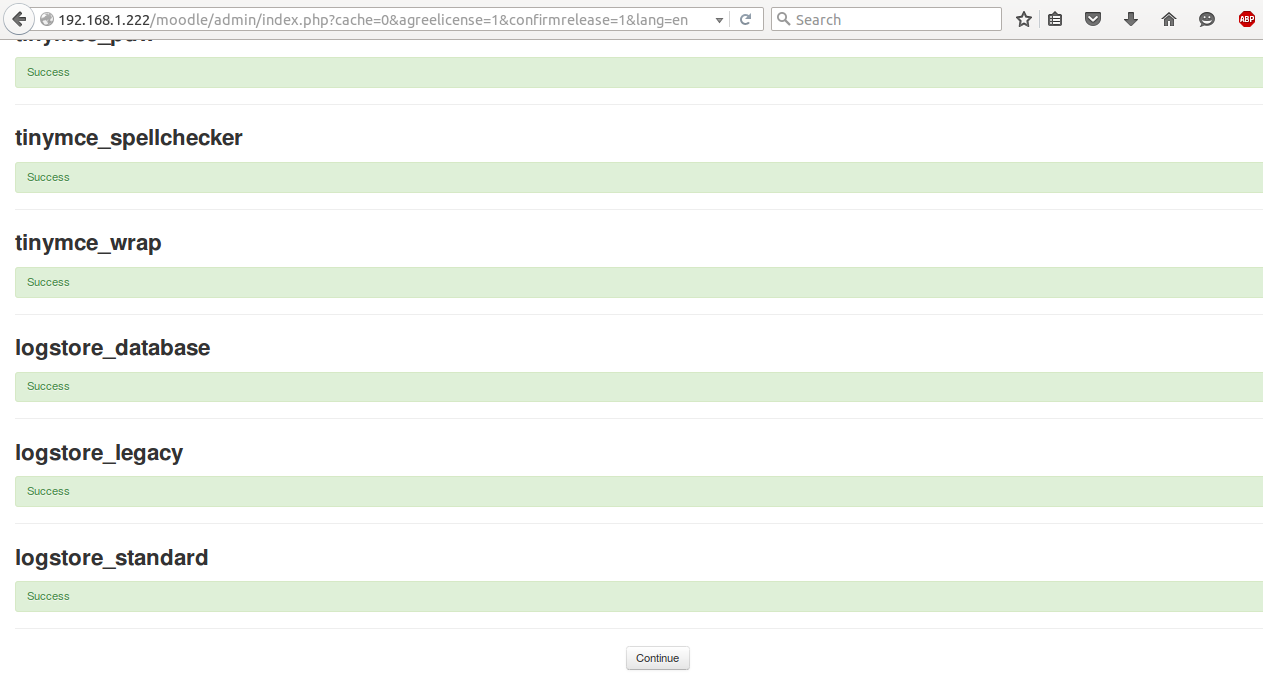
If a long list of green appear at this step, simply continue.
 Congratulation! your configuration is done at this stage, provide required credentials.
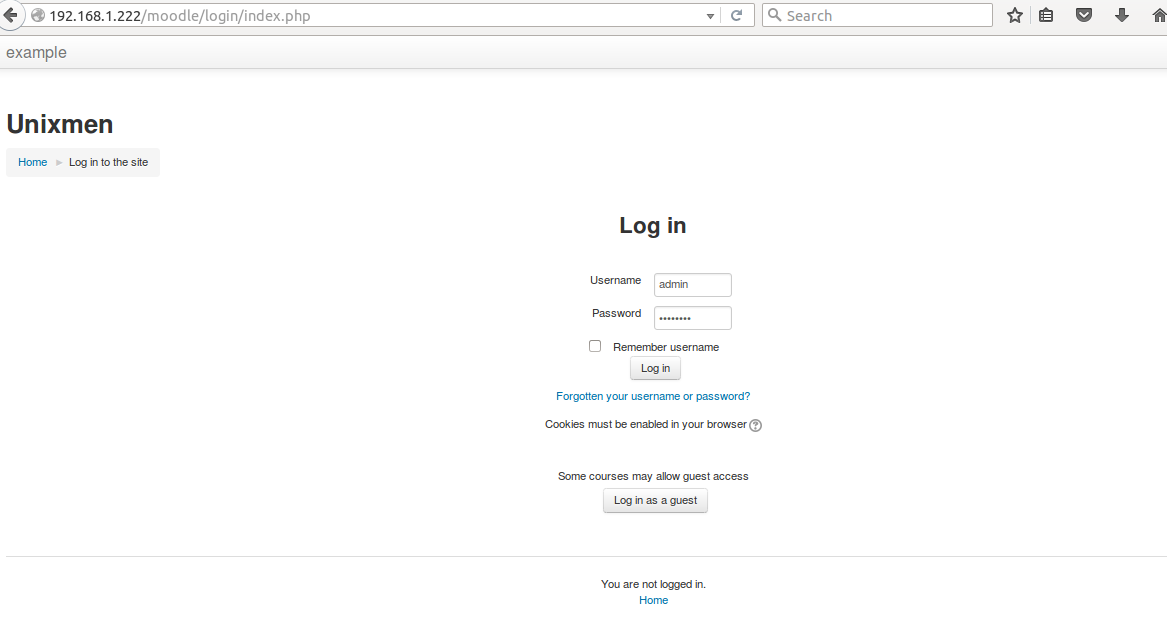
 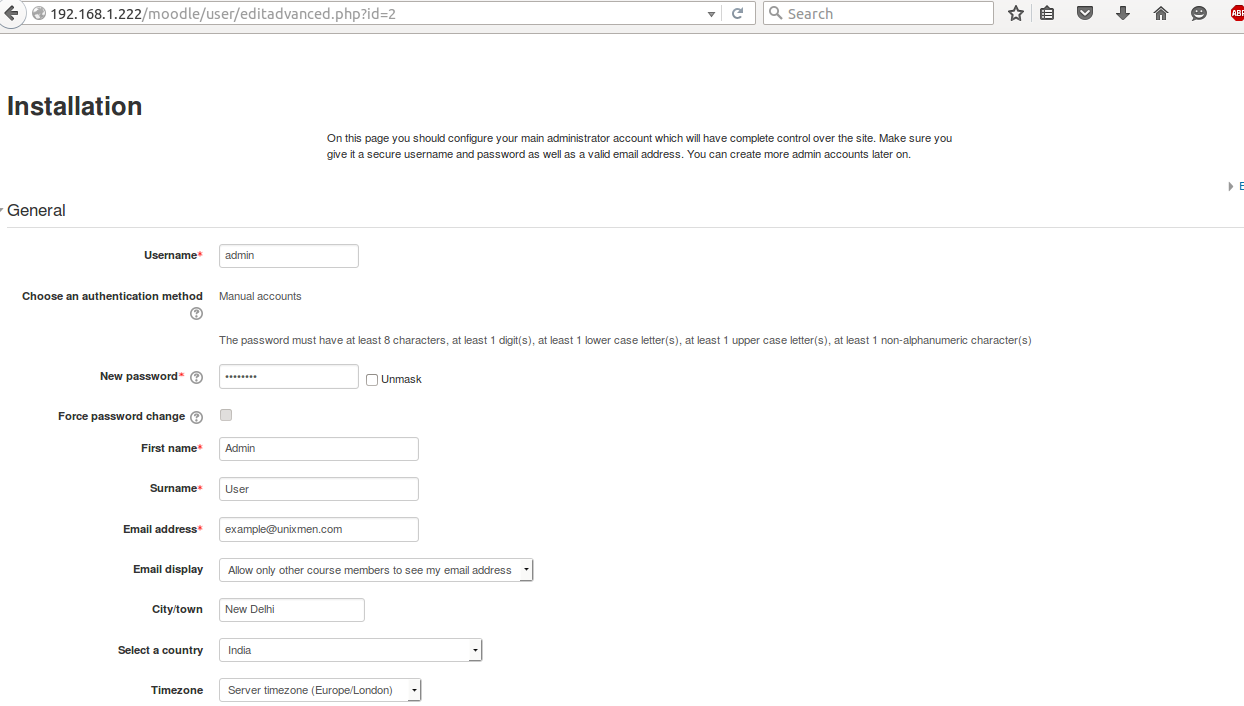 Login to server and try to create a course.
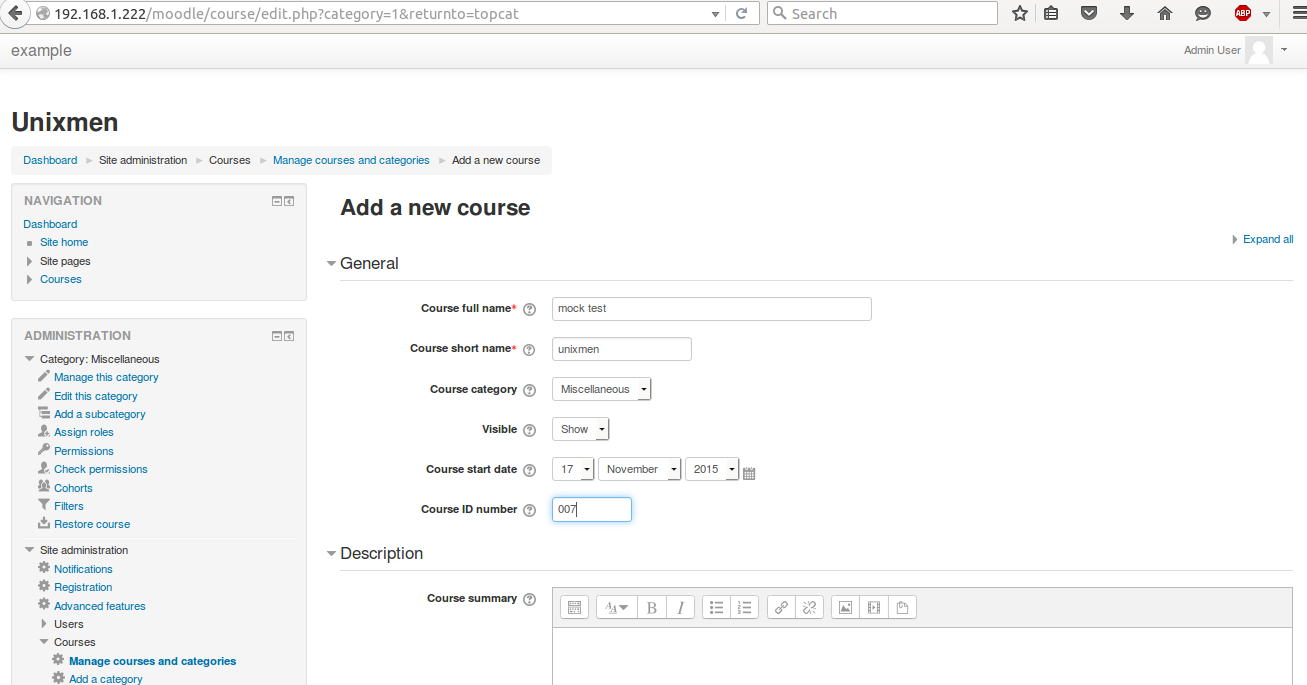
Conclusion
Moodle 3.0 appears more lightweight and sleek in first look, it is more fast as per my personal experience. A lots of commercial enterprises are already using noodle for their recruitment exams or other ability tests.


