Dear linux readers,
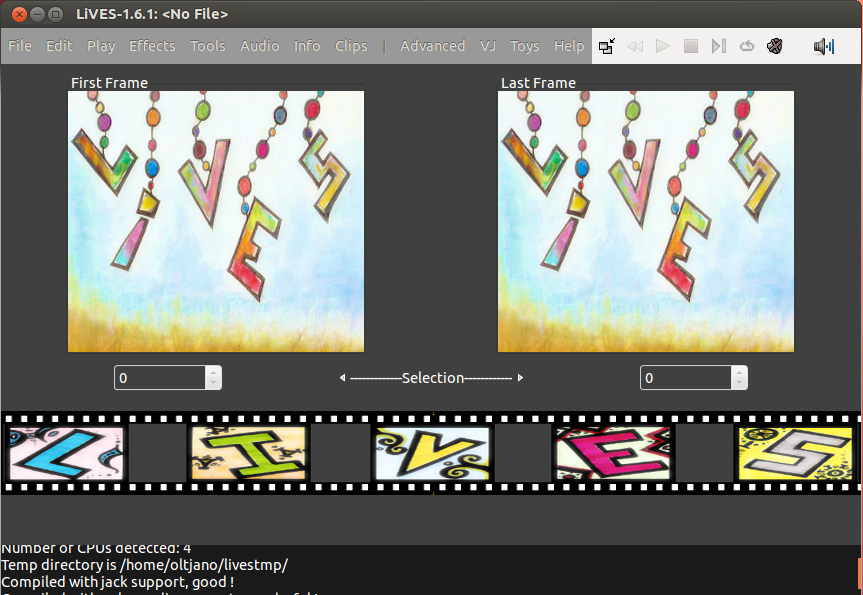
In this tutorial I will show you how to install LIVES, a nice open source video editor and VJ tool.
This volunteer project runs on GNU/Linux, BSD and UNIX machines that meet the following requirements:
– x86 800MHZ+ (recommended) or PPC (spec unknown) or amd64 (any). 2GHz+ Pentium/AMD for real time effects.
– 256MB+ memory for encoding (recommended 512 MB+)
– 5 – 10+ GB disk space as a minimum (more is better)
– GNU/Linux 2.x, BSD, openMosix or Solaris (OpenSolaris 2009.06 or higher) (also compiles under IRIX)
Lives software requirements:
– mplayer 0.90rc1+ compiled with png/jpeg support (version 1.0pre8+ recommended)
– ImageMagick 5+
– perl 5+
– gtk+ 2.4.0+ (2.14+ recommended) or gtk+ 3.0.0+
– libjpeg62 and/or libpng
– gdk-pixbuf-loaders
– sox with libsox-fmt-all
– libpulse0 (recommended)
– python 2.3.4+ (recommended)
– SDL (recommended)
– mencoder 1.0-pre5+ (recommended)
– libmjpeg-tools (recommended)
– libtheora (recommended)
– libjack/jackit (optional)
– cdda2wav (optional)
Install LIVES On Ubuntu 12.04 LTS
You can compile and install LIVES from source by downloading it here but in this tutorial I will install it via ppa. Open a new terminal (CTRL+ALT+T) and run the following commands.
sudo add-apt-repository -y ppa:n-muench/vlc
sudo apt-get update
sudo apt-get install lives


