
LEMP is a combination of operating system and open-source software stack. The acronym LEMP comes from the first letters of Linux, Nginx(engine-x) HTTP Server, MySQL/MariaDB database, and PHP or Perl or Python.
In this tutorial, I will describe how to install nginx, MariaDB and PHP on openSUSE 13.2.
Install Nginx
Nginx (pronounced as engine-x) is a free, open-source, high-performance HTTP server and reverse proxy, as well as an IMAP/POP3 proxy server written by Igor Sysoev. According to netcraft web server survey 14.08% web sites are served by Nginx.
As of writing this article, surprisingly, there is no stable Nginx package available in the official openSUSE repository. So let us download and unstable(not recommended for production use) version from this link with following commands:
wget http://download.opensuse.org/repositories/home:/stargieg:/branches:/home:/microchip8/openSUSE_13.2/x86_64/nginx-1.7.7-13.1.x86_64.rpm
sudo rpm -ivh nginx-1.7.7-13.1.x86_64.rpm
Start Nginx and make it to start automatically on every reboot:
sudo systemctl start nginx
sudo systemctl enable nginx
Stop Apache or any other web servers if you have any:
sudo systemctl stop apache2
sudo systemctl disable apache2
By default webserver is accessible as localhost. If you want to access it from a remote machine, you should allow webserver default port 80 through your firewall/router.
sudo nano /etc/sysconfig/SuSEfirewall2
Add the following line in it.
[...]
FW_CONFIGURATIONS_EXT="apache2"
[...]
Restart firewall:
sudo systemctl restart SuSEfirewall2
Test Apache
Create a new index.html file under /srv/www/htdocs/.
sudo nano /srv/www/htdocs/index.html
Add the following line.
<html><body><h1>Welcome to my website!</h1></body></html>
Open your web browser and navigate to http://localhost/ or http://server-ip-address/.
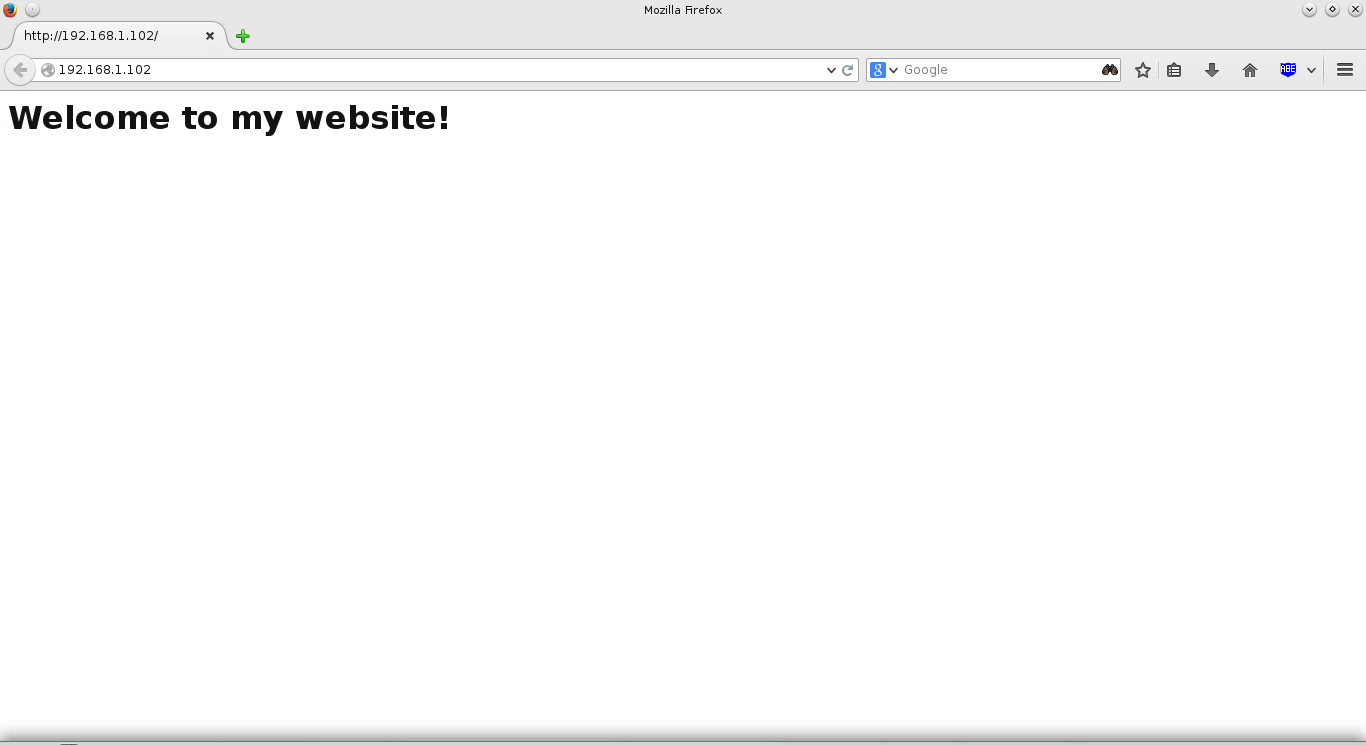
Nginx web server has been installed now.
Configure Nginx
Open the file /etc/nginx/nginx.conf and set the worker_processes (i.e No. of CPU’s in your system).
sudo nano /etc/nginx/nginx.conf
To see the no. of CPU’s, use the command “lscpu”. In my case it’s “1″. So I set this as ’1′:
[...]
worker_processes 1;
[...]
Define the virtual hosts information in server section.
[...]
server {
        listen       80;
        server_name  localhost;

        #charset koi8-r;

        #access_log  /var/log/nginx/host.access.log  main;

        location / {
            root   /srv/www/htdocs/;
            index  index.html index.htm;
        }

        #error_page  404              /404.html;

        # redirect server error pages to the static page /50x.html
        #
        error_page   500 502 503 504  /50x.html;
        location = /50x.html {
            root   /srv/www/htdocs/;
        }

        # proxy the PHP scripts to Apache listening on 127.0.0.1:80
        #
        #location ~ \.php$ {
        #    proxy_pass   http://127.0.0.1;
        #}

        # pass the PHP scripts to FastCGI server listening on 127.0.0.1:9000

        #Uncomment or copy/paste the following lines
        location ~ \.php$ {
            root           /srv/www/htdocs/;
            fastcgi_pass   127.0.0.1:9000;
            fastcgi_index  index.php;
            fastcgi_param  SCRIPT_FILENAME $document_root$fastcgi_script_name;
            include        fastcgi_params;
        }

        # deny access to .htaccess files, if Apache's document root
        # concurs with nginx's one
        #
        #location ~ /\.ht {
        #    deny  all;
        #}
    }
[...]
Save and close the file. Restart Nginx service:
sudo systemctl restart nginx
Install MariaDB
MariaDB is a drop in replacement for MySQL. It is a robust, scalable and reliable SQL server that comes rich set of enhancements.
Now start installing MariaDB:
sudo zypper in mariadb
Start MariaDB service and let it to start automatically on every reboot:
sudo systemctl start mysql
sudo systemctl enable mysql
Set MySQL root password
By default MySWL root password is empty. So to prevent unauthorized access to MySQL, let us set root user password:
sudo mysql_secure_installation
Sample output:
/usr/bin/mysql_secure_installation: line 379: find_mysql_client: command not found

NOTE: RUNNING ALL PARTS OF THIS SCRIPT IS RECOMMENDED FOR ALL MariaDB
      SERVERS IN PRODUCTION USE!  PLEASE READ EACH STEP CAREFULLY!

In order to log into MariaDB to secure it, we'll need the current
password for the root user.  If you've just installed MariaDB, and
you haven't set the root password yet, the password will be blank,
so you should just press enter here.

Enter current password for root (enter for none):
OK, successfully used password, moving on...

Setting the root password ensures that nobody can log into the MariaDB
root user without the proper authorisation.

Set root password? [Y/n] y
New password:
Re-enter new password:
Password updated successfully!
Reloading privilege tables..
 ... Success!

By default, a MariaDB installation has an anonymous user, allowing anyone
to log into MariaDB without having to have a user account created for
them.  This is intended only for testing, and to make the installation
go a bit smoother.  You should remove them before moving into a
production environment.

Remove anonymous users? [Y/n]
 ... Success!

Normally, root should only be allowed to connect from 'localhost'.  This
ensures that someone cannot guess at the root password from the network.

Disallow root login remotely? [Y/n]
 ... Success!

By default, MariaDB comes with a database named 'test' that anyone can
access.  This is also intended only for testing, and should be removed
before moving into a production environment.

Remove test database and access to it? [Y/n]
 - Dropping test database...
 ... Success!
 - Removing privileges on test database...
 ... Success!

Reloading the privilege tables will ensure that all changes made so far
will take effect immediately.

Reload privilege tables now? [Y/n]
 ... Success!

Cleaning up...

All done!  If you've completed all of the above steps, your MariaDB
installation should now be secure.

Thanks for using MariaDB!
Install PHP
PHP (recursive acronym for PHP: Hypertext Preprocessor) is a widely used open-source general purpose scripting language that is especially suited for web development and can be embedded into HTML.
Install PHP with following command:
sudo zypper in php5-fpm
Before start php5-fpm service, rename the file /etc/php5/fpm/php-fpm.conf.default to /etc/php5/fpm/php-fpm.conf.
sudo mv /etc/php5/fpm/php-fpm.conf.default /etc/php5/fpm/php-fpm.conf
Edit php-fpm.conf file,
sudo nano /etc/php5/fpm/php-fpm.conf
and change the user and group values from nobody to nginx:
; Unix user/group of processes
; Note: The user is mandatory. If the group is not set, the default user's group
;       will be used.
user = nginx
group = nginx
Save and close the file.
Edit /etc/php5//fpm/php-fpm.conf,
sudo nano /etc/php5/fpm/php-fpm.conf
Find the line error_log. Uncomment, and set the value as /var/log/php-fpm.log.
[...]
error_log = /var/log/php-fpm.log
[...]
There is no php.ini file for php-fpm on openSUSE 13.2/13.1, so let us copy it from /etc/php5/cli/ to /etc/php5/fpm/ as shown below.
sudo cp /etc/php5/cli/php.ini /etc/php5/fpm/
Now, edit file /etc/php5/fpm/php.ini,
sudo nano /etc/php5/fpm/php.ini
Find the line cgi.fix_pathinfo, uncomment it and change the value from 1 to 0 (zero):
[...]
cgi.fix_pathinfo=0
[...]
Save and close the file.
Now start php-fpm service.
sudo systemctl start php-fpm
sudo systemctl enable php-fpm
Test PHP
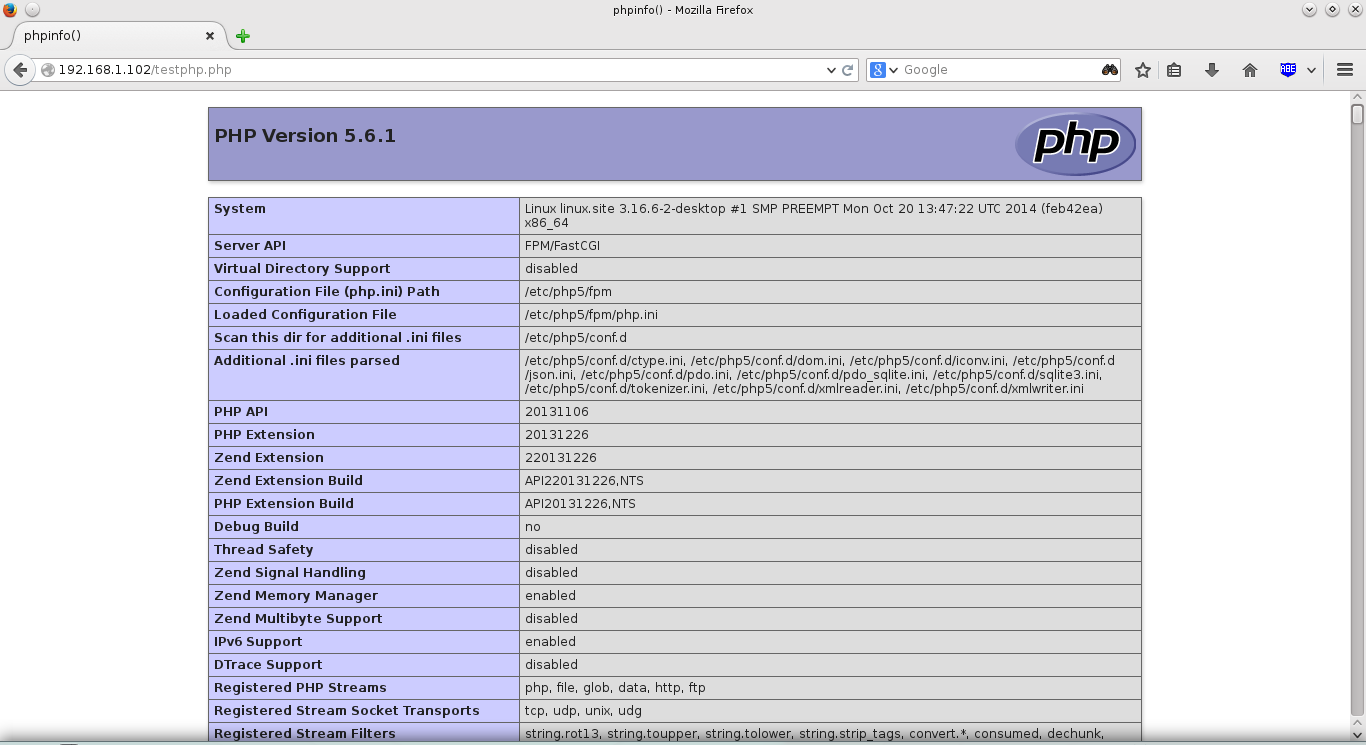
Create a sample “testphp.php” file in Apache document root folder, and append the lines as shown below:
sudo nano /srv/www/htdocs/testphp.php
Add the following line in it.
<?php
phpinfo();
?>
Restart nginx service:
sudo systemctl restart nginx
Navigate to http://server-ip-address/testphp.php. It will display all the details about php such as version, build date and commands etc.
If you want to install all PHP modules, enter the command sudo zypper in php* and restart the Nginx service. To verify for the modules, open up your eb browser and navigate to http://server-ip-address/testphp.php. You will able to see all PHP modules.
That’s it. You should have a working LEMP server now.
Cheers!


