
In this tutorial I will teach you guys how to install Hiawatha on your CentOS 7 machine. But, what is it?
About Hiawatha
Hiawatha is a lightweight webserver which is built with security in mind both in code and features, preventing common web application attacks such as sql injection, cross-site scripting(xss) and CSRF. According to the official page you don’t need to be an expert on http or cgi to use this webserver as it is very easy to use.
This fully functional webserver started back in January 2002 as an opensource project in order to provide a very secure webserver to the user and also easy configuration syntax. Special techniques are used on the webserver to make it run even on old hardware, the fact that someone managed to run it on a raspberry pi means alot, doesn’t it?
Some Features Of Hiawatha
There are many features present in the Hiawatha webserver. It supports IPV6 which makes a very prepared webserver for the future, control the access to your websites via Basic or Digest HTTP authentication or by IP address, execution of CGI scripts and SSL.
Security is the key feature of this webserver, offering great protection from dangerous malicious attacks such as sql injections, xss attacks and csrf.
Hiawatha allows you to keep track of all your webservers via a PHP application called Hiawatha Monitor. There is also a CommandChannel which can be used to get detailed information on a single webserver or even control it.
“The Hiawatha Monitor is a monitoring tool for the Hiawatha webserver. It can be used to keep track of the performance and security of all your Hiawatha webservers via one single interface. It’s not a replacement for analytics software or the local logfiles, but it gives you a quick and easy overview of how your webservers are performing and which ones require some attention. The Hiawatha Monitor is a PHP5 web application with a MySQL database backend. It requires the cron daemon for periodic downloading of statistical information from the web servers it monitors.”, reads the official documentation.
Other features include:
- Speed
- URL rewriting
- Reverse Proxy
Installation On CentOS 7
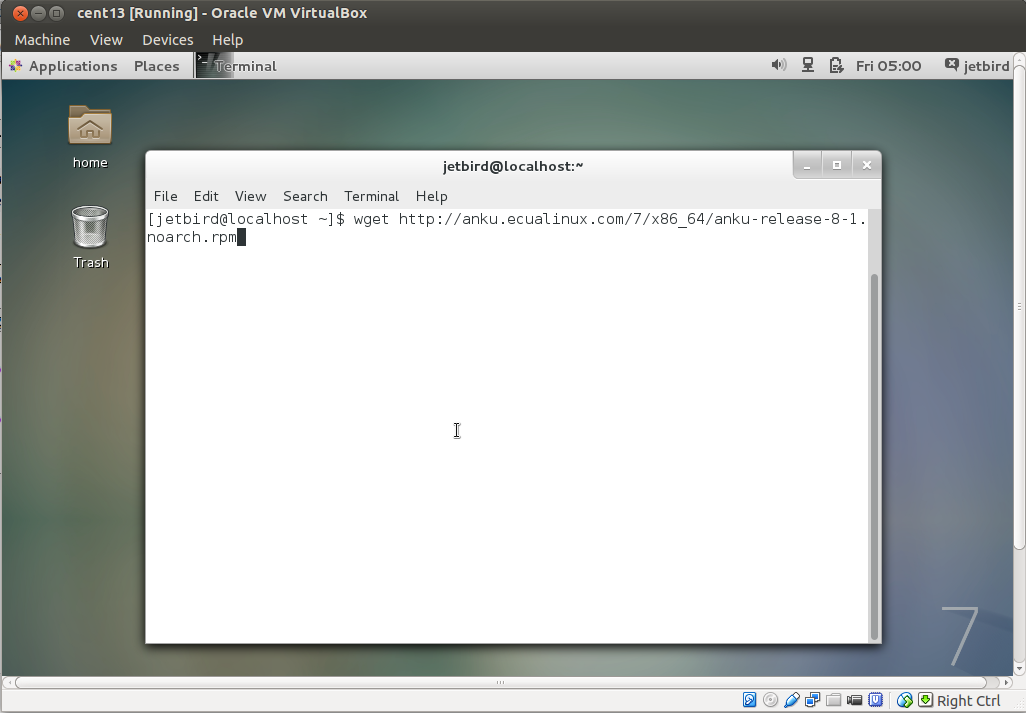
The installation of Hiawatha on CentOS 7 is very easy, easier than any installation you have done with another webserver. Open a new terminal tab and run the following command to download a repo we need before going any further.
wget http://anku.ecualinux.com/7/x86_64/anku-release-8-1.noarch.rpm
The following screenshot will help you to understand what is going on.
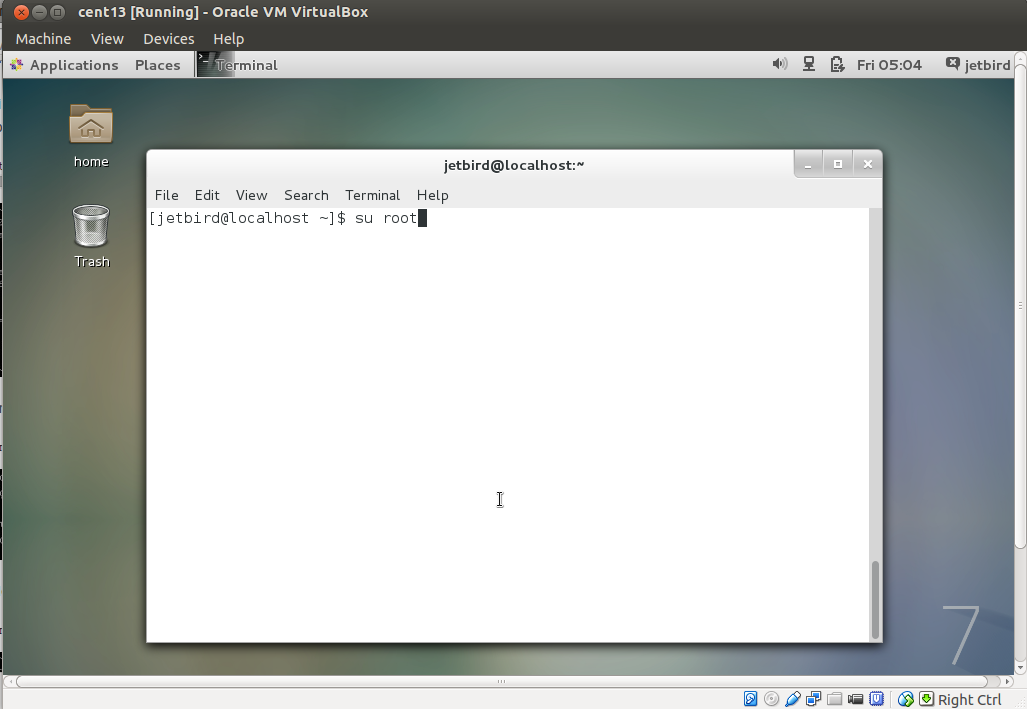
Once the download is finished, clear your screen and run the following command to become root.
su root
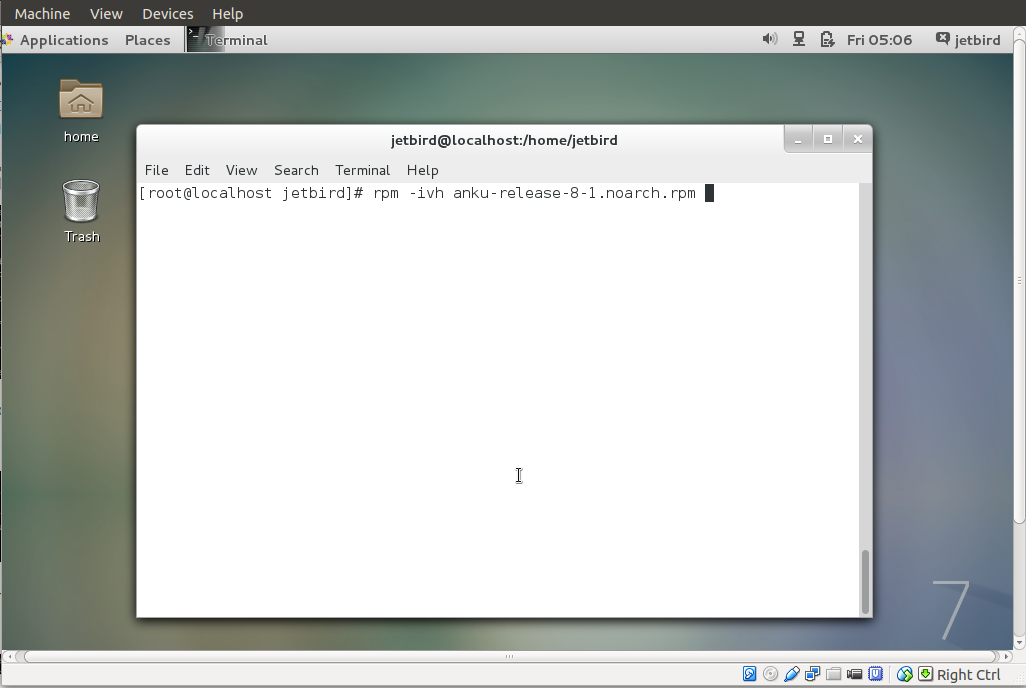
The rpm command will help us to install the rpm file we downloaded.
rpm -ivh anku-release-8-1.noarch.rpm
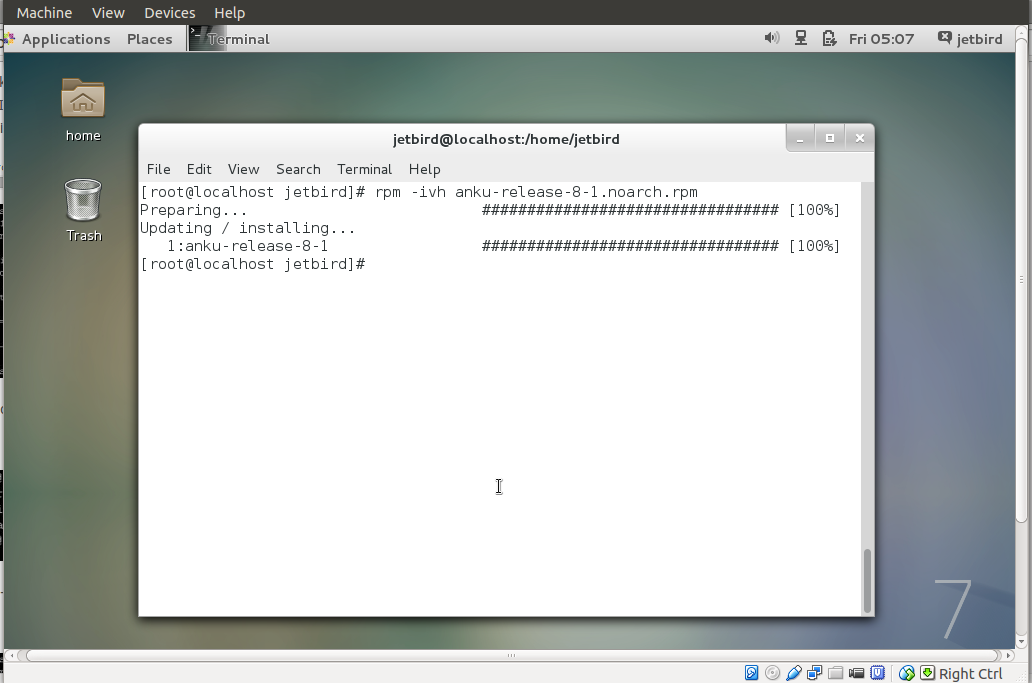
If the installation succeeds you will see the following output.
Run the following command to clear the screen.
clear
The yum program is used to maintain systems using rpm. Now it is time to enable the repo we just added and proceed with the installation.
yum --enablerepo=anku install hiawatha -y
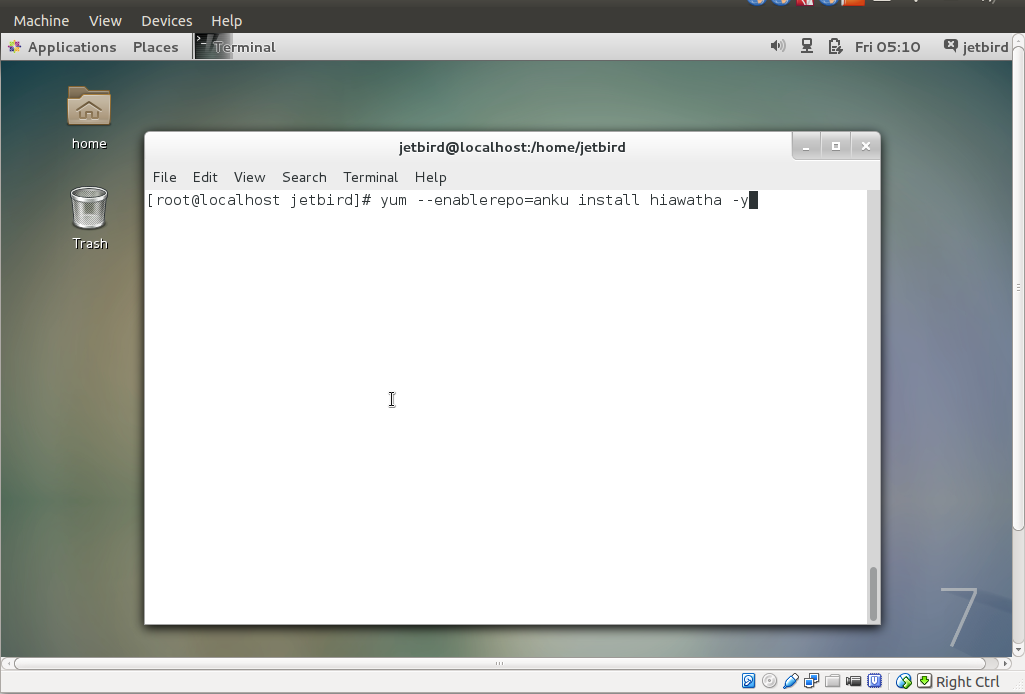
When the installation starts you will see the following.

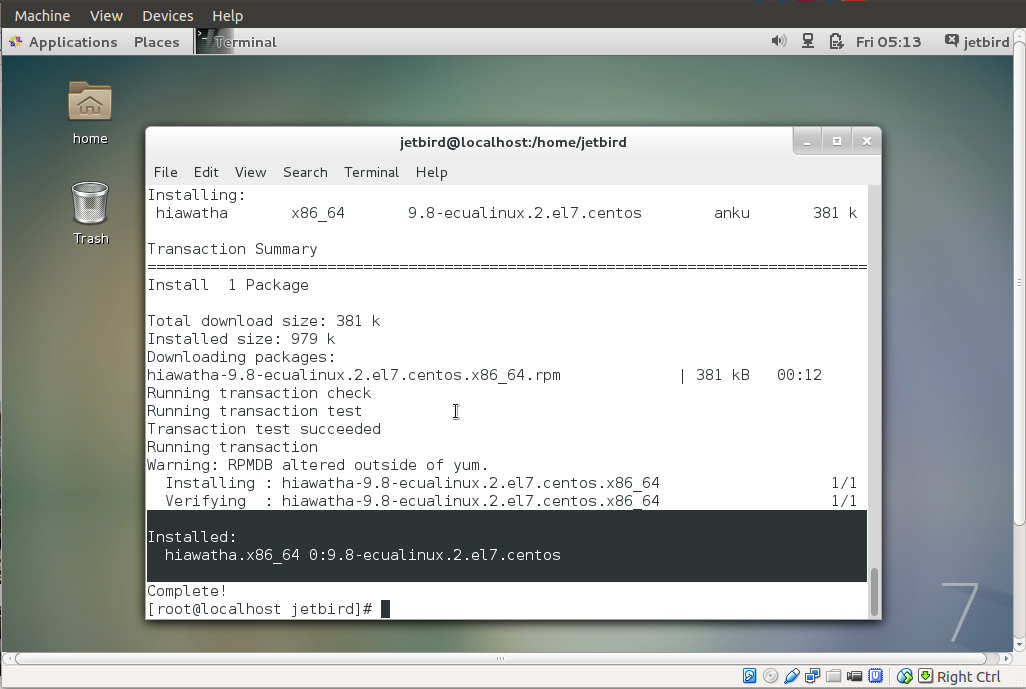
If the installation of the Hiawatha webserver succeeds you will see the following on your screen.
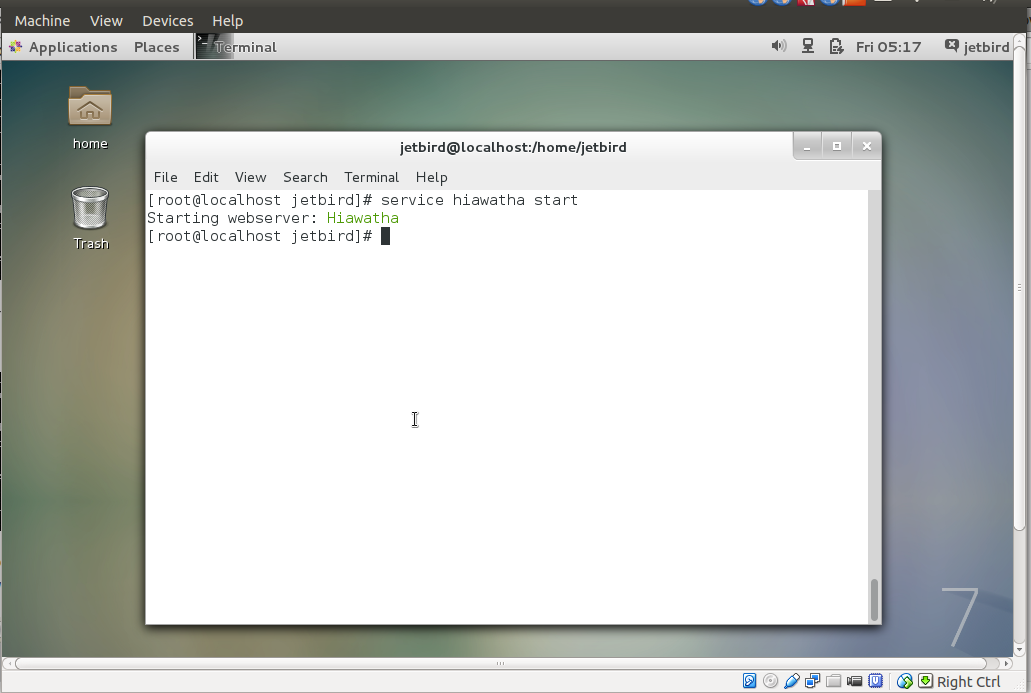
Once the installation is finished start the server by using the command service hiawatha start like shown below.
service hiawatha start
Then open a new tab on your web browser and visit http://www.127.0.0.1.
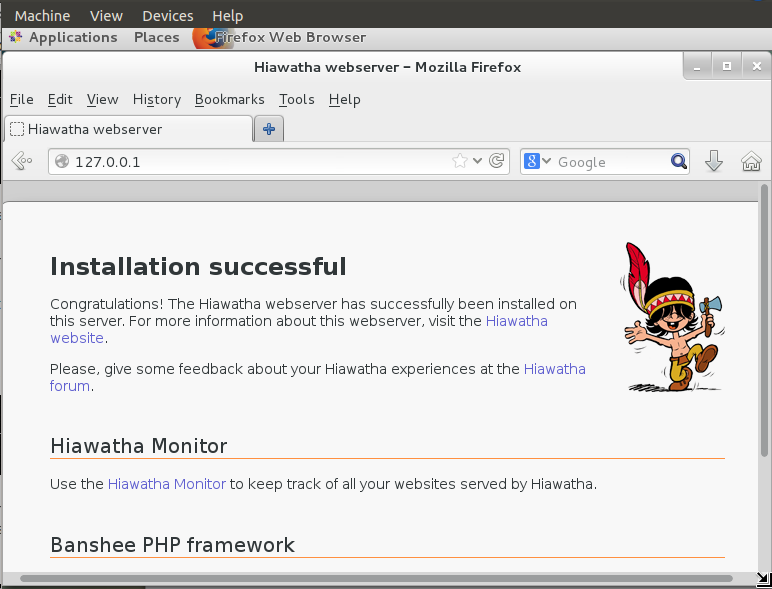
Done!


 and CSRF.)