
About Gitolite
Gitolite is a free, open source Git server that can be used to setup git hosting on a central server, with fine-grained access control and many more powerful features. Gitolite is perfect if you want to host multiple git repositories in a single server. Gitolite is an access control layer on top of Git, so that, you can configure user-based Git access. Gitolite provides access to many gitolite users, and controls access to many Git repositories.
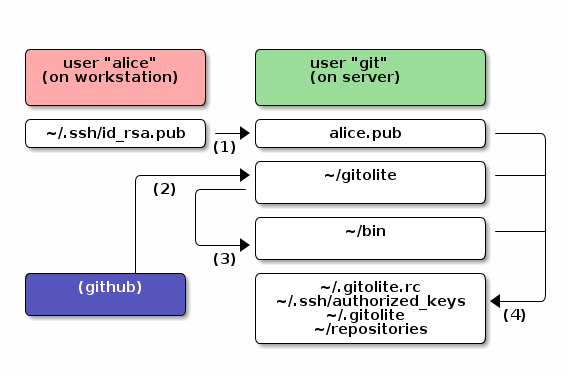
Here is the graphical overview of Gitolite:
Features in a glance
Concerning about Gitolite features, we can list the following:
- Very powerful rule language (decide based on branch/tag name, files/dirs touched, size of changed files, number of changed files, etc.).
- Convenience features for writing the rules (repo groups, user groups, get user group info from LDAP, include files, macros…)
- Highly customisable and scriptable, especially custom commands for users. Many built-in commands and options.
- Powerful and flexible mirroring system.
- Users can create their own repos and set access rights (if you allow them).
In this tutorial, let us see how to install Gitolite Git server in CentOS 7 minimal server.
My test box details
For the purpose of this tutorial, I will be using the following testbox.
- Operating system : CentOS 7 64 bit minimal server
- IP address : 192.168.1.150/24
- Hostname : server1.unixmen.local
Prerequisites
1. Update your server and install the prerequisites
Update your CentOS 7 server as root user using command:
[root@server1 ~]# yum update
Install the following prerequisites:
[root@server1 ~]# yum install autoconf git
2. Create an user for Gitolite
Next, we create an user for Gitolite and set password for the users using the following commands:
[root@server1 ~]# adduser git
[root@server1 ~]# passwd git
3. Create SSH public key and copy it to the git user
We need to create a SSH public key and send it to the Gitolite server.
Create SSH key using command:
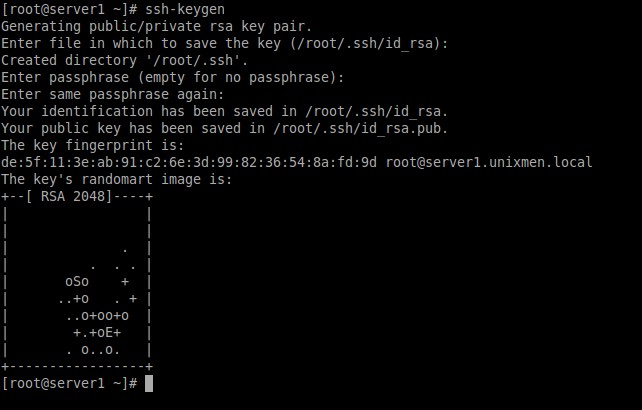
[root@server1 ~]# ssh-keygen
Sample output:
Generating public/private rsa key pair.
Enter file in which to save the key (/root/.ssh/id_rsa):
Created directory '/root/.ssh'.
Enter passphrase (empty for no passphrase):
Enter same passphrase again:
Your identification has been saved in /root/.ssh/id_rsa.
Your public key has been saved in /root/.ssh/id_rsa.pub.
The key fingerprint is:
de:5f:11:3e:ab:91:c2:6e:3d:99:82:36:54:8a:fd:9d root@server1.unixmen.local
The key's randomart image is:
+--[ RSA 2048]----+
| |
| |
| . |
| . . . |
| oSo + |
| ..+o . + |
| ..o+oo+o |
| +.+oE+ |
| . o..o. |
+-----------------+
As you see in the above output, there are two keys are generated. One is private key, which you should keep it privately, and another one is public key. You should share this public key whoever you want to communicate with. In our case, we share this public key to the user ‘git’. Remember we have already created an user called ‘git’ in our previous steps.
First make a copy of your public key as shown below.
[root@server1 ~]# cp .ssh/id_rsa.pub sk.pub
Now, let us copy the public key to the home directory of the user ‘git’ using the following command:
[root@server1 ~]# cp sk.pub /home/git
In case, you copying the this key from a remote system, you should the following command instead:
[root@server1 ~]# scp sk.pub git@<ip-address>:/home/git
You can verify if the key is successfully transferred to the ‘git’ user’s home directory:
[root@server1 ~]# ls /home/git/

Run the following command to update the Bash:
[git@server1 ~]$ source .bash_profile
We have completed all necessary prerequisites steps. Now, let us go ahead and install Gitolite.
Install Gitolite
Switch to the ‘git’ user with command:
[root@server1 ~]# su - git
Create a directory called bin in the ‘git’ user’s home directory.
To do so, run:
[git@server1 ~]$ mkdir ~/bin
Now, git clone to the latest Gitolite repository as shown below.
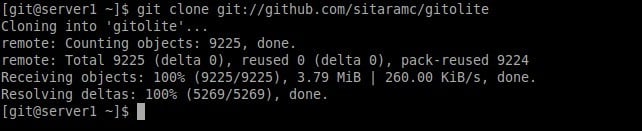
[git@server1 ]$ git clone git://github.com/sitaramc/gitolite
Sample output:
Cloning into 'gitolite'...
remote: Counting objects: 9225, done.
remote: Total 9225 (delta 0), reused 0 (delta 0), pack-reused 9224
Receiving objects: 100% (9225/9225), 3.79 MiB | 260.00 KiB/s, done.
Resolving deltas: 100% (5269/5269), done.
Next, create Gitolite symlink to the ~/bin directory using command:
[git@server1 ~]$ gitolite/install -ln ~/bin
The above command will not display any message. You will see the Gitolite symbolic link in the ~/bin directory.
[git@server1 ~]$ ls ~/bin

Finally, run the following command to install Gitolite with SSH public key:
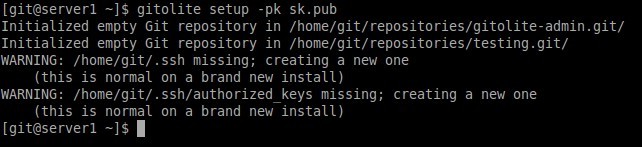
[git@server1 ~]$ gitolite setup -pk sk.pub
Sample output:
Initialized empty Git repository in /home/git/repositories/gitolite-admin.git/
Initialized empty Git repository in /home/git/repositories/testing.git/
WARNING: /home/git/.ssh missing; creating a new one
 (this is normal on a brand new install)
WARNING: /home/git/.ssh/authorized_keys missing; creating a new one
 (this is normal on a brand new install)
If you get the output like above, Congratulations! Gitolite has been installed successfully.
You might see some warning. Just leave. They are normal in the new installation.
Test Gitolite
Now, let us test whether Gitolite is working properly. Switch to the account where you created the SSH keys. In my case, I created the SSH keys from my root account.
[git@server1 ~]$ su - root
Try to git clone the gitolite-admin repository from your newly installed Gitolite server.
To do so, run:
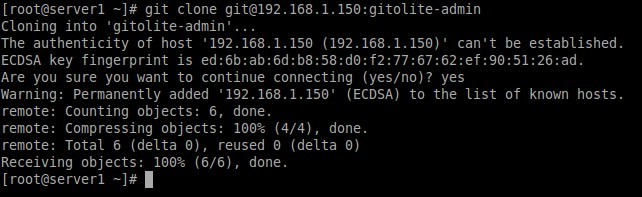
[root@server1 ~]# git clone git@192.168.1.150:gitolite-admin
You will be be asked to enter root user password. Because we already have exchanged the SSH keys.
Sample output:
Cloning into 'gitolite-admin'...
The authenticity of host '192.168.1.150 (192.168.1.150)' can't be established.
ECDSA key fingerprint is ed:6b:ab:6d:b8:58:d0:f2:77:67:62:ef:90:51:26:ad.
Are you sure you want to continue connecting (yes/no)? yes
Warning: Permanently added '192.168.1.150' (ECDSA) to the list of known hosts.
remote: Counting objects: 6, done.
remote: Compressing objects: 100% (4/4), done.
remote: Total 6 (delta 0), reused 0 (delta 0)
Receiving objects: 100% (6/6), done.
Check the gitolite-admin repository contents with command:
[root@server1 ~]# ls

[root@server1 ~]# ls gitolite-admin/

That’s it. Gitolite is working!
We have just covered the installation part. Head over to the Gitolite basic administration guide to know more about the usage of Gitolite Git server.
Cheers!
Source & Reference links:

