
Who in the world don’t get a spam mail? Is there anyone? We all are familiar with spam mail.
Today we will learn how To install, configure and integrate spamassassin with qmail in Ubuntu for your mail server.
A mail server is a server, which is used to send & receive mails within and outside of it’s domain. There are a number of MTA (Mail Transfer Agents) out there for acting as a mail server like sendmail, postfix, qmail etc. It’s good to have your own mail server so that you can have the full control over your mail server. A mail server usually use port 25 for SMTP (Simple Mail Transfer Protocol). Post Office Protocol version 3 (POP3) is a standard mail protocol used to receive emails from a remote server to a local email client. This runs on port 110.
Spamassassin is an Open Source anti-spam platform giving system administrators a filter to classify email and block spam (unsolicited bulk email). To know more about Spamassassin, please visit spamassassin.apache.org.
Let’s start without wasting any more time.
For this, we will use Ubuntu 14.04.3 LTS Linux distribution. I am considering that you have already installed qmail on your system and qmail is able to send & receive mails. It’s a prerequisite for us. Installing and configuring qmail are not that difficult as well.
# STEP 1
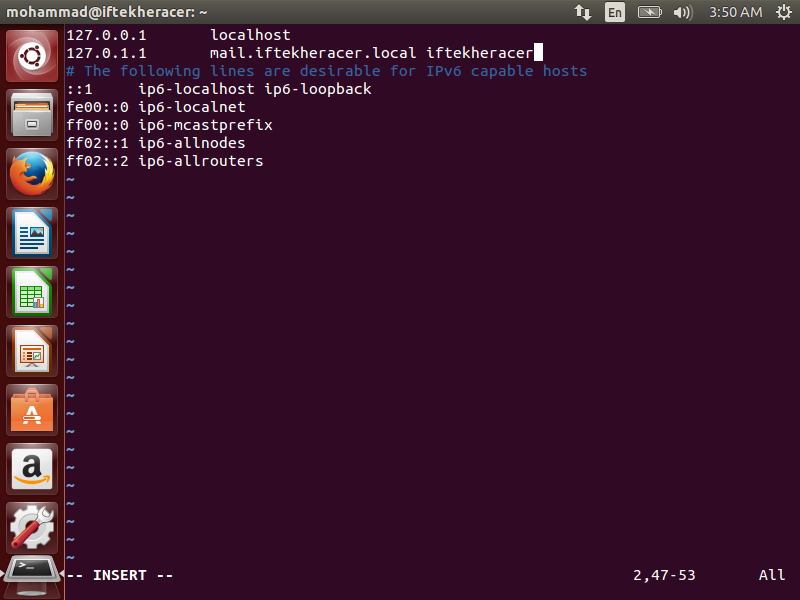
Make sure that you have FQDN hostname for your server. For this example, I am setting the FQDN hostname as mail.iftekheracer.local.
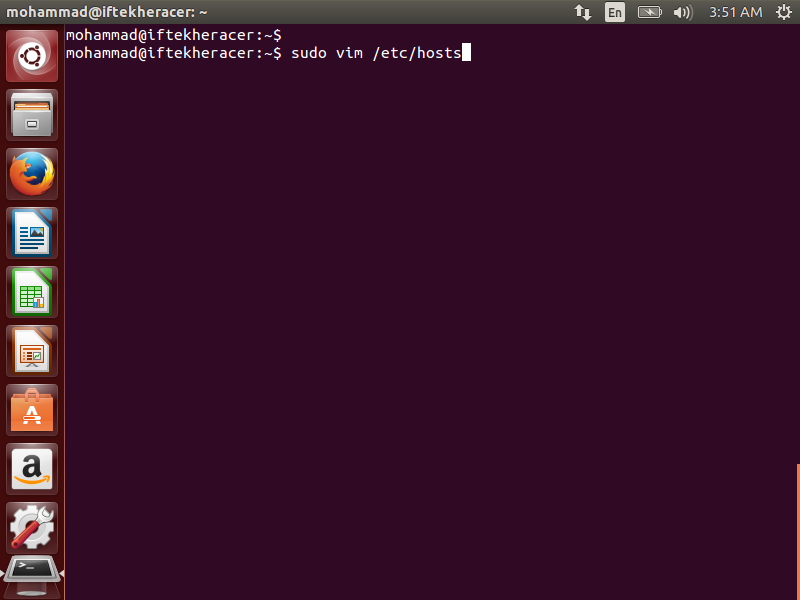
To set your FQDN hostname, please use the following command in the terminal. I am using vim for my editor. You can use your favorite one.
sudo vim /etc/hosts
Then set your FQDN hostname as your wish. Though the convention is to start the hostname with mail. Below is mine one.
# STEP 2
Now, we will install Spamassassin.
Let’s update the repository for packages lists by issuing the following command in the terminal. It’s a good practice to do so.
sudo apt-get update
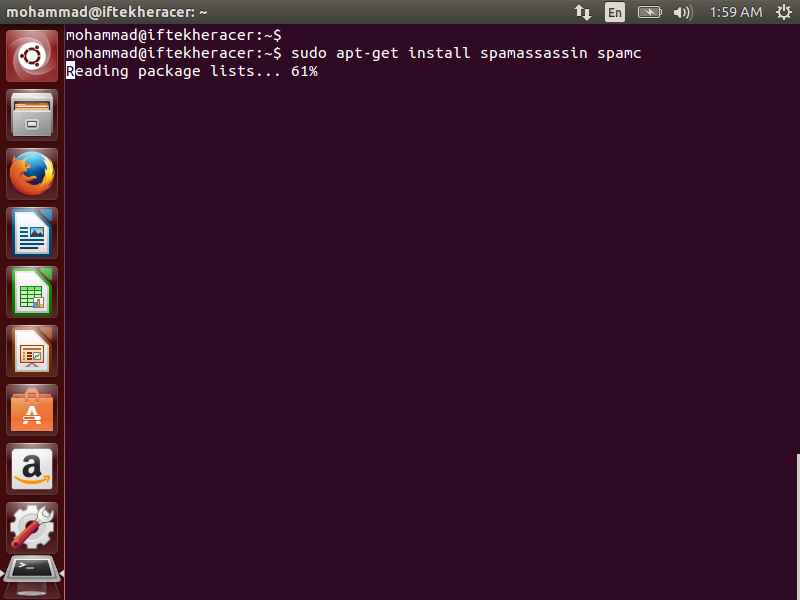
To install Spamassassin, issue the following command in the terminal.
sudo apt-get install spamassassin spamc
Hit y/Y to continue. This will download all the dependencies packages for Spamassassin and will install Spamassassin on your system. Once this is installed, you will see something like this in your terminal.
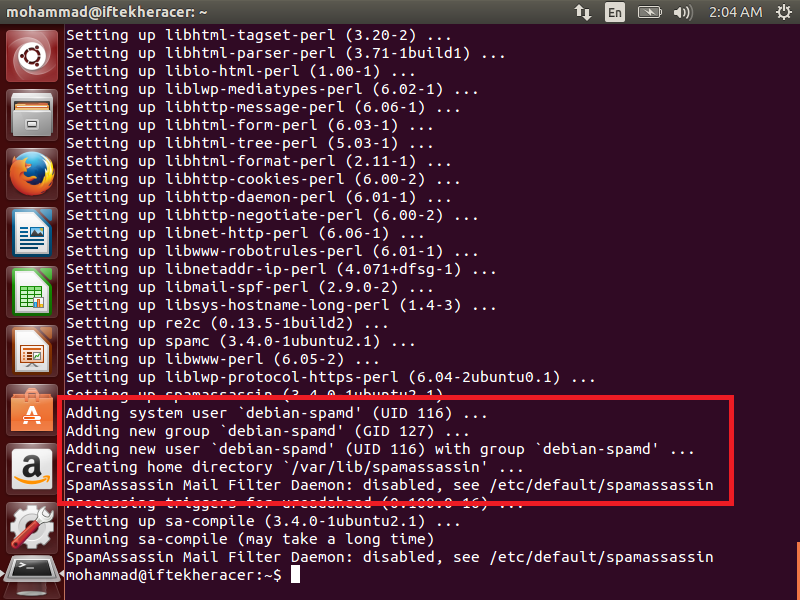
I hope you note that it creates a user and group named debian-spamd during the installation. The home directory for this user is “/var/lib/spamassassin”. Once Spamassassin is installed, there are few more steps that have to be made to make it operational.
# STEP 3
Now, we need to edit some files.
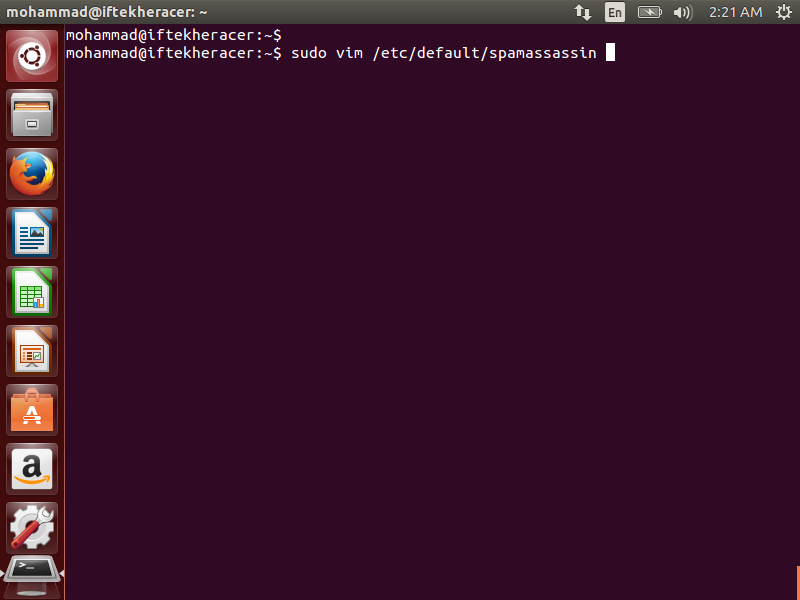
Open the file /etc/default/spamassassin by using your favorite editor from terminal. Mine is vim. So, I will issue the following command in my terminal
sudo vim /etc/default/spamassassin
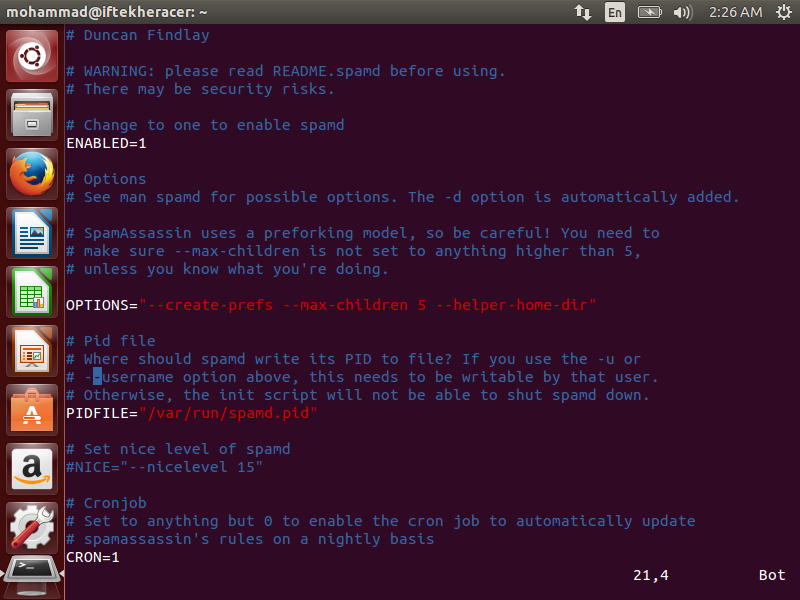
To enable Spamassassin, find the line by using search function of your editor.
ENABLED=0
Replace 0 by 1 like this:
ENABLED=1
For automatic rule updates to get the latest spam filtering rules find the following line in the file /etc/default/spamassassin.
CRON=0
Replace 0 by 1 like this:
CRON=1
This will update rules automatically.
After changing these two values, the file will look like below.
Now, save & exit from the file.
# STEP 4
Now, open the file /etc/spamassassin/local.cf in your editor. I am issuing the following command to open it in my terminal
sudo vim /etc/spamassassin/local.cf

Once the file is open, add these following lines just before the last line of the file.
The file must look like as follows:
rewrite_header Subject *****SPAM*****
required_score 5.0
dns_available yes
use_bayes 1
bayes_auto_learn 1
bayes_file_mode 0700
include /etc/mail/spamassassin/autowhitelist
bayes_path /etc/mail/spamassassin/.spamassassin/bayes bayes_auto_learn_threshold_nonspam 0.1
bayes_auto_learn_threshold_spam 12.0
ok_languages en hi
ok_locales en

So, change the file just like I mentioned above. Save & exit from the file.
# STEP 5
Now, check the syntax of the local.cf file that you have edited in previous step. To check the syntax, issue the following command on your terminal.
sudo spamassassin --lint
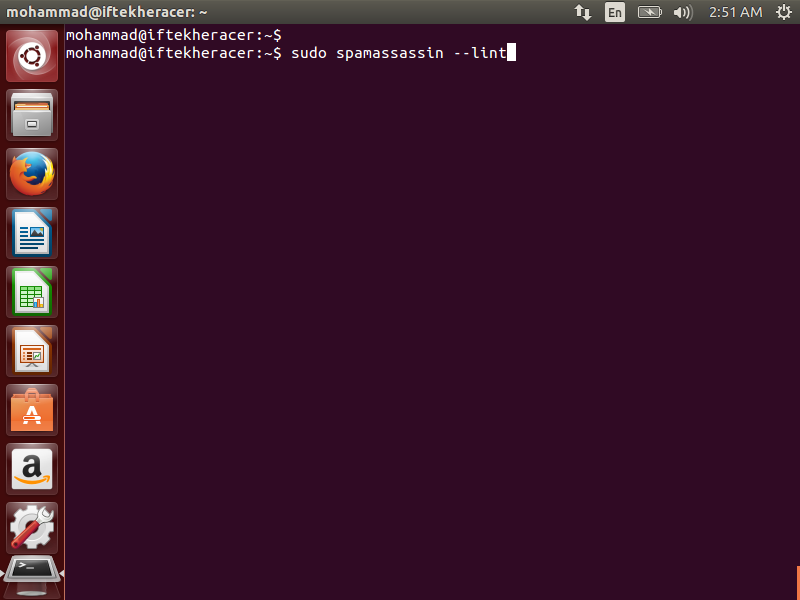
If you typed correctly, then it will not echo any error message.
# STEP 6
As we are done with our initial configuration, it’s time to start the spamassassin.
To do so, issue the following command in your terminal.
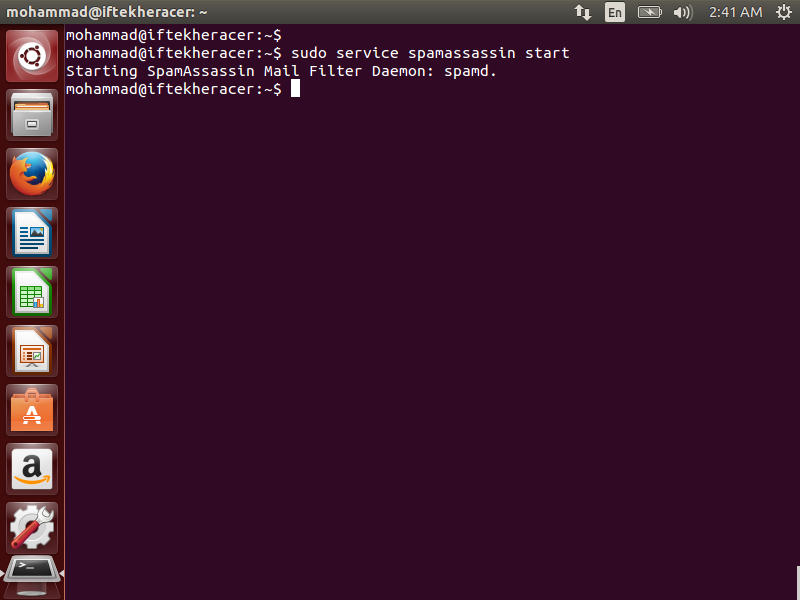
sudo service spamassassin start
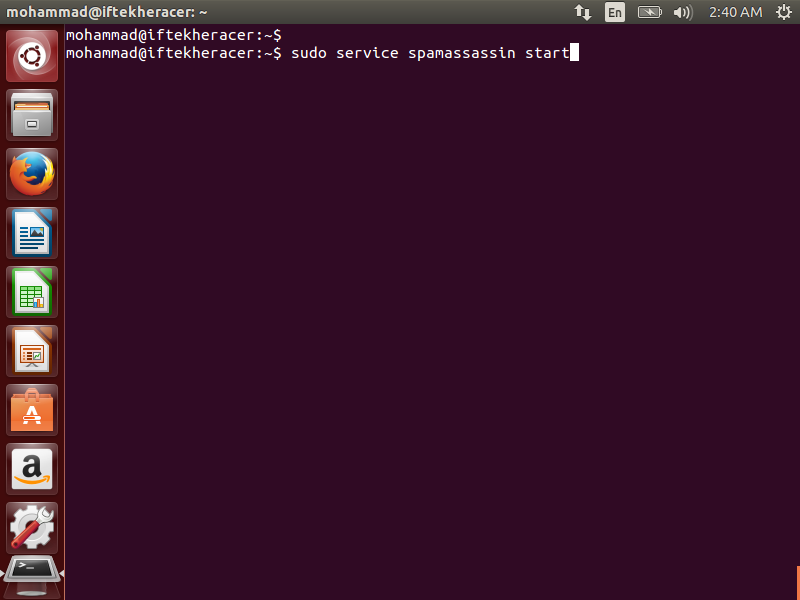
After putting the above command, you will see something like below.
# STEP 7
To test whether spamassassin is running or not, please issue the following command in your terminal.
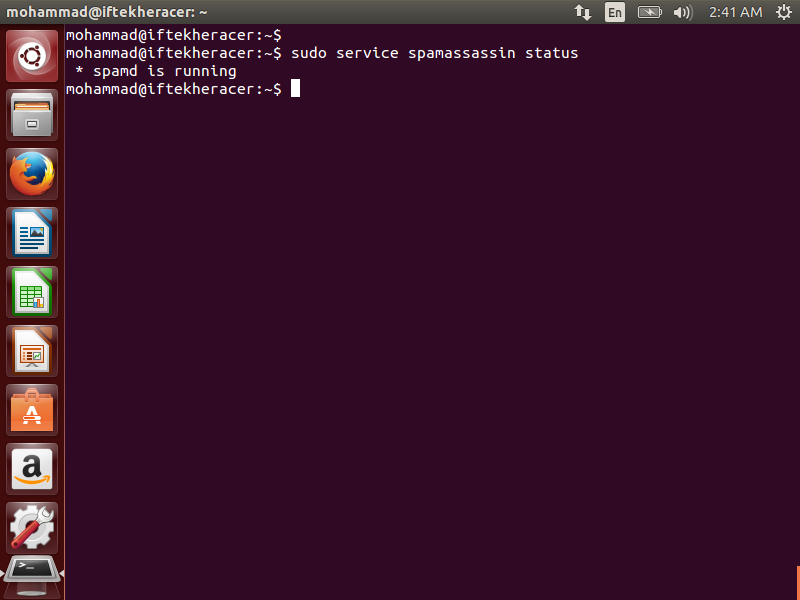
sudo service spamassassin status
It will let you know whether Spamassassin is running or not. You will see something like below.
# STEP 8
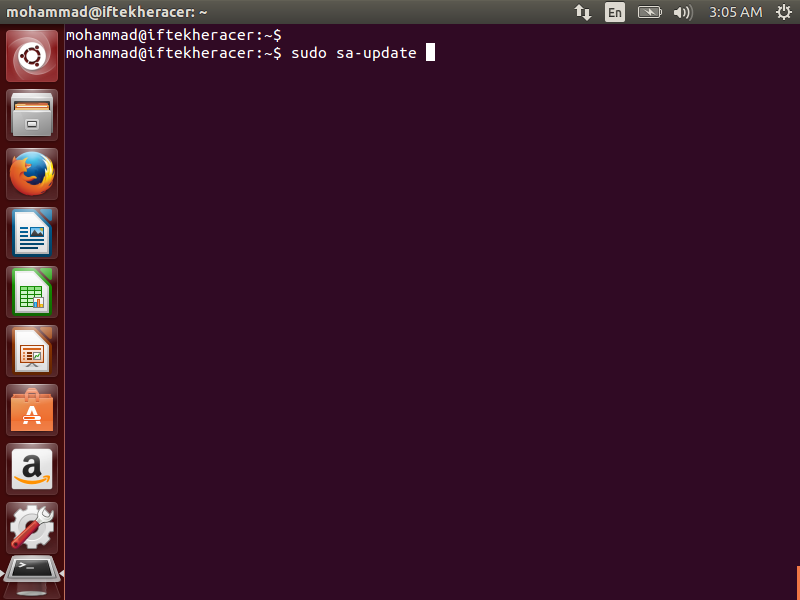
Finally, let’s update the Spamassassin spam mail database. To do so, issue the following command in the terminal. When you installed Spamassassin, usually a automatic schedule is set by cronjob at night time so that it can update it’s database for spam filtering. It helps Spamassassin database to stay up to date.
sudo sa-update
Thanks and hope you enjoy it.
Featured image credit: gino borio


