vsftpd (Very Secure File Transport Protocol Daemon) is a secure, fast FTP server for Unix/Linux systems. In this how-to article, let us see how to setup a basic FTP server on CentOS 7. However, this procedure might work well on RHEL CentOS, Scientific Linux 7 version too.
My testbox server hostname and IP Address are server.unixmen.local and 192.168.1.101/24 respectively. Change these values to match your scenario.
Install vsftpd
All commands should be run with ‘root’ user. Run the following command in terminal to install vsftpd package:
yum install vsftpd ftp -y
Configure vsftpd
Edit vsftpd configuration file /etc/vsftpd/vsftpd.conf,
vi /etc/vsftpd/vsftpd.conf
Find the following lines and make the changes as shown below:
 [...]
## Disable anonymous login ##
anonymous_enable=NO

## Uncomment ##
ascii_upload_enable=YES
ascii_download_enable=YES

## Uncomment - Enter your Welcome message - This is optional ##
ftpd_banner=Welcome to UNIXMEN FTP service.

## Add at the end of this  file ##
use_localtime=YES
Enable and start the vsftpd service:
systemctl enable vsftpd
systemctl start vsftpd
Firewall And SELinux Configuration
Allow the ftp service and port 21 via firewall.
firewall-cmd --permanent --add-port=21/tcp
firewall-cmd --permanent --add-service=ftp
Restart firewall:
firewall-cmd --reload
Then, update the SELinux boolean values for FTP service:
setsebool -P ftp_home_dir on
Create FTP users
By default, root user is not allowed to login to ftp server for security purpose. So, let us create a normal testing user called “sk” with password “centos”.
useradd sk
passwd sk
Connecting to FTP server
Now, try to connect to FTP server itself with user “sk”:
ftp 192.168.1.101
Enter the ftp user name and password.
Sample Output:
Connected to 192.168.1.101 (192.168.1.101).
220 Welcome to UNIXMEN FTP service.
Name (192.168.1.101:root): sk
331 Please specify the password.
Password:
230 Login successful.
Remote system type is UNIX.
Using binary mode to transfer files.
ftp>
Congratulations!! you will be able to login to FTP server without any problems.
Client side configuration
Let us try to log in to the FTP server from my Ubuntu client system.
ftp 192.168.1.101
Sample Output:
Connected to 192.168.1.101.
220 Welcome to UNIXMEN FTP service.
Name (192.168.1.101:sk): sk
331 Please specify the password.
Password:
230 Login successful.
Remote system type is UNIX.
Using binary mode to transfer files.
ftp>
Voila!! Our FTP server is working.
Access FTP Server Via FileZilla
Working from command-line mode might be little bit difficult to newbies. So let us install a graphical FTP client called Filezilla to get things done quite easier:
Note:
As you may know already, in RHEL 7 and its derivatives the previous firewall system(iptables) has been replaced with firewalld. I find it bit difficult to configure Filezilla along with Firewalld. So I disabled it, and switched back to old firewall system called iptables. I will update this tutorial as soon as possible once I found the working solution. If you don’t want to use filezilla, skip the following steps.
First, enter the following commands one by one to disable current firewall system firewalld, and enable old firewall iptables. The following commands should be run on your FTP server, not in ftp clients.
yum install iptables-services
systemctl mask firewalld
systemctl enable iptables
systemctl enable ip6tables
systemctl stop firewalld
systemctl start iptables
systemctl start ip6tables
Allow the default ftp port “21″ through your firewall or router. In the server side, do the following.
Edit file /etc/sysconfig/iptables,
vi /etc/sysconfig/iptables
Add the following lines.
[...]
-A INPUT -m state --state NEW -m tcp -p tcp --dport 21 -j ACCEPT
[...]
Save and exit the file. Restart iptables now:
systemctl restart iptables
systemctl restart ip6tables
Now, go back to your client systems, and install filezilla package.
On Debian based client systems:
sudo apt-get install filezilla
For RHEL based systems, you can install filezilla using following command:
yum install filezilla
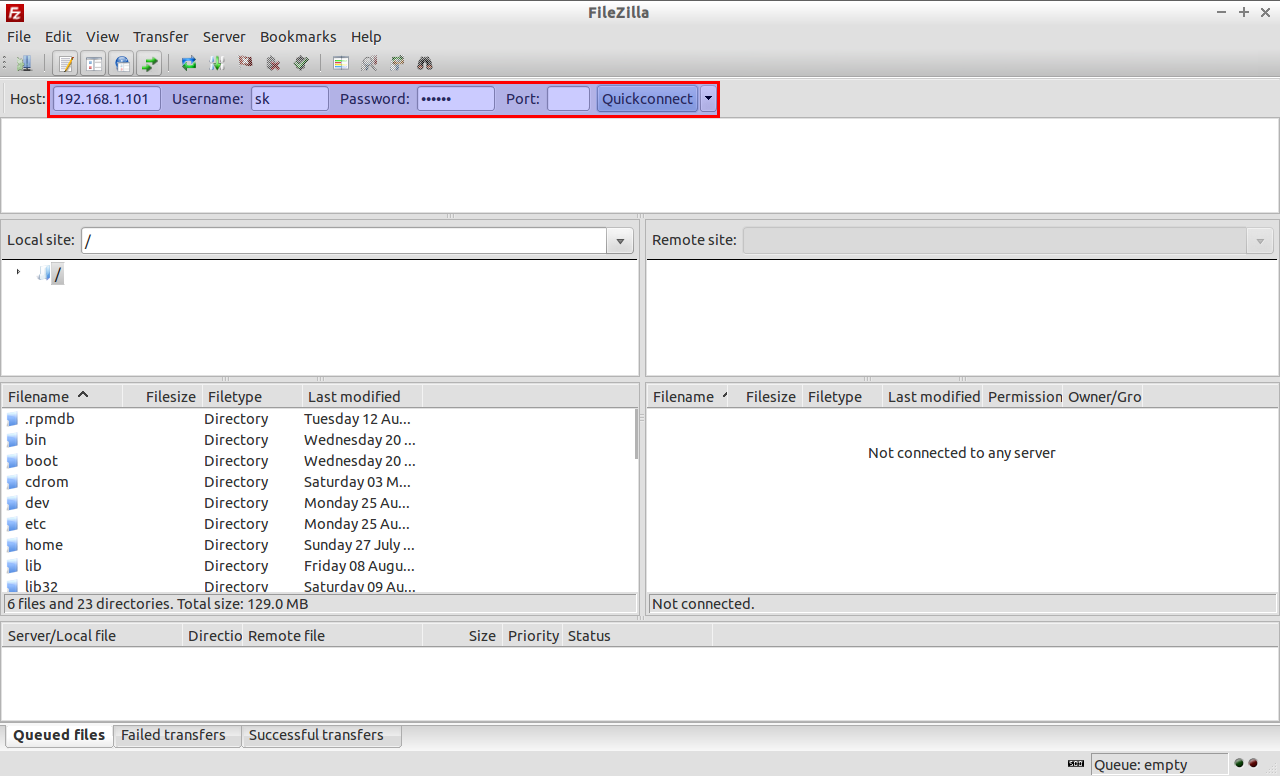
Open Filezilla client from your client system “Dash” or “Menu”. Enter the FTP server hostname or IP Address, username, password and port number. Click “Quickconnect” to login.
Probably, you will get the following error.
Error:    The data connection could not be established: EHOSTUNREACH - No route to host
Error:    Connection timed out
Error:    Failed to retrieve directory listing
To get rid of this error, do the following steps. In most cases, Resolution 2 should work.
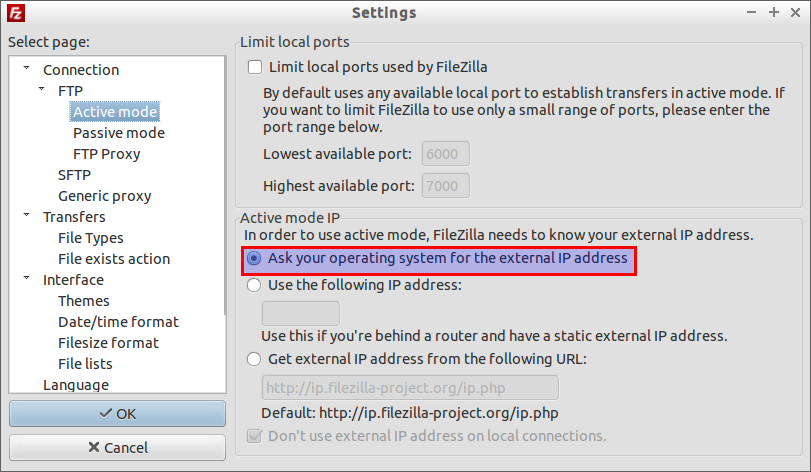
Resolution 1:
1. From your Filezilla client, go to Edit -> Settings -> FTP ->Active Mode.
In the Active Mode tab, make sure the option “Ask your operating system for the external ip address” is selected.
Then goto Edit -> Settings -> FTP ->Passive Mode. Select “Fall back to active mode” and click Ok.
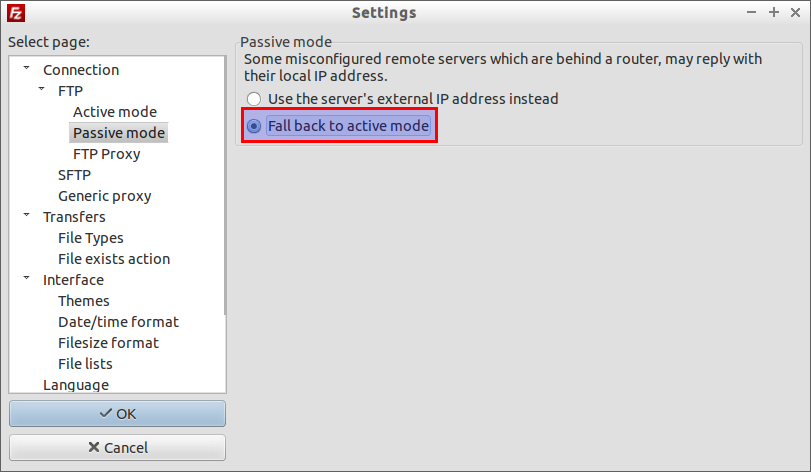
Now the error will be gone in some cases (May be in Windows OS clients).
Resolution 2:
If the problem still persists, goto your FTP server, edit file “/etc/sysconfig/iptables-config”.
vi /etc/sysconfig/iptables-config
Find the line IPTABLES_MODULES=” “ and change this to IPTABLES_MODULES=”ip_conntrack_ftp”:
# Load additional iptables modules (nat helpers)
#   Default: -none-
# Space separated list of nat helpers (e.g. 'ip_nat_ftp ip_nat_irc'), which
# are loaded after the firewall rules are applied. Options for the helpers are
# stored in /etc/modprobe.conf.
IPTABLES_MODULES="ip_conntrack_ftp"
[...]
Save the iptables rules and restart firewall:
systemctl restart iptables
Now, try again from Filezilla.
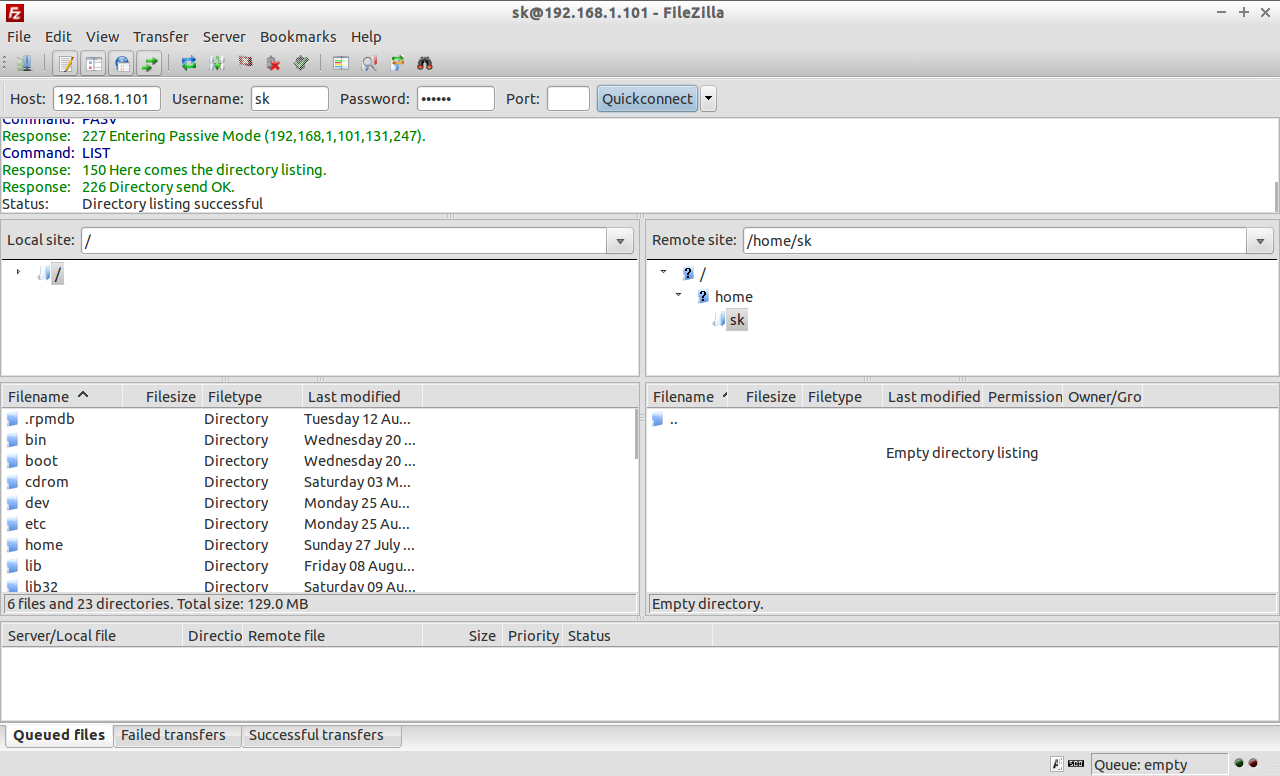
It should work now.
Access FTP server from Browser
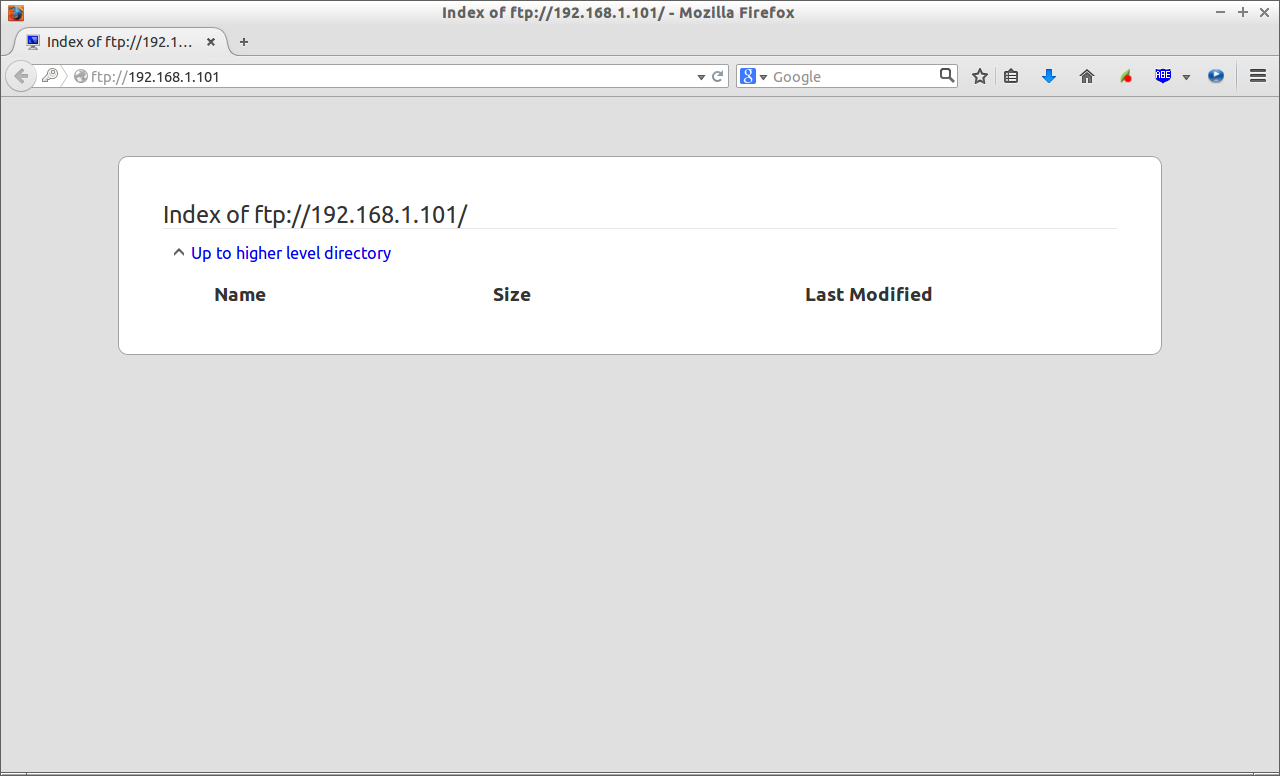
You can access the FTP server from your client browser also. Navigate to ftp://FTP-Server-IP-Address/. Enter the ftp username and password.
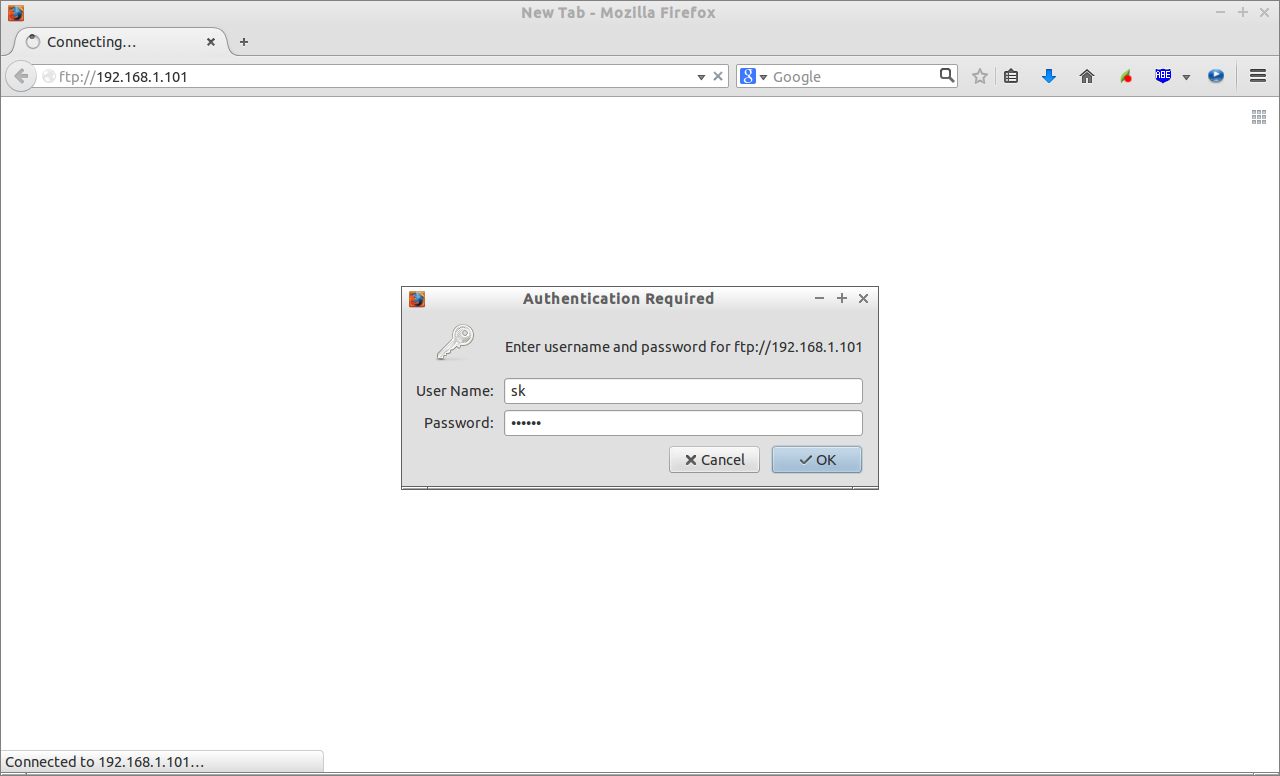
Now you can see the contents in your FTP server.
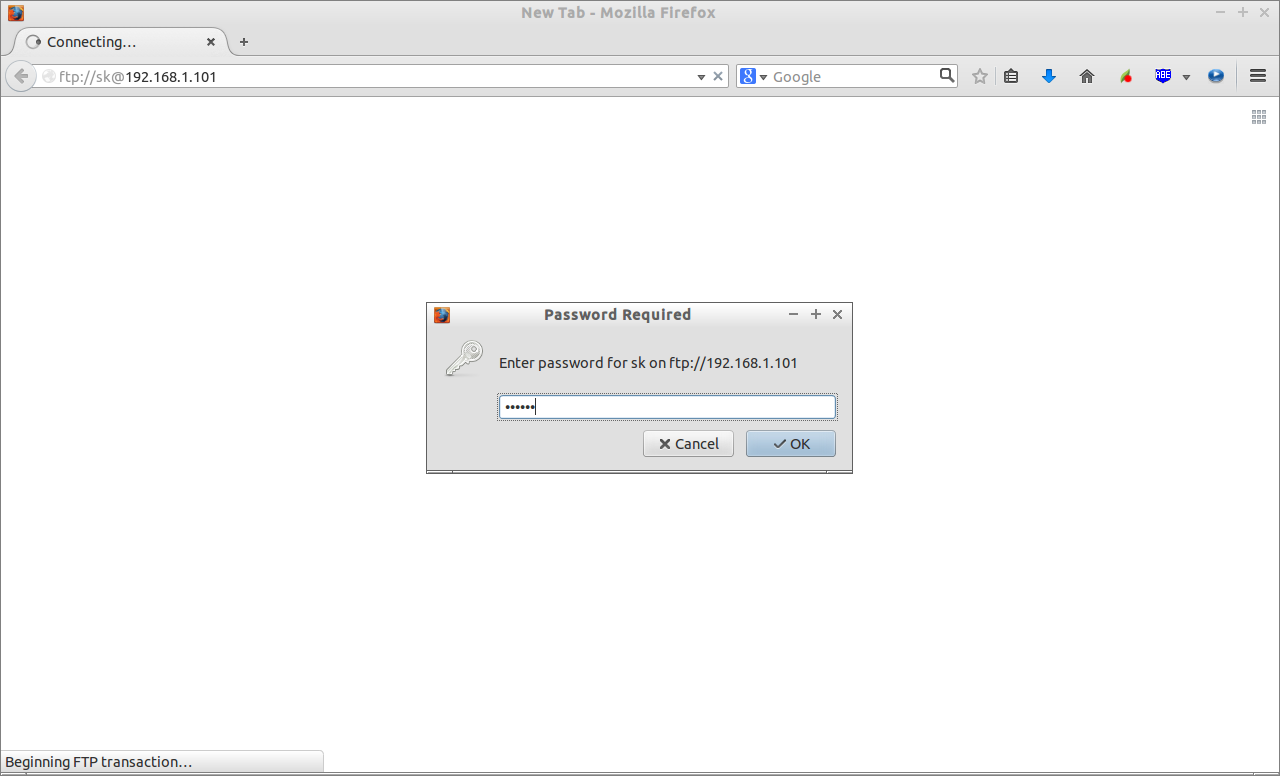
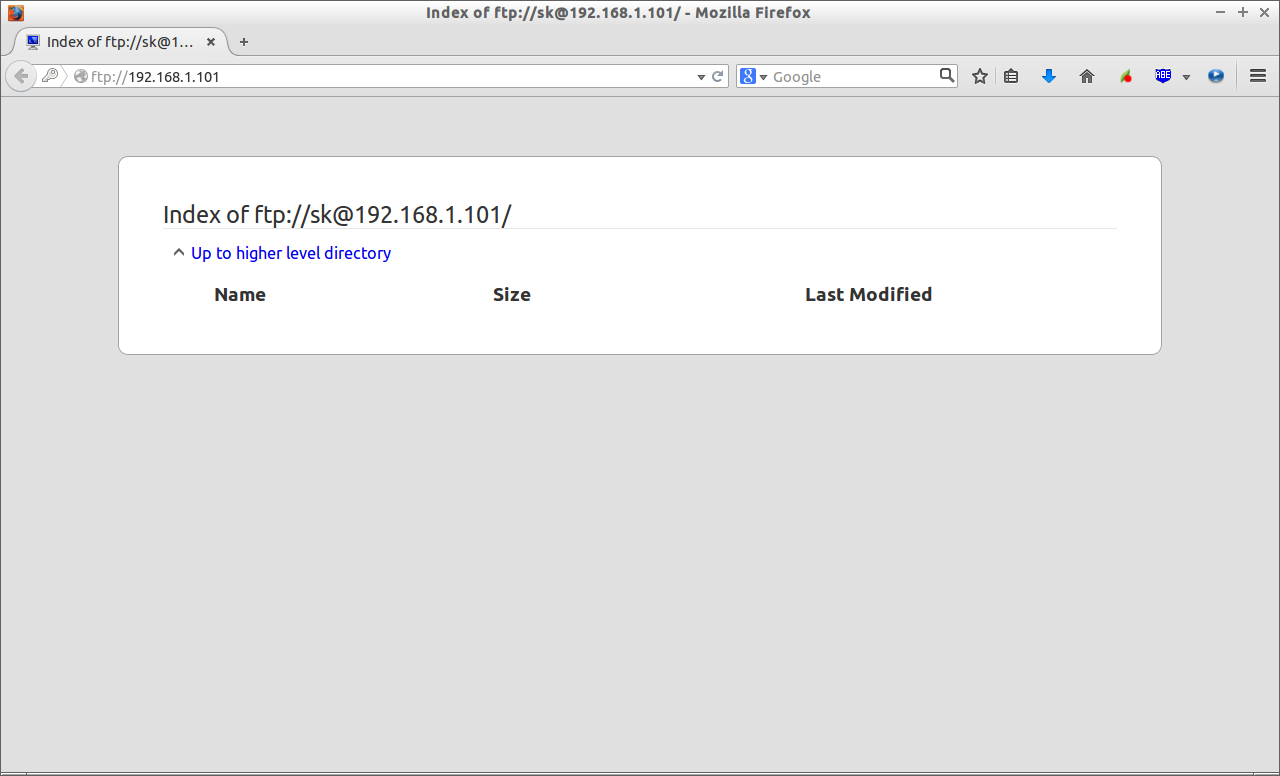
Log in as a particular user
If you want to login using a particular user, then navigate to ftp://username@FTP-Server-IP-Address/. It will ask the password of user, enter the password and you’re done.
For example, navigate to ftp://sk@192.168.1.101. Enter the password of the user sk.
That’s it.The FTP server ready now. Start using FTP!
Cheers!


