
What is Android SDK?
The Android Software Development Kit (SDK) enables the developers to build the Android applications. The Android SDK includes the following to build Android apps.
- Sample projects with source code
- Development tools
- An emulator
- Required libraries
As you may know, if you want to develop an Android application, you need at least one Android platform and Android SDK platform tools. Using Android SDK manager, we can easily download Android platform and latest Android SDK platform tools.
Install Android SDK On Ubuntu
Before start installing SDK tools, make sure you have installed the latest JDK on your system. To install Java on Ubuntu and its derivatives, refer the following link:
Download the Android SDK Manager from this link. You can download the whole Android SDK bundle or just SDK tools only. For testing purpose, I have downloaded only the SDK tools. After downloading the Android SDK tools package, extract it anywhere. I have downloaded the SDK tools archive in my home folder and extracted it on the same location.
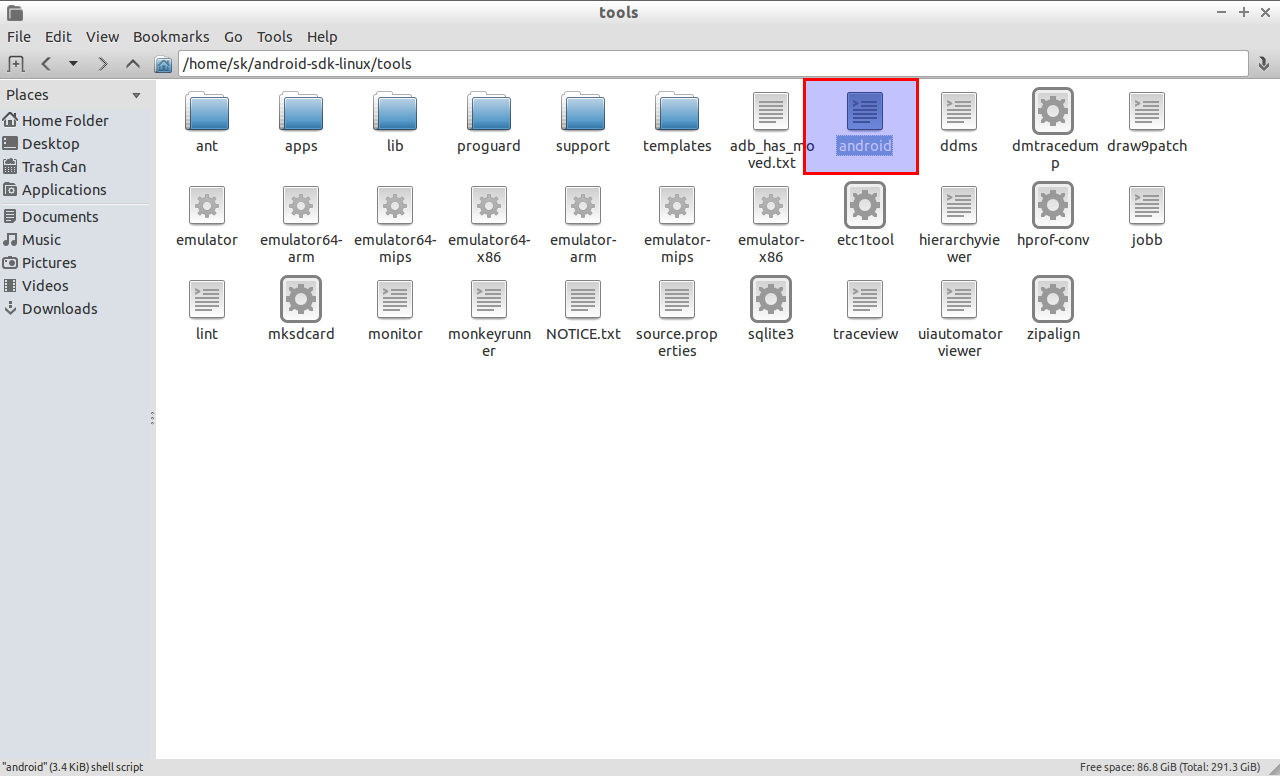
Go to the extracted folder, you will find a folder called “tools”. From the tools folder, double click the script file called “android”.
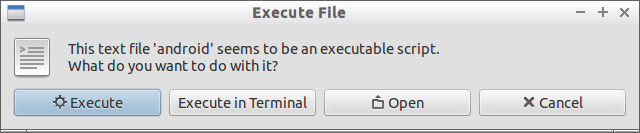
Click Execute to start Android SDK Manager.
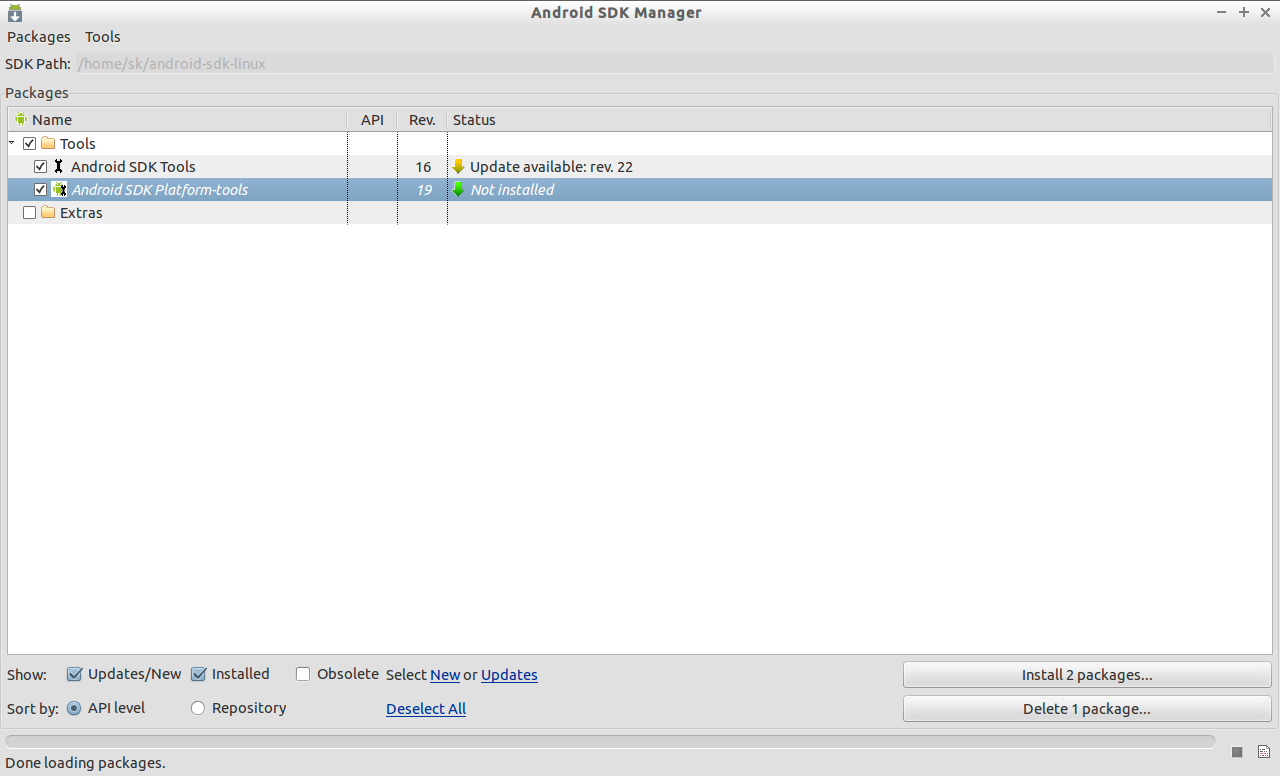
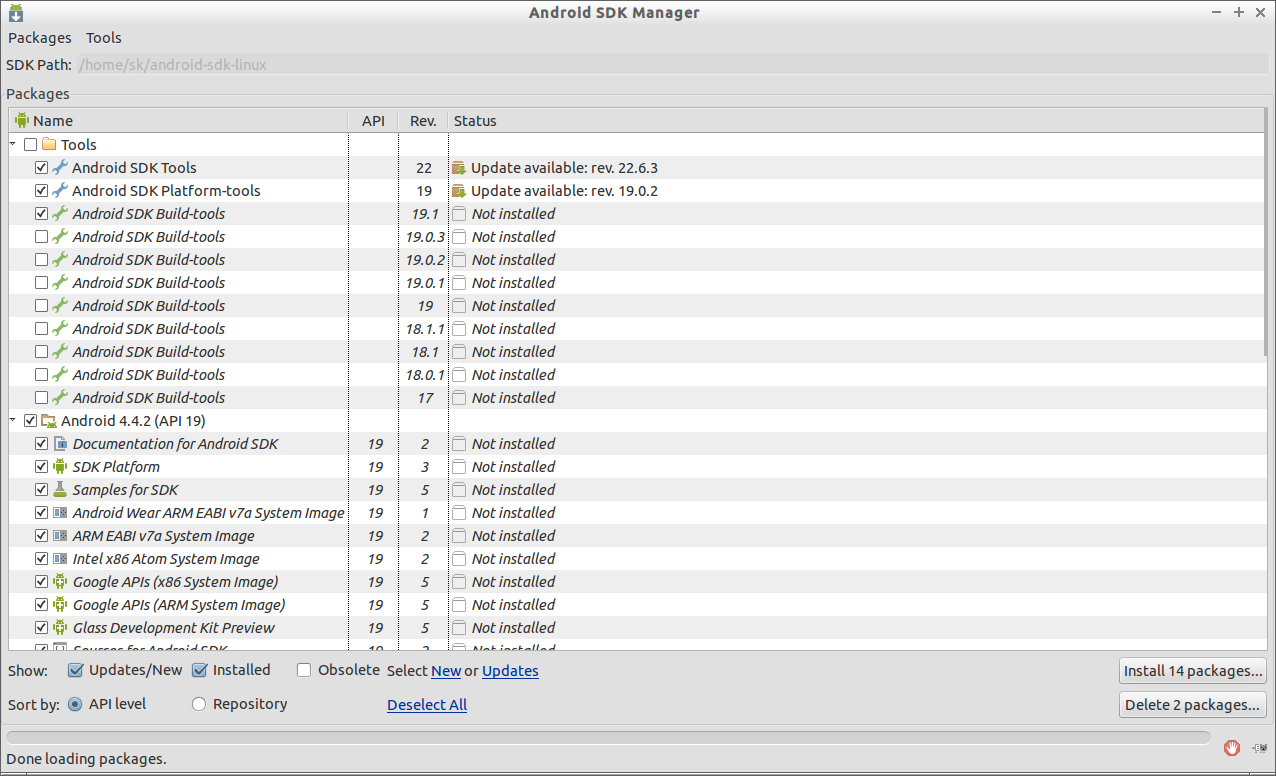
The Android SDK archive initially contains only the basic SDK tools. It does not contain an Android platform or any third-party libraries. In fact, it doesn’t even have all the tools you need to develop an application. In order to start developing applications, you must install the Platform-tools and at least one version of the Android platform, using the SDK Manager. Platform-tools contains build tools that are periodically updated to support new features in the Android platform (which is why they are separate from basic SDK tools), including adb, dexdump, and others.
To install Platform-tools, Android platforms and other add-ons, you must have an Internet connection, so if you plan to use the SDK while offline, please make sure to download the necessary components while online.
Click Install packages.
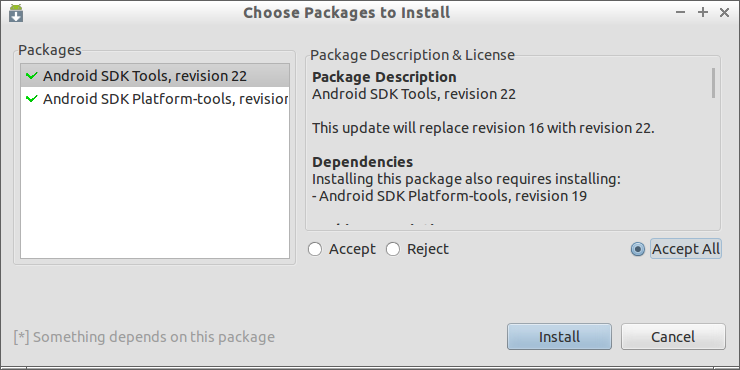
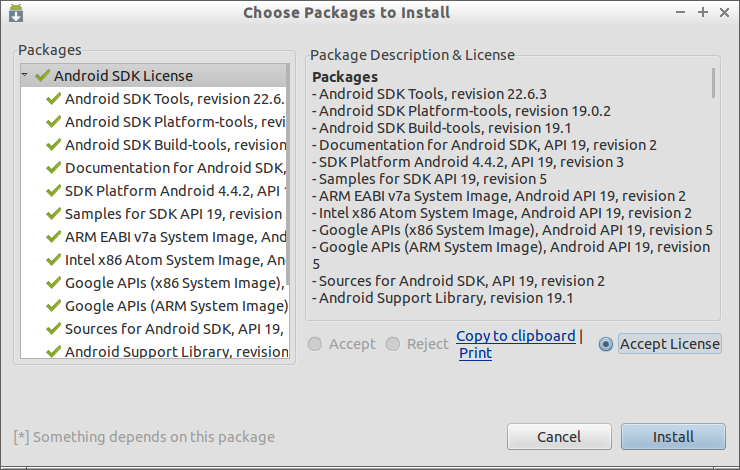
Click Accept All to start installation.
Now, the Android SDK Manager will start download the SDK platform tools. It will take a while depending upon your Internet connection speed. After downloading SDK tools, select the Android platform from the Tools to install.
Accept License agreement:
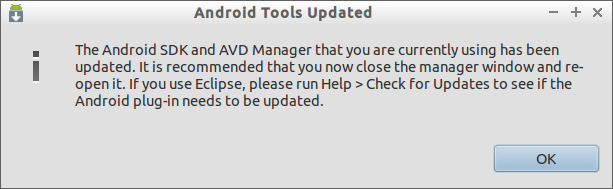
After updating all SDK platform tools, and Android Platform, you should see the following message.
That’s it. Now, edit ~/.bashrc file and add the Android SDK tools path.
vi ~/.bashrc
Add the following lines in it. Make sure you’ve added the correct path of android tools folder as shown below.
export PATH=${PATH}:/home/sk/android-sdk-linux/tools
export PATH=${PATH}:/home/sk/android-sdk-linux/platform-tools
Save and close the file. Log out and log in back to your system.
Create Android Virtual Device
Open up the Terminal, and run the following command to launch to open Android Virtual Device Manager:
android avd
Or you can open it from Android SDK Manager -> Manage AVD’s.
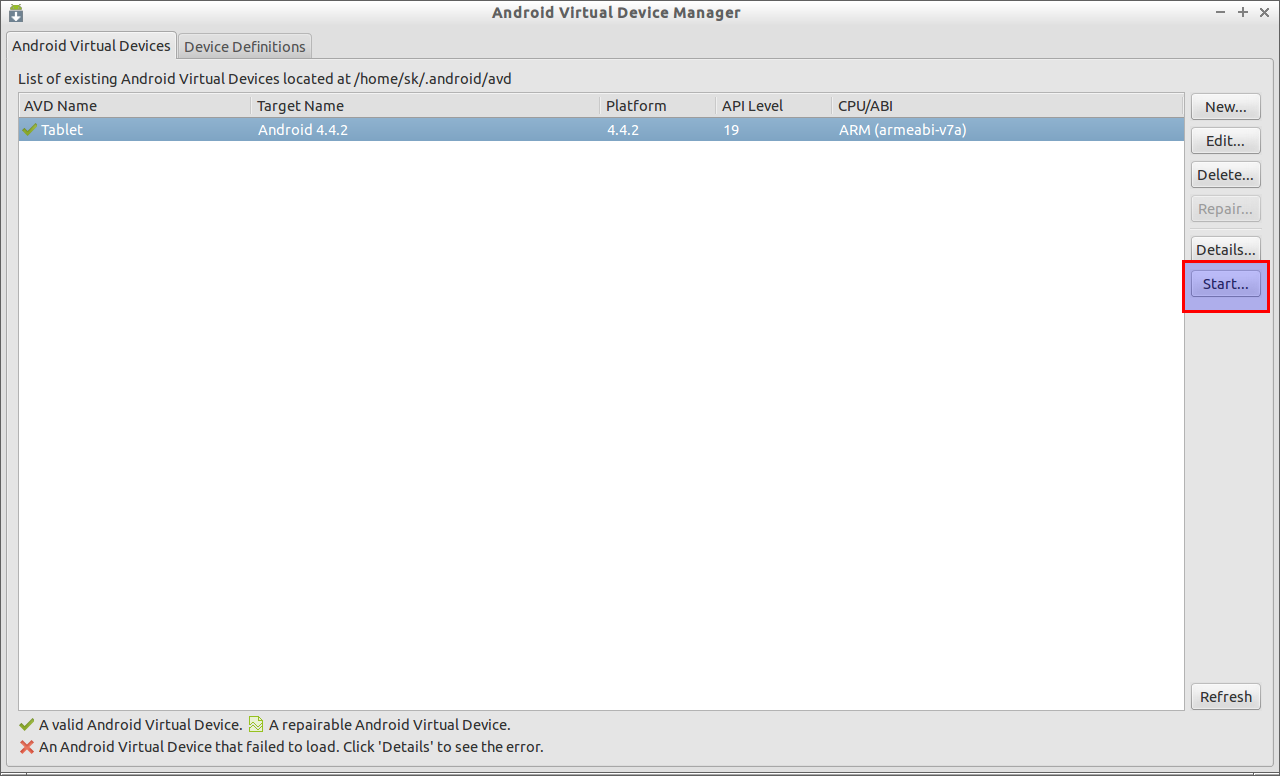
The Android Virtual Device Manager window will look like below.
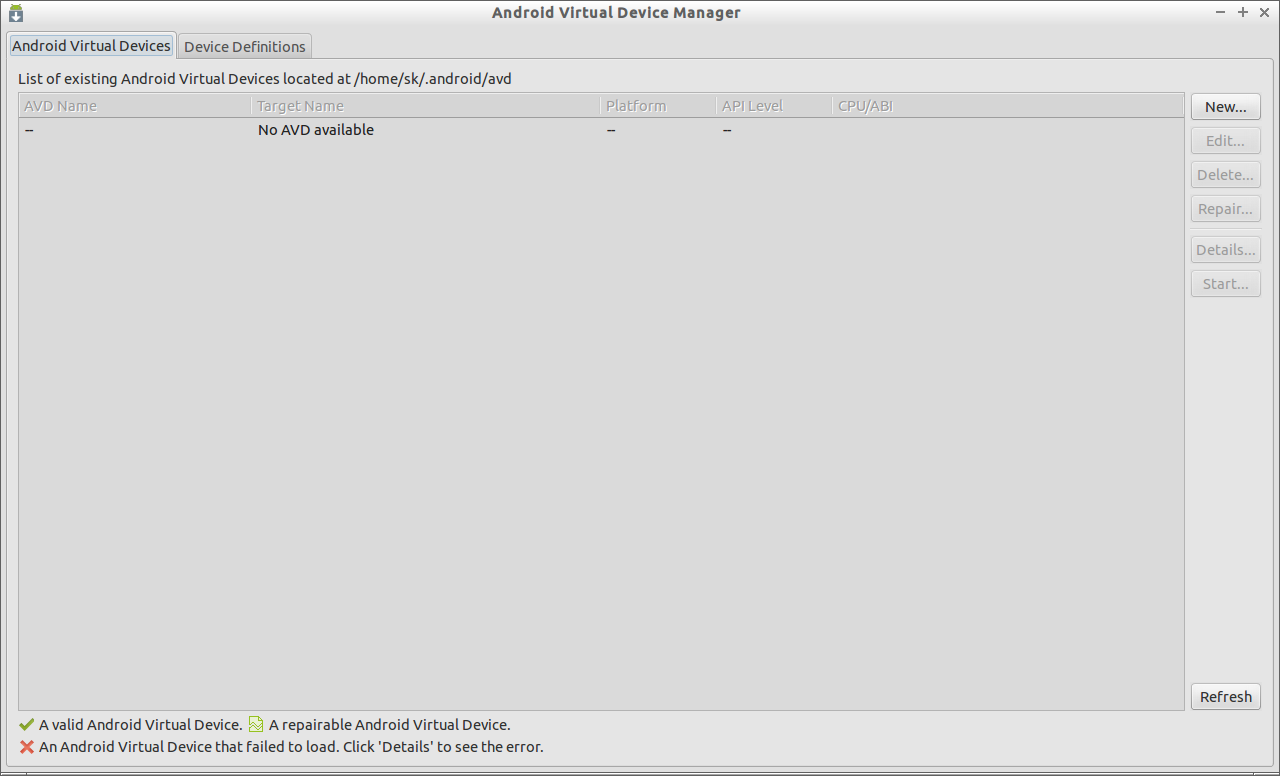
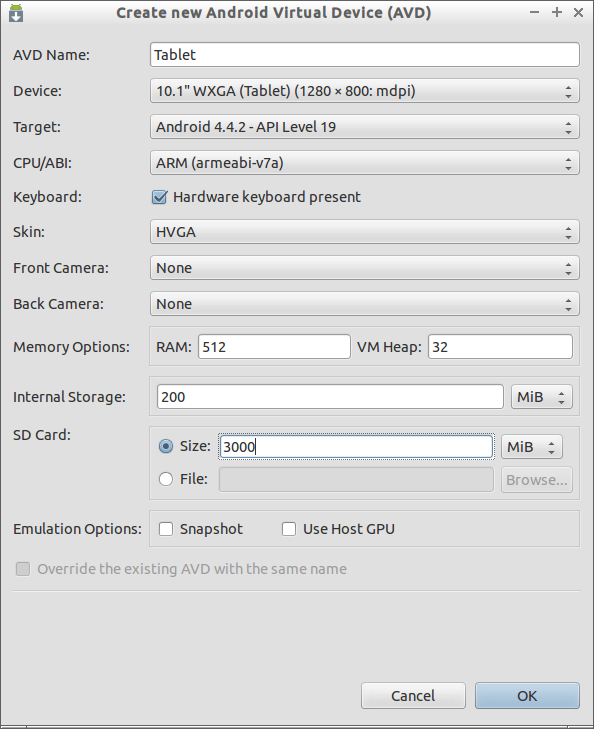
Click on New button to create a new Android virtual device. Or you can select the existing Android Virtual devices from Device Definitions tab.
Now, the Virtual device has been added. Select the device Click Start to open the virtual device.
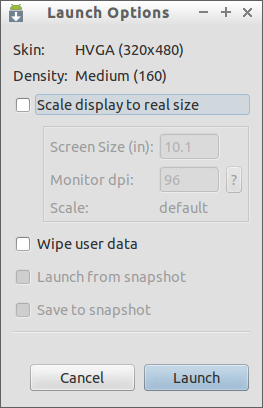
Click on the Launch button to power on the device.
Now, your Android virtual device will start. It will take couple of seconds depending upon your system speed.
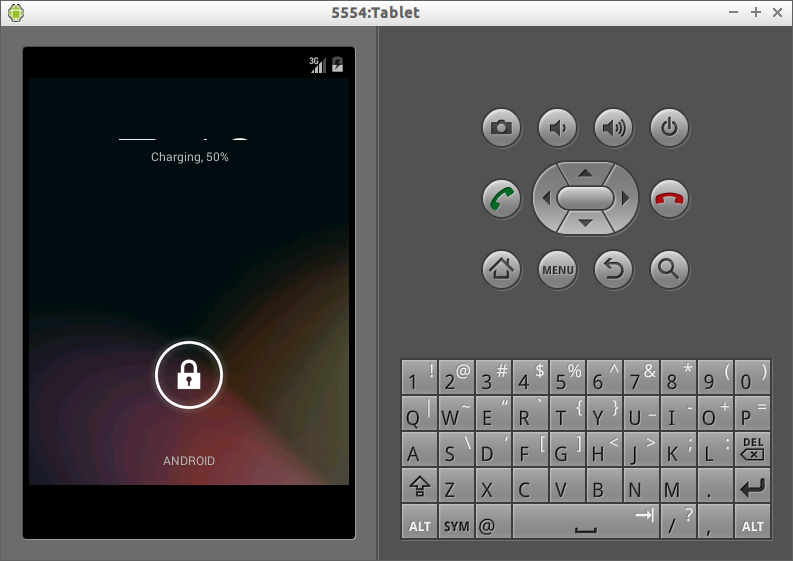
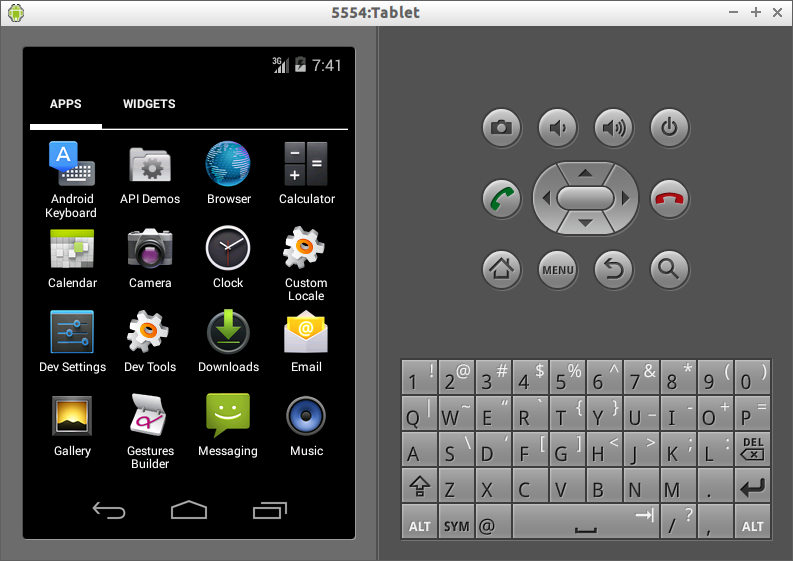
That’s it. Start using your Android phone from the Android emulator.
Cheers!


