
This tutorial describes how to setup a PXE server on Ubuntu 15.04 server and how to configure a PXE client.
We have already written PXE server guides for CentOS distribution. Refer the following links if you want to setup PXE boot environment in CentOS 6 and CentOS 7.
- PXE server installation and configuration on CentOS 6
- PXE server installation and configuration on CentOS 7
Now, let us start to setup and configure PXE server on Ubuntu 15.04. This method should work on previous Ubuntu versions like Ubuntu 14.10, 14.04 etc.
Scenario
My test box(pxe server) details are given below:
- Operating System: Ubuntu 15.04 server.
- IP Address: 192.168.1.101/24.
Install PXE Server
First, you should Install and configure DHCP server on your PXE server. To install and configure DHCP server in Ubuntu, refer the following link:
Now, install the following necessary packages for setting up PXE environment:
sudo apt-get install apache2 tftpd-hpa inetutils-inetd
Configure PXE Server
Edit file /etc/default/tftpd-hpa,
sudo nano /etc/default/tftpd-hpa
Add the following lines to enable TFTP server.
[...]
RUN_DAEMON="yes"
OPTIONS="-l -s /var/lib/tftpboot"
Then, edit file /etc/inetd.conf,
sudo nano /etc/inetd.conf
Scroll down to the end, and modify or add the following line.
tftp dgram udp wait root /usr/sbin/in.tftpd /usr/sbin/in.tftpd -s /var/lib/tftpboot
Save and close the file. If you use IPv6, please change the word udp to udp4.
Restart tftp service:
sudo /etc/init.d/tftpd-hpa restart
Copying Ubuntu Installation files to PXE Server
You can either mount the Ubuntu Installation ISO image and copy them to your PXE server or can directly copy the files from your Installation CD/DVD.
For the testing purpose, Here I am going to deploy Ubuntu 15.04 server OS on my PXE client, so I mounted the ISO image on /mnt directory.
I already have the ISO image on my home directory, so I ran the following command to mount it on /mnt directory.
sudo mount -o loop /home/sk/ubuntu-15.04-server-amd64.iso /mnt/
The Ubuntu 14.04 ISO image has been mounted successfully. Now, go to the /mnt/ directory, and copy the required files from the ISO image to /var/lib/tftpboot/ directory.
cd /mnt/
sudo cp -fr install/netboot/* /var/lib/tftpboot/
Create a directory called ubuntu in the apache root document folder.
sudo mkdir /var/www/html/ubuntu
Note: On Ubuntu 14.10 and previous versions, the apache root document folder is /var/www/.
Copy all the files from the Ubuntu ISO.
sudo cp -fr /mnt/* /var/www/html/ubuntu/
Now, edit file /var/lib/tftpboot/pxelinux.cfg/default,
sudo nano /var/lib/tftpboot/pxelinux.cfg/default
Add the following contents at the end. Make sure you’ve replaced the IP address with your own.
[...]
label linux
        kernel ubuntu-installer/amd64/linux
        append ks=http://192.168.1.101/ks.cfg vga=normal initrd=ubuntu-installer/amd64/initrd.gz
ramdisk_size=16432 root=/dev/rd/0 rw  --
For 32bit PXE clients:
[...]
label linux
        kernel ubuntu-installer/i386/linux
        append ks=http://192.168.1.101/ks.cfg vga=normal initrd=ubuntu-installer/i386/initrd.gz
ramdisk_size=16432 root=/dev/rd/0 rw  --
Replace 192.168.1.101 with your own PXE server’s IP address.
Save and close the file.
Configure DHCP Server
Now, we have to configure the DHCP server to work with PXE server.
Edit file /etc/dhcp/dhcpd.conf,
sudo nano /etc/dhcp/dhcpd.conf
Add the following lines at the end:
allow booting;
allow bootp;
option option-128 code 128 = string;
option option-129 code 129 = text;
next-server 192.168.1.101;
filename "pxelinux.0";
Save and close the file.
Now, We have come to the end of the PXE server configuration. Restart DHCP server.
sudo service isc-dhcp-server restart
Congratulations! We have completed the PXE server configuration.
PXE Client Configuration
The client may be any system that has network boot enabled option (PXE boot). You can enable this option in your Bios settings.
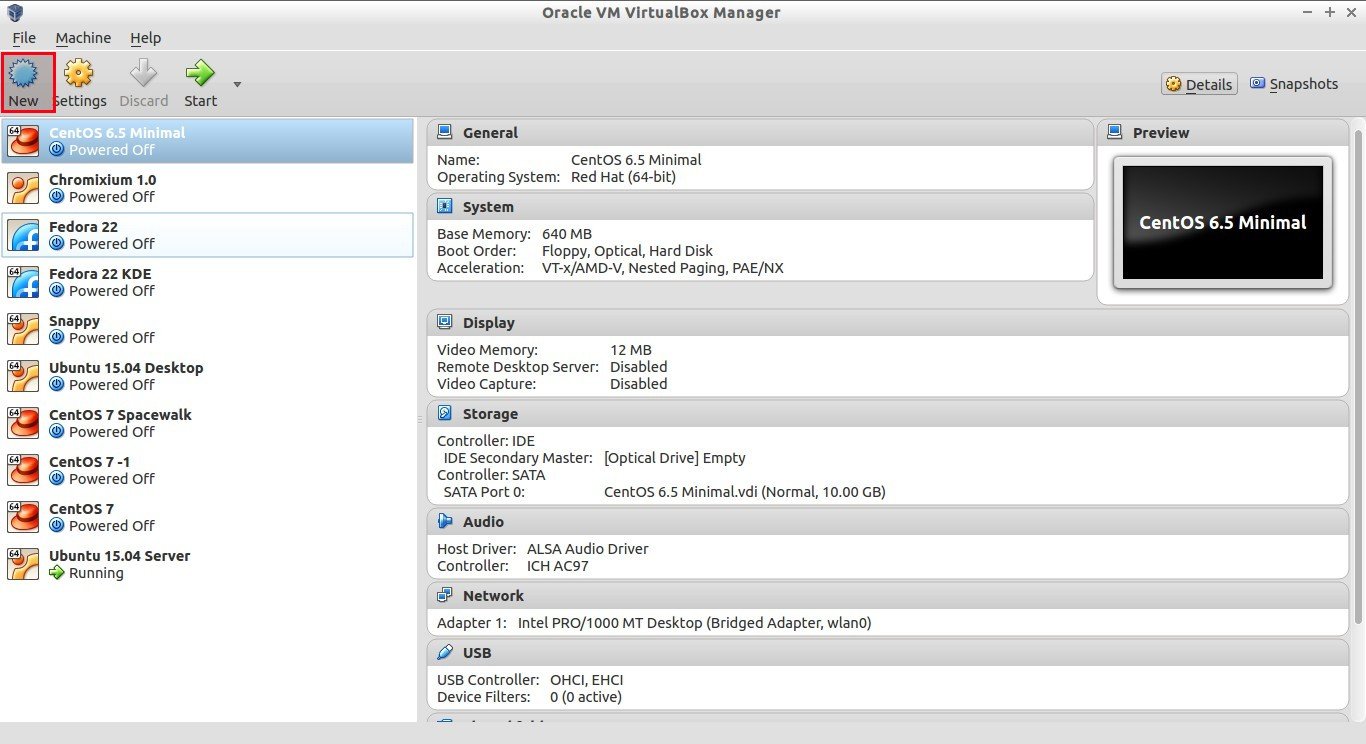
Due to lack of resources, I have created a Virtual Machine client on my Oracle VirtualBox.
Open up the Oracle VirtualBox. Click on the New button in the menu bar.
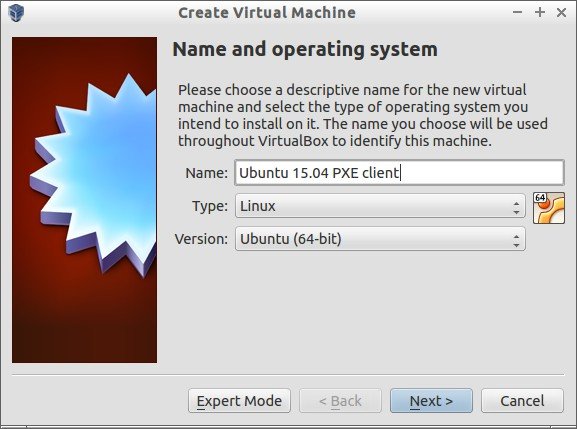
Enter the Virtual machine name.
Enter the RAM size to the Virtual machine.

Select “Create a virtual hard drive now” option and click Create.

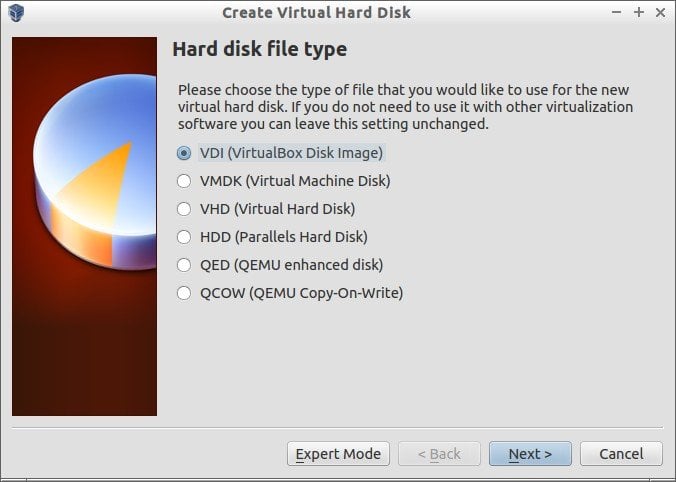
Select the Virtual hard drive file type. If you don’t know to what to select, leave the default option and click Next.
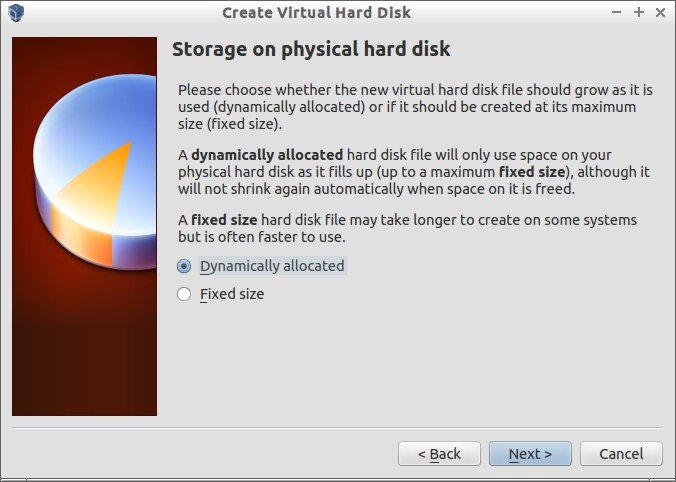
Select whether the new virtual hard drive file should grow as it is used or if it should be created as fixed size.
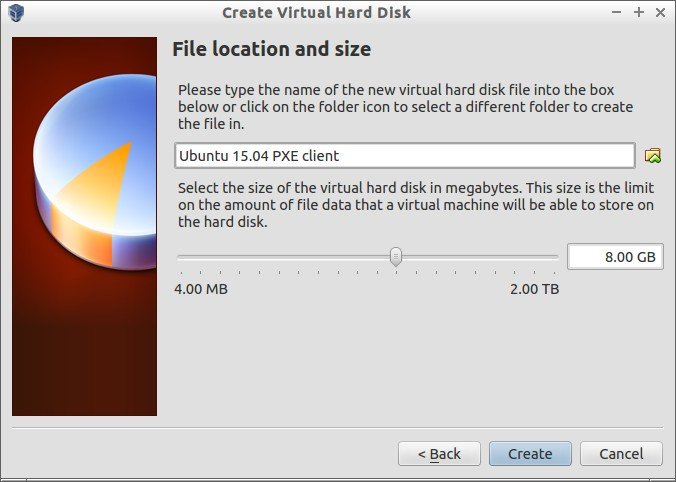
Enter the Virtual hard drive size.
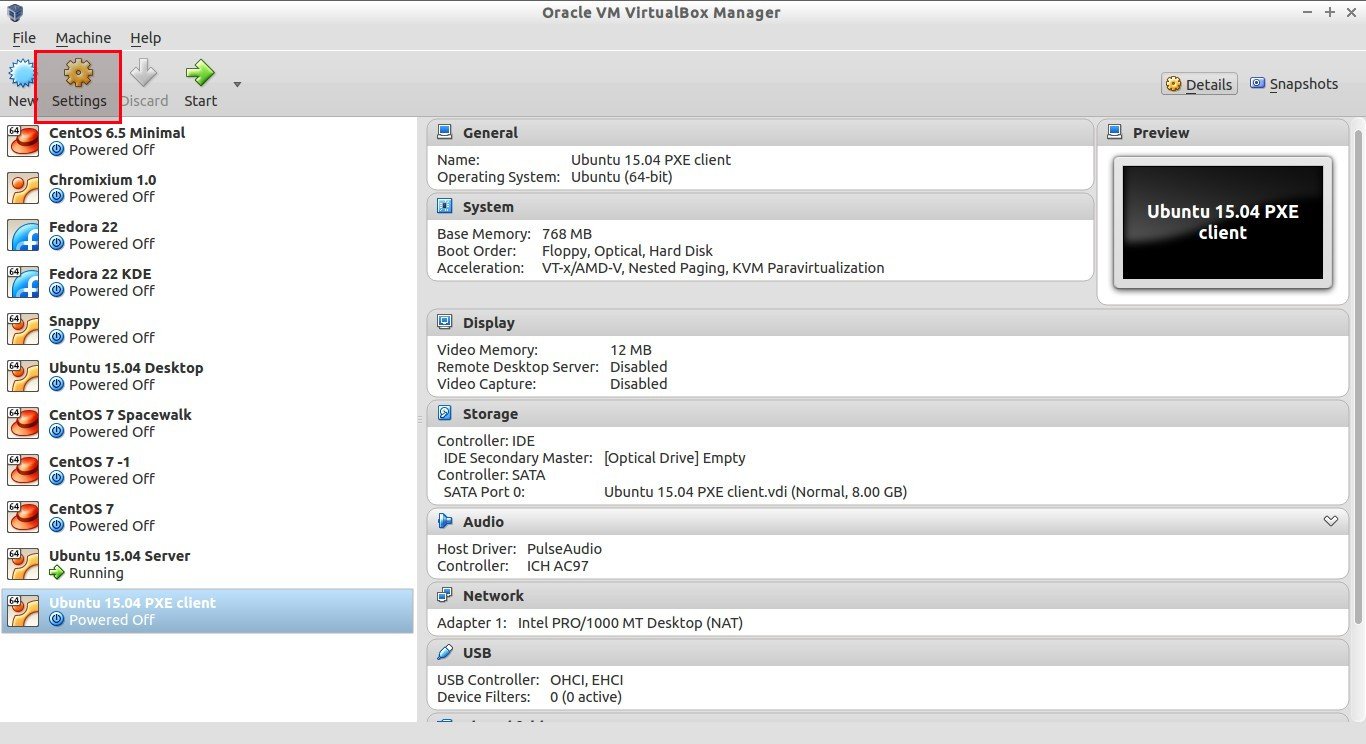
That’s it. Our Virtual Client machine has been created. Now, we should make the client to boot from the network. To do that, go to the Vitual machine Settings option.
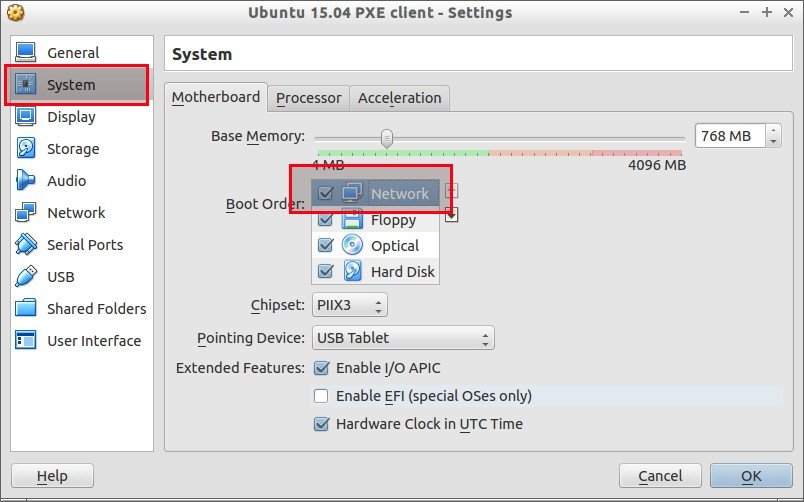
Select the System tab on the left, and Choose Network from the boot order option, and un-check all the other options on the right side.
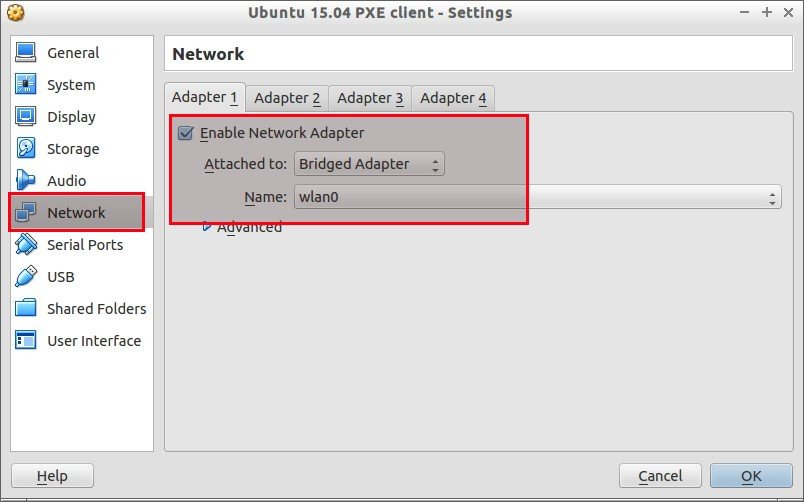
Then, go to the Network tab and select “Bridged Adapter” from the “Attached to” drop down box.
Once you done all the above steps, click OK to save the changes. That’s it. Now power on the Virtual client system. You should see the following screen.
![Ubuntu 15.04 PXE client [Running] - Oracle VM VirtualBox_011](http://unixmen.com/wp-content/uploads/2015/08/Ubuntu-15.04-PXE-client-Running-Oracle-VM-VirtualBox_011.jpg)
That’s it. The rest of the installation is same as the way we do in local installation. Start installing Ubuntu on your client using the PXE server.
![Ubuntu 15.04 PXE client [Running] - Oracle VM VirtualBox_012](http://unixmen.com/wp-content/uploads/2015/08/Ubuntu-15.04-PXE-client-Running-Oracle-VM-VirtualBox_012.jpg)
Good luck!
Reference:


