
About iRedmail
iRedMail is a free, full featured and full-fledged open source mail server solution for Linux and BSD. Using iRedMail, anyone, even a novice Linux user, can easily deploy mail server in less than fifteen minutes. If you have fast internet connection, then you can deploy it under 2 minutes. In this how-to, let me show you how to install and configure mail server using iRedMail. Before diving into the installation part, let us have a small walk through into the iRedMail features.
Features
Concerning about the iRedMail features, we can list the following.
- Zero cost, fully fledged and full-featured;
- Works on Major Linux/BSD Distributions, including Red Hat, CentOS, Ubuntu, Debian, FreeBSD, and OpenBSD ;
- Calendar service (CalDAV) and Contact service (CardDAV) ;
- Fast Deployment, Low Maintenance, and Unlimited Accounts ;
- Stores Mail Accounts in one of supported 4 backends: OpenLDAP, MySQL, MariaDB, and PostgreSQL ;
- Service Restrictions ;
- Sender and Recipient Throttling ;
- Anti-Spam and Anti-Virus ;
- WebMail: AJAX, Global LDAP Address Book, Vacation, Filter ;
- Your mail server setup is reproducible ;
- Control over your own data. You have all personal data on your hard disk, it is not on somebody else’s storage medium ;
- All components are free and open source softwares, and you get the bug fixes and updates of the used packages from the Linux/BSD distribution venders you trust, not iRedMail project;
- Works on both non-virtualized and virtualized boxes, e.g. VMware, Xen, KVM, OpenVZ, VirtualBox, with i386 and x86_64/amd64 support ;
- And many.
Installation
Prerequisites
1. Set a proper FQDN hostname on your server.
For RHEL/CentOS/Scientific Linux 6, hostname is defined in /etc/sysconfig/network:
HOSTNAME=mx.example.com
For RHEL/CentOS/Scientific Linux 7, hostname is defined in /etc/hostname.
server.unixmen.local
/etc/hosts: hostname <=> IP address mapping. Warning: List the FQDN hostname as first item.
127.0.0.1 server.unixmen.local server localhost localhost.localdomain
Verify the FQDN hostname. If it wasn’t changed, please reboot server to make it work.
hostname -fSample output:
server.unixmen.local
On Debian/Ubuntu Linux, hostname is set in two files: /etc/hostname and /etc/hosts.
/etc/hostname: short hostname, not FQDN.
server
/etc/hosts: static table lookup for hostnames. Warning: Please list the FQDN hostname as first item.
127.0.0.1 server.unixmen.local server localhost localhost.localdomain
Verify the FQDN hostname. If it wasn’t changed after updating above two files, please reboot server to make it work.
hostname -fSample output:
server.unixmen.local
2. Disable SELinux
iRedMail doesn’t work with SELinux, so please disable it. To disable SELinux, edit:
vi /etc/selinux/config
Set SELINUX value as disabled.
SELINUX=disabled
After server reboot, SELinux will be completely disabled.
If you prefer to let SELinux prints warnings instead of enforcing, you can set below value instead:
SELINUX=permissive
Disable it immediately without rebooting your server.
# setenforce 0
Install iRedMail
In this tutorial, let me show you how to install iRedMail server in Ubuntu. The procedure is same for all Linux distros. I tested this mail server in Ubuntu 14.04 64bit edition, and it’s worked like a charm.
Here is my testing environment:
- Operating System : Ubuntu 14.04 LTS Server
- IP Address : 192.168.1.101/24
- LDAP suffix : dc=unixmen, dc=local
- Domain name : unixmen.local
- Hostname : server.unixmen.local
Download the latest version for your preferred Linux distribution from the official download page.
As of writing this, the latest version was 0.9.1.
wget https://bitbucket.org/zhb/iredmail/downloads/iRedMail-0.9.1.tar.bz2
Extract the zip archive using command:
tar jxvf iRedMail-0.9.1.tar.bz2
Now go to iRedMail directory and run the installation script:
cd iRedMail-0.9.1/
sudo bash iRedMail.sh
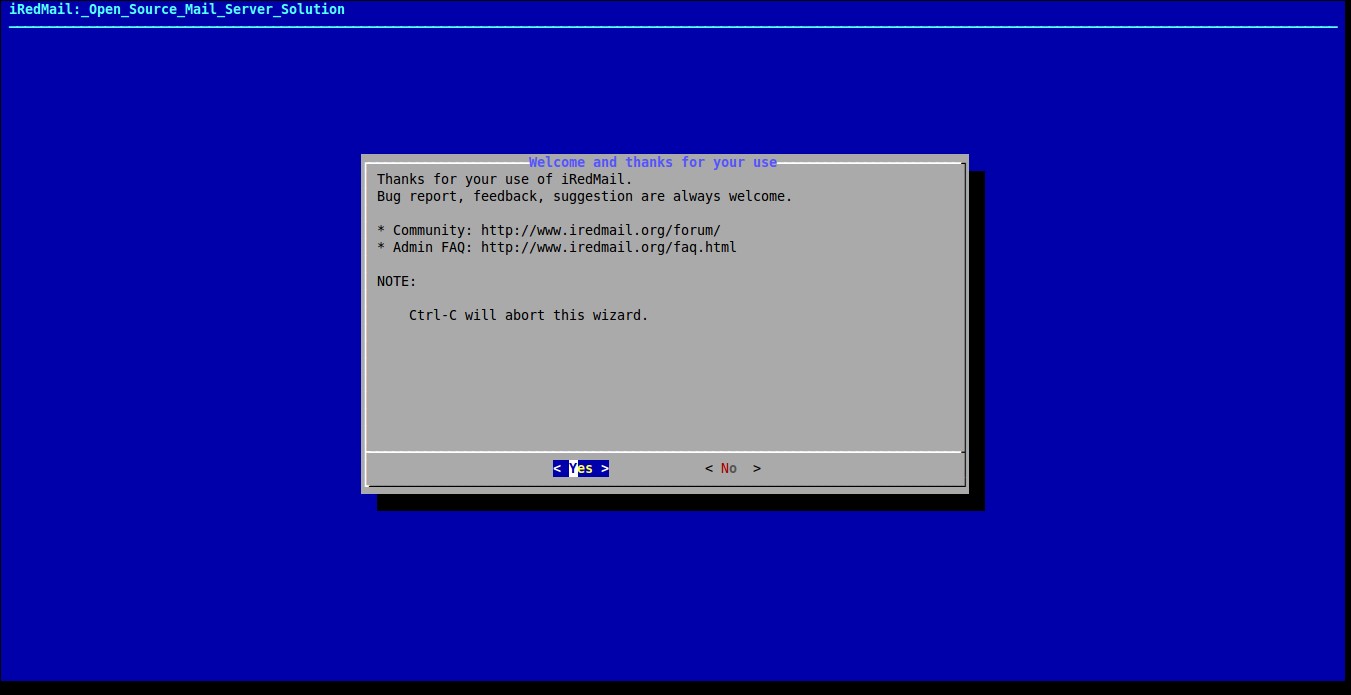
After a few seconds, the welcome page will appear. select Yes to continue.
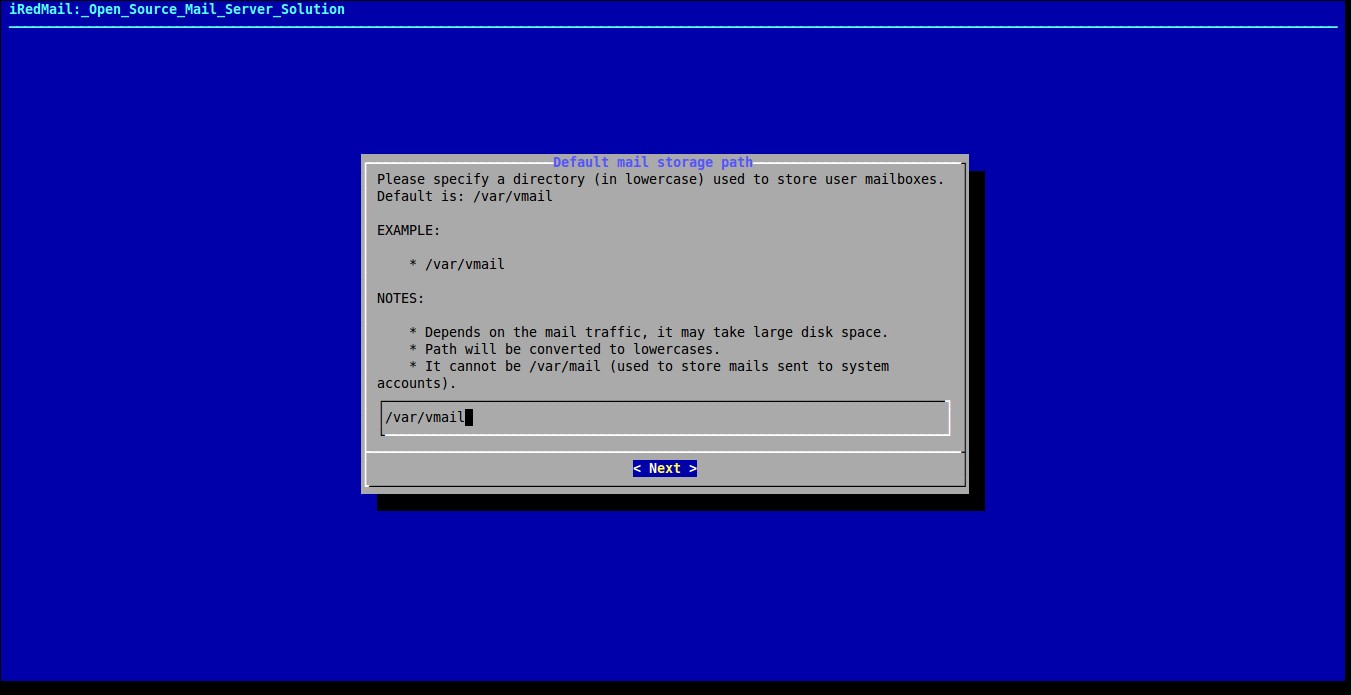
Specify the Mailbox location for users. The default is /var/vmail.
Select the web server of your choice. The default is nginx.

Select your preferred backend to store mail accounts. It is strongly recommended to choose the one you are familiar with for easy maintenance.
In this case, I chose openLDAP as my backend to store mail accounts.

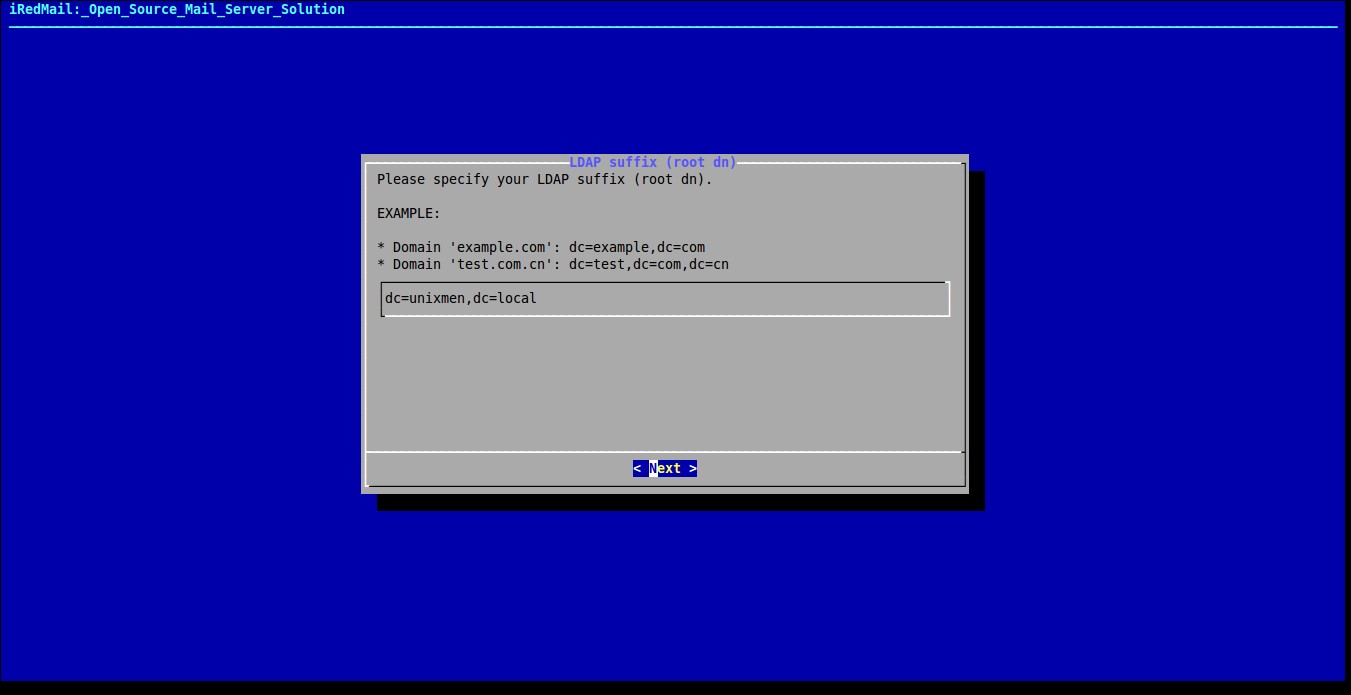
Enter your LDAP suffix details.
Specify the password for LDAP rootdn password. Blank passwords are not allowed.

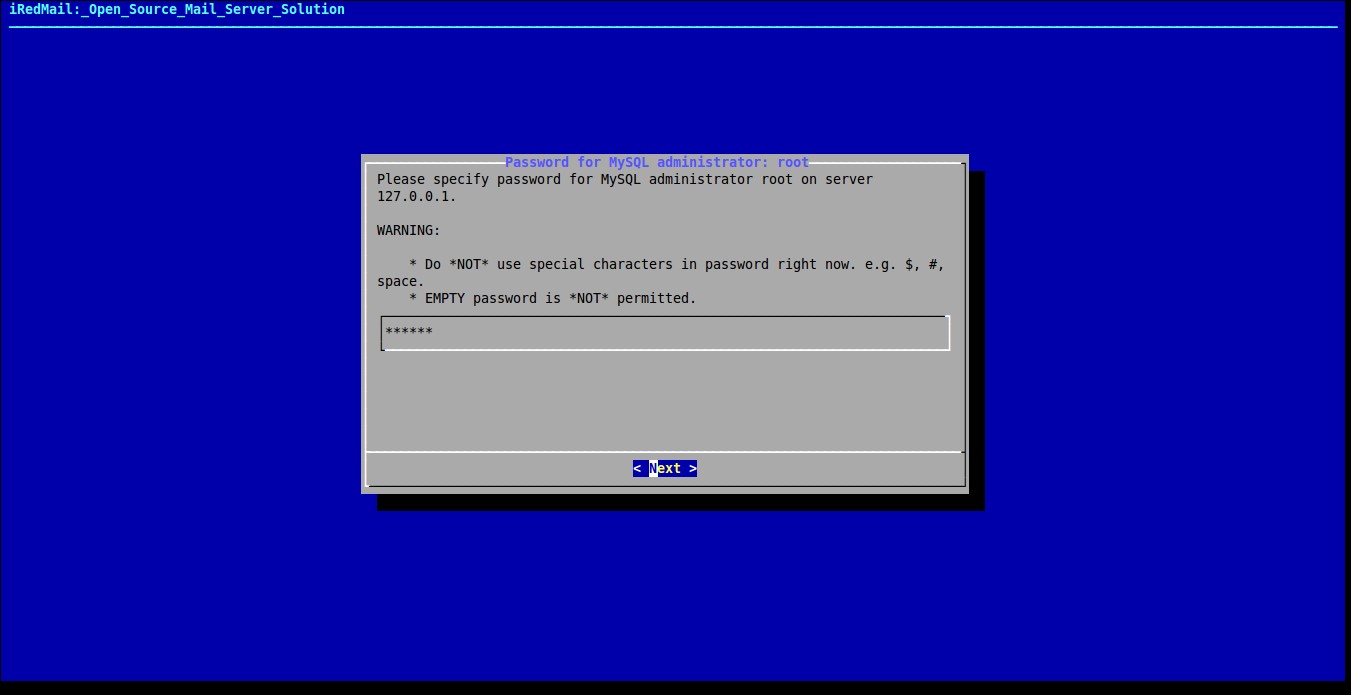
Specify MySQL Administrator password. Again, empty password is not allowed.
Enter the first virtual domain name for your mail server. It can not be same as your server hostname.

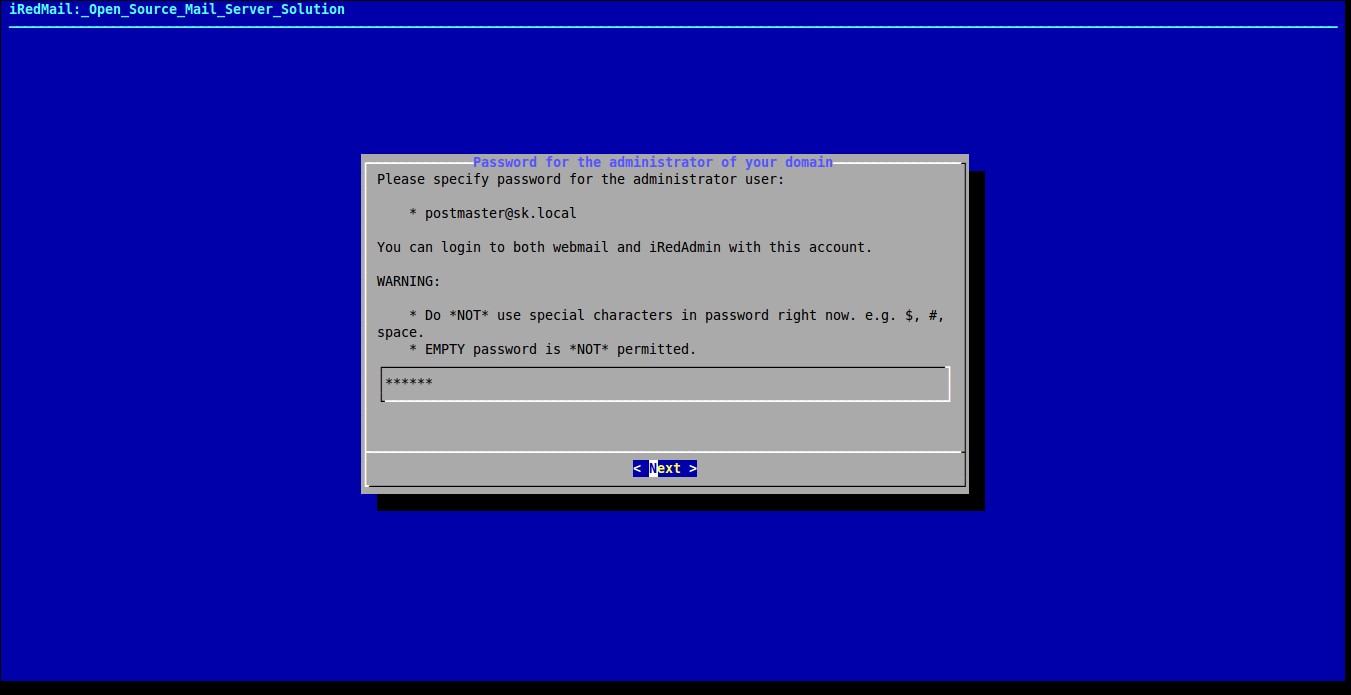
Specify the password for your mail administrator user.
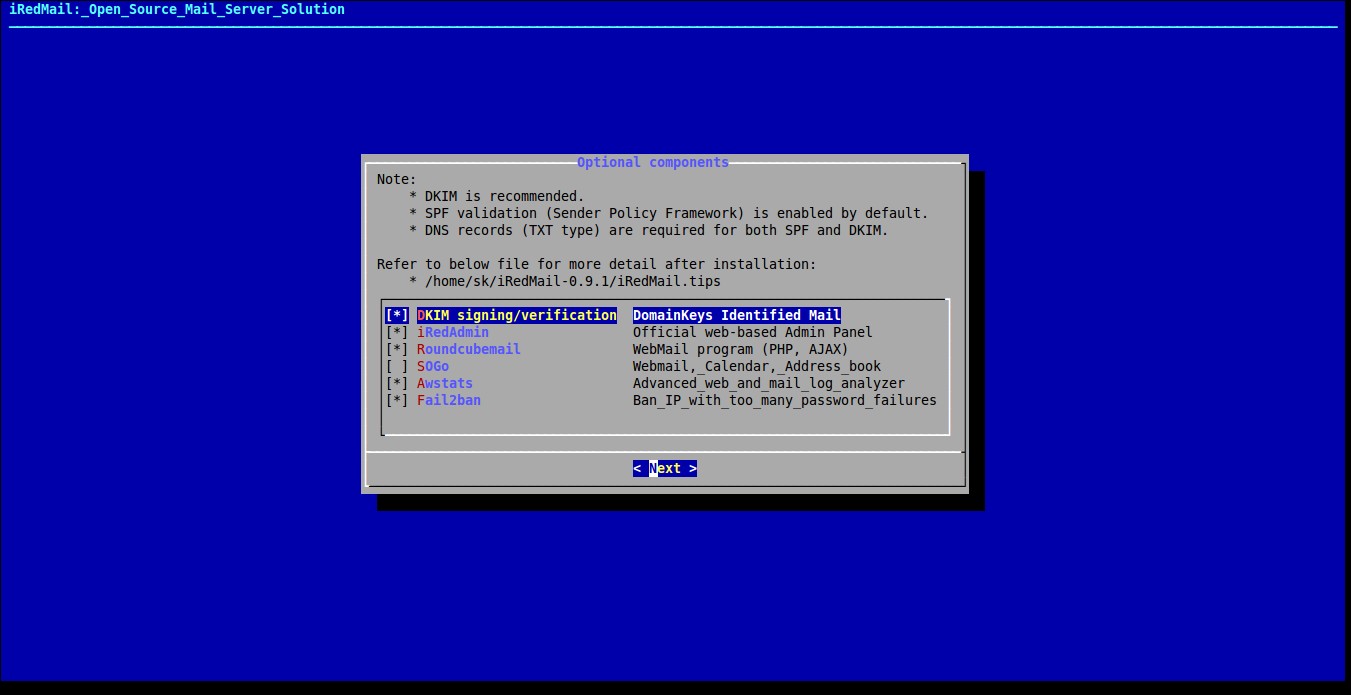
Select the optional components and press next.
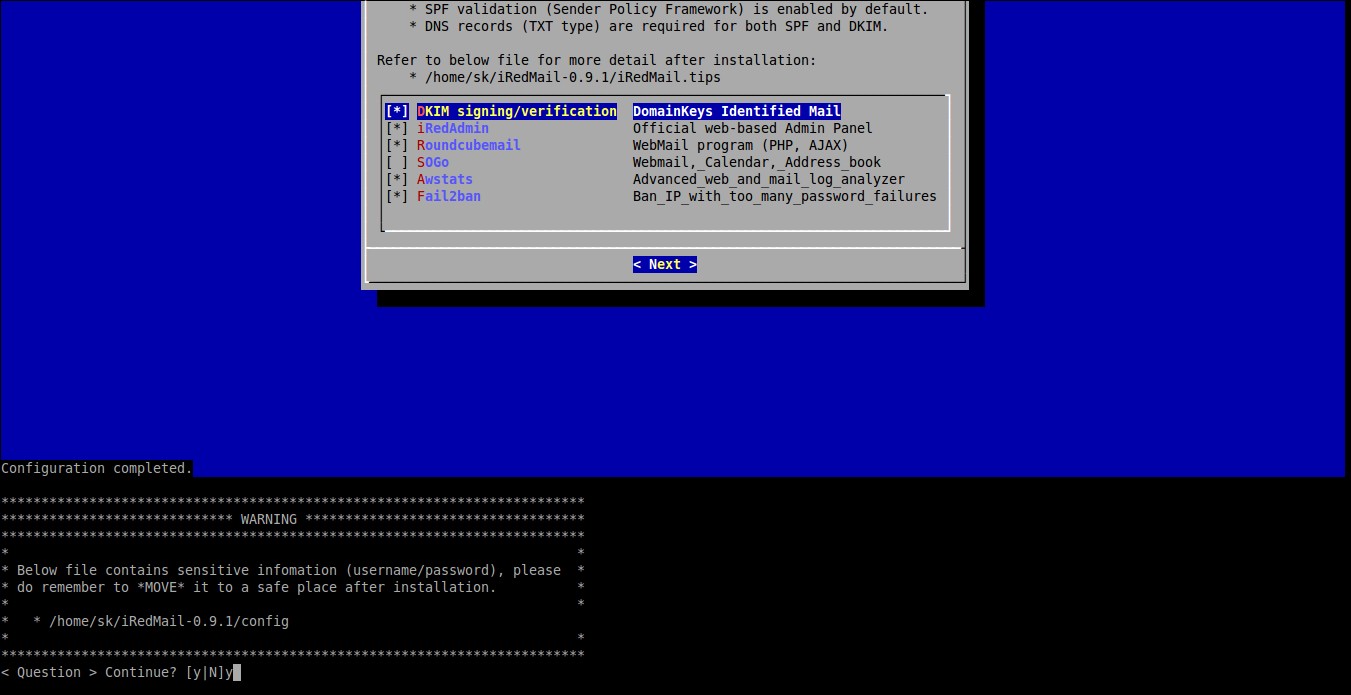
Now, the installer will begin to download and install all the necessary packages. Type y to begin the installation. It will take a while depending upon your internet speed.
After few minutes, installer will ask you to update firewall rules. Press y and enter to accept.

After installation completed, reboot your system to enable all mail services.
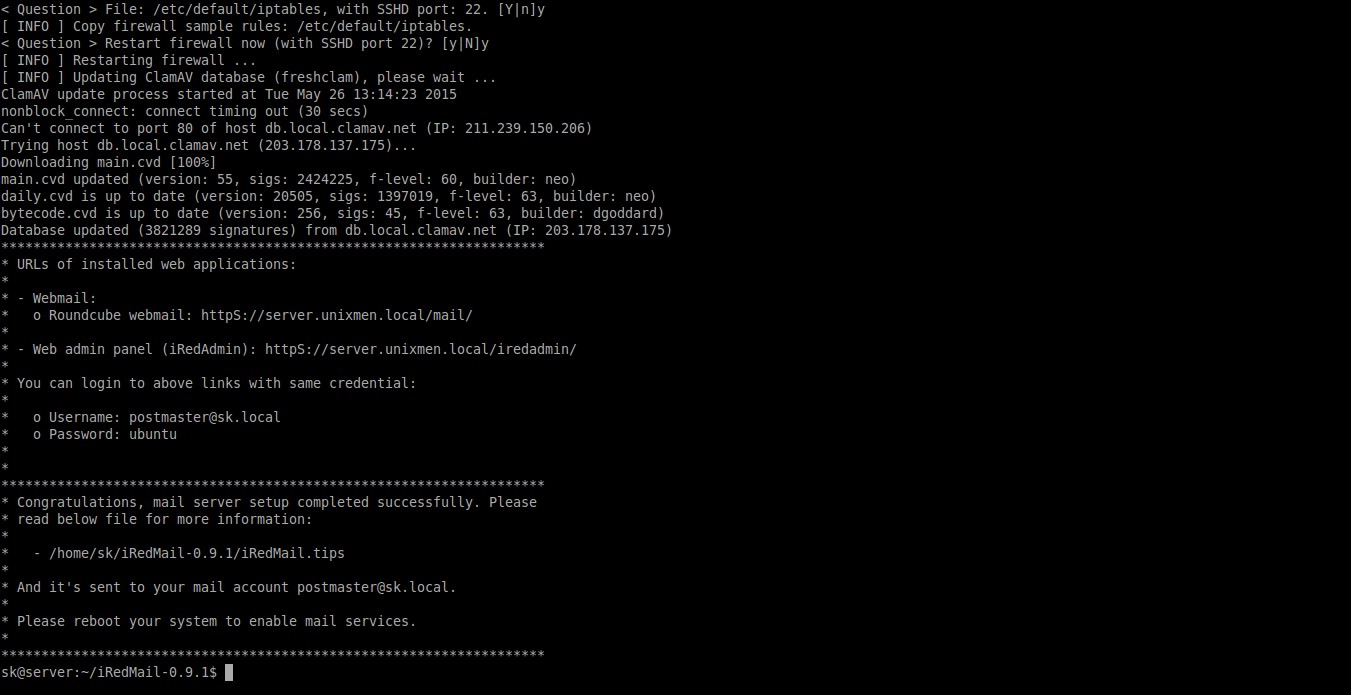
Please note down the administration username and password. The default administration username is “postmaster@your_domain_name.com” and password is the one which you have given at the installation time.
Post Installation
After rebooting your system, move the ‘config’ file to a safe location. This file contains sensitive information (username/password).
This will be created in your home directory, for example: /home/sk/iRedMail-0.9.1/config
Also, refer the file iRedMail.tips in the iRedMail installation directory(In my case it’s /home/sk/iRedMail-0.9.1/iRedMail.tips)
It contains:
- URLs, usernames and passwords of web-based applications
- Location of mail service related software configuration files.
- Some other important and sensitive information
Administration
iRedMail administration made easy with a cool web interface.
You can access the iRedMail web consoles using the following two URLs:
- Web administration console: https://IP-Address/iredadmin
- Roundcube webmail: https://IP-Address/mail
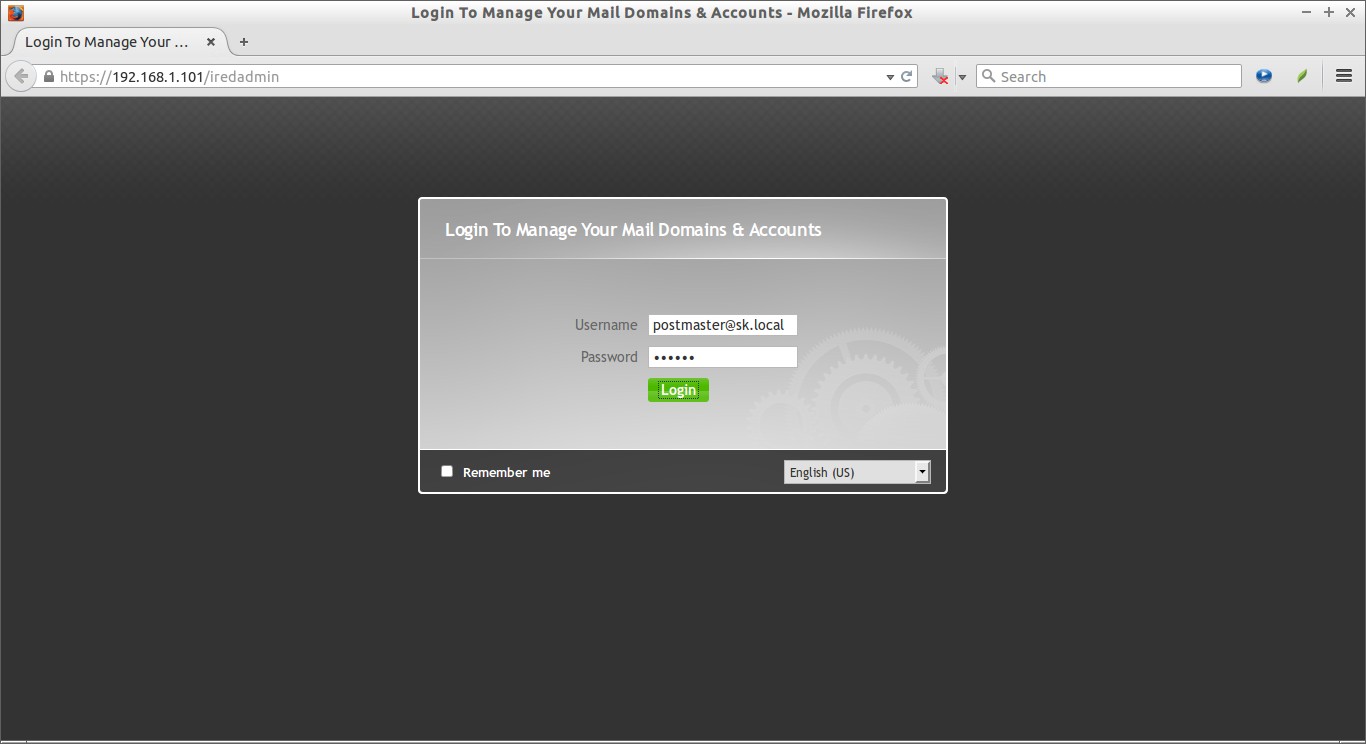
Access iRedMail administration console:
Open up your web browser and navigate to “https://IP-Address/iredadmin” and enter the administration username and password which we have defined during the installation.
The username will probably be postmaster@your_domain.com. In my case, it’s postmaster@sk.local.
The admin panel will look like below.
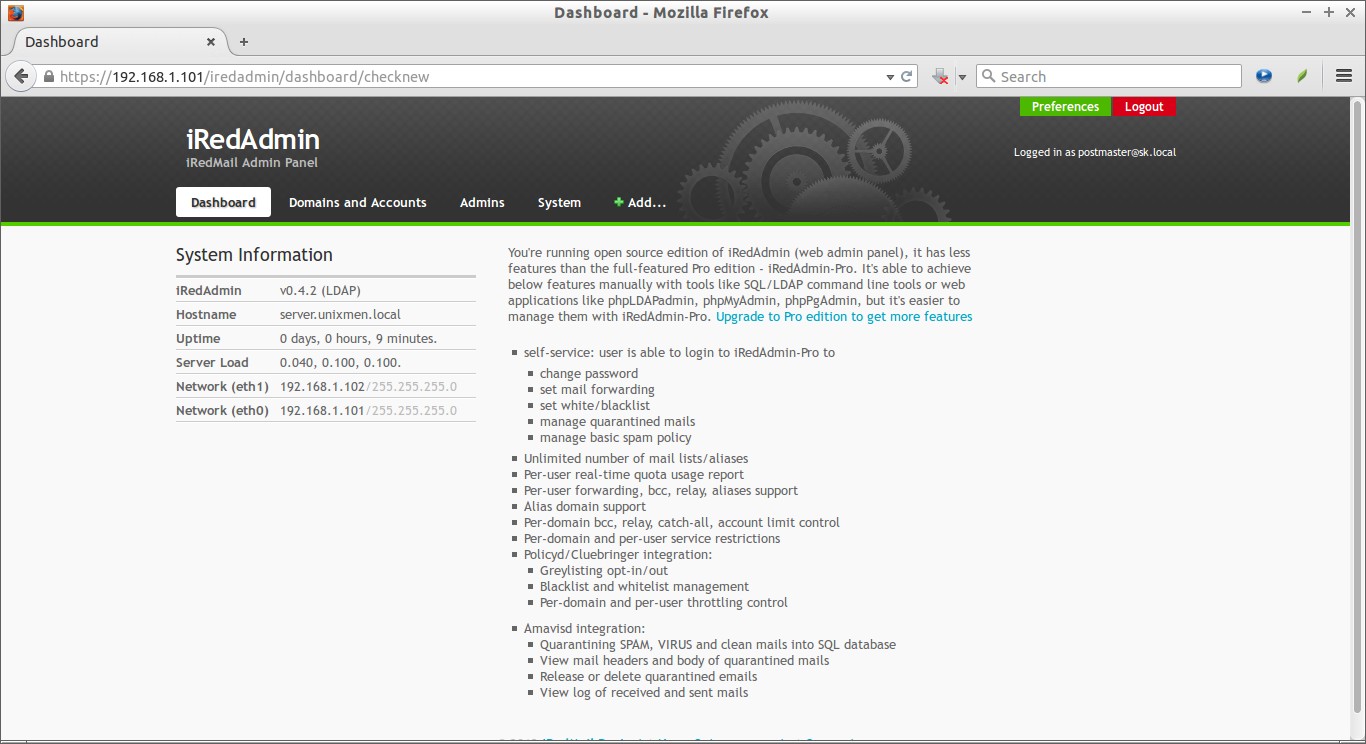
From here you can add additional domain, admin accounts and user accounts as well.
Creating users:
Let us create a sample user.
From the iRedAdmin console, and click Add->User. Enter the user name, password, display name , and mailbox quota etc. Finally, click Add to create new user.
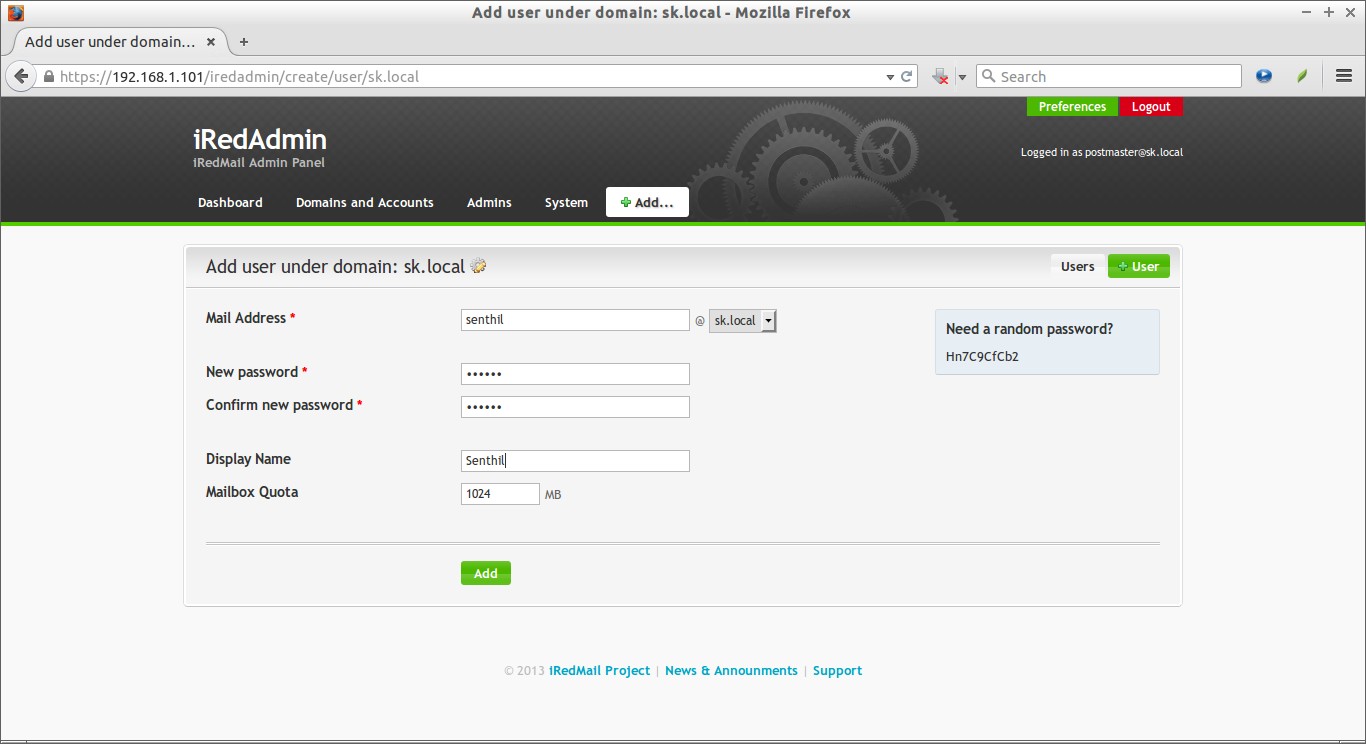
You can add as many users you want. After creating sufficient users, check whether you can send/receive mails between users.
iRedMail Webmail
Using iRedMail Webmail, users can send/receive mails.
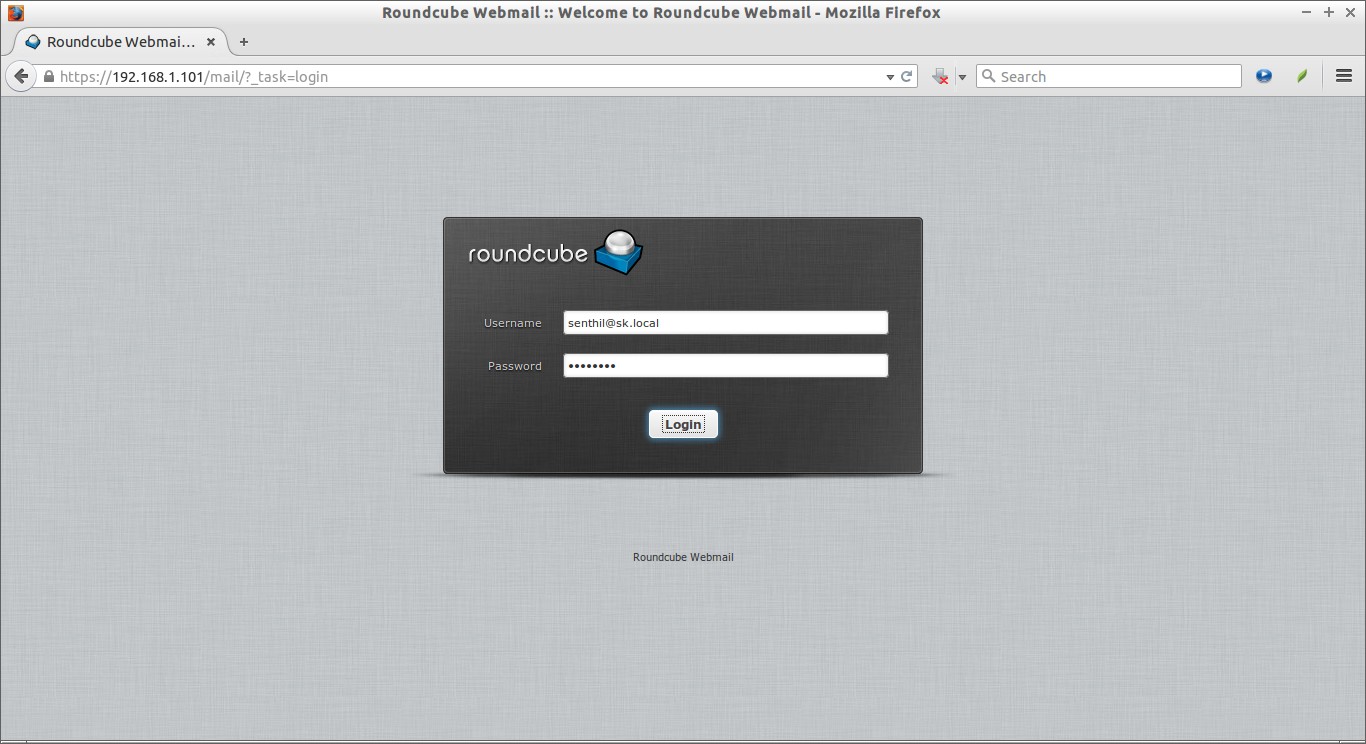
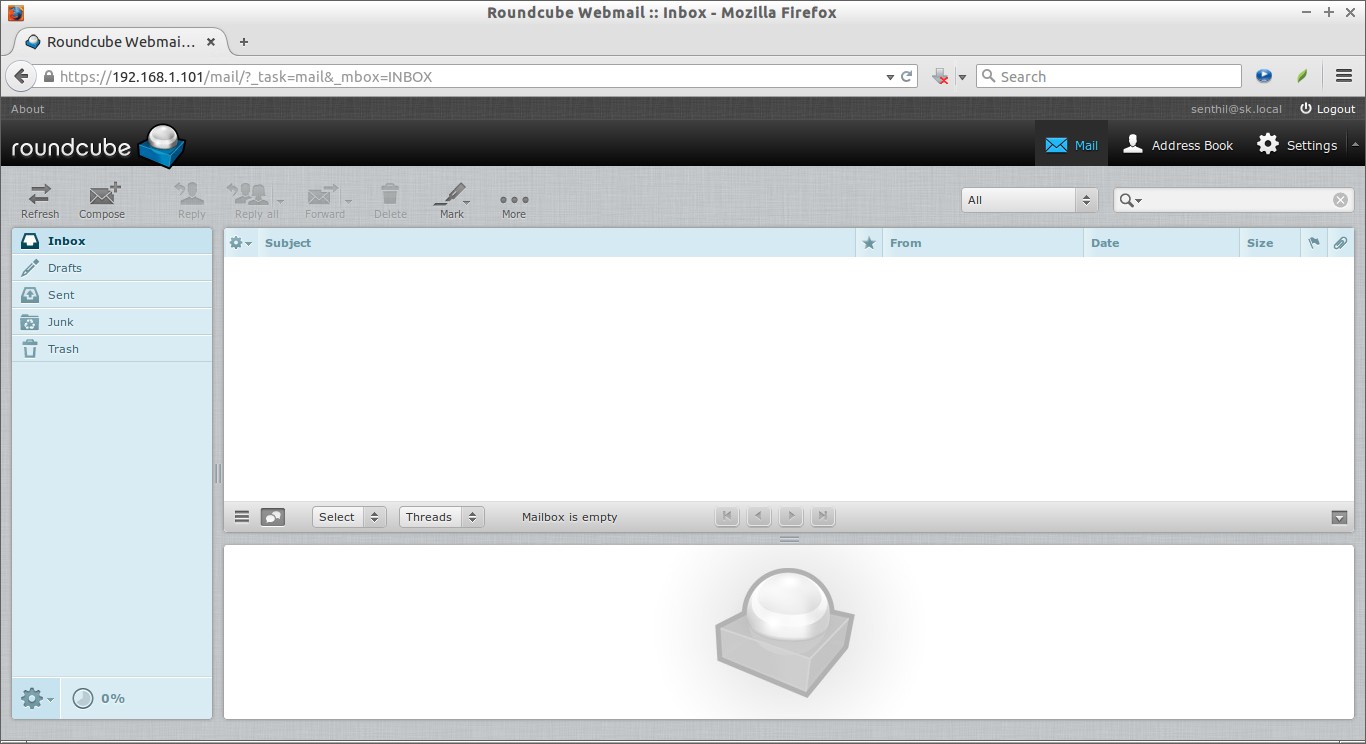
Access your mail by pointing out the browser with “https://IP-Address/mail”.
Enter user details and click login. For example, here I login as user called ‘senthil@sk.local’.
Here, sk.local is my first virtual domain name.
This is how the user’s mailbox looks.
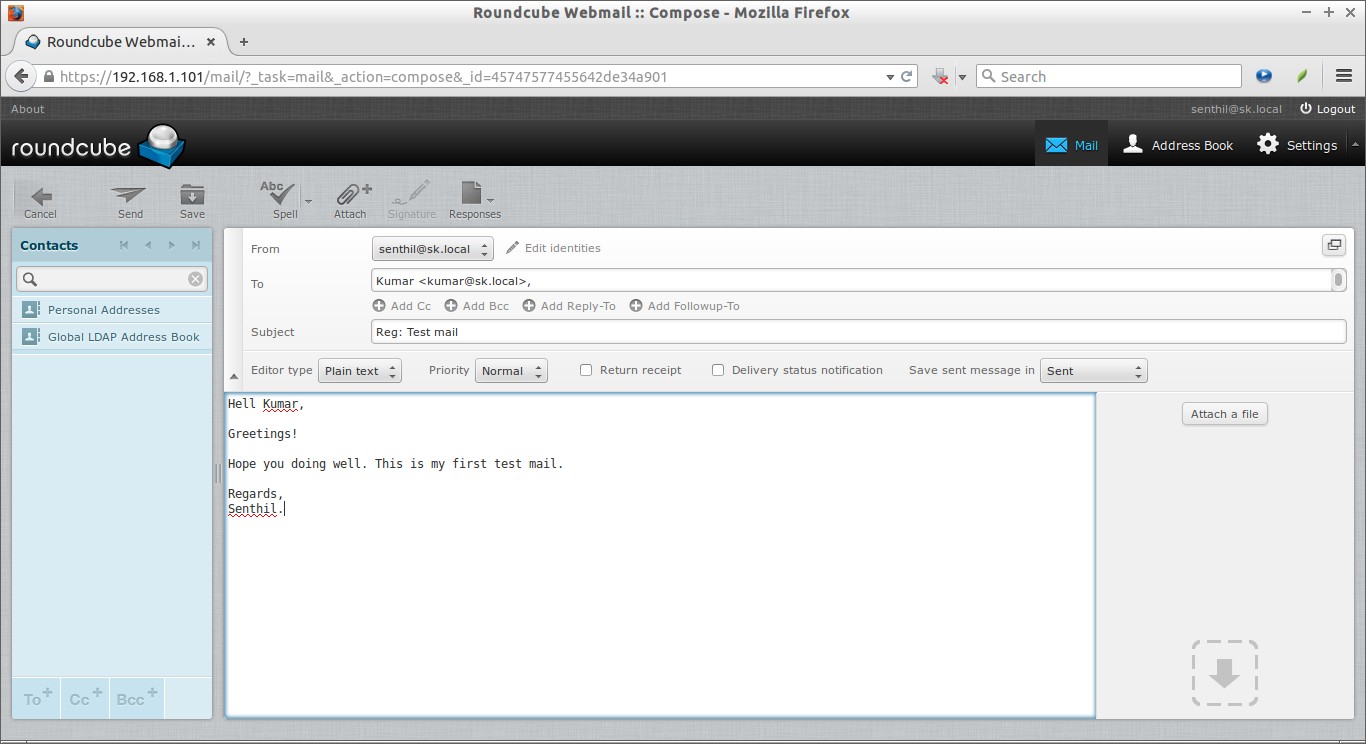
Test Mail server
Let us compose a new mail from senthil@sk.local to kumar@sk.local. I already have created the user kumar@sk.local.
Log as user senthil.
Click on “Compose” and enter the recipient mail id and subject matter etc. Click “Send Message”.
Now, log out and log in as user ‘kumar’ to check for the new mails.
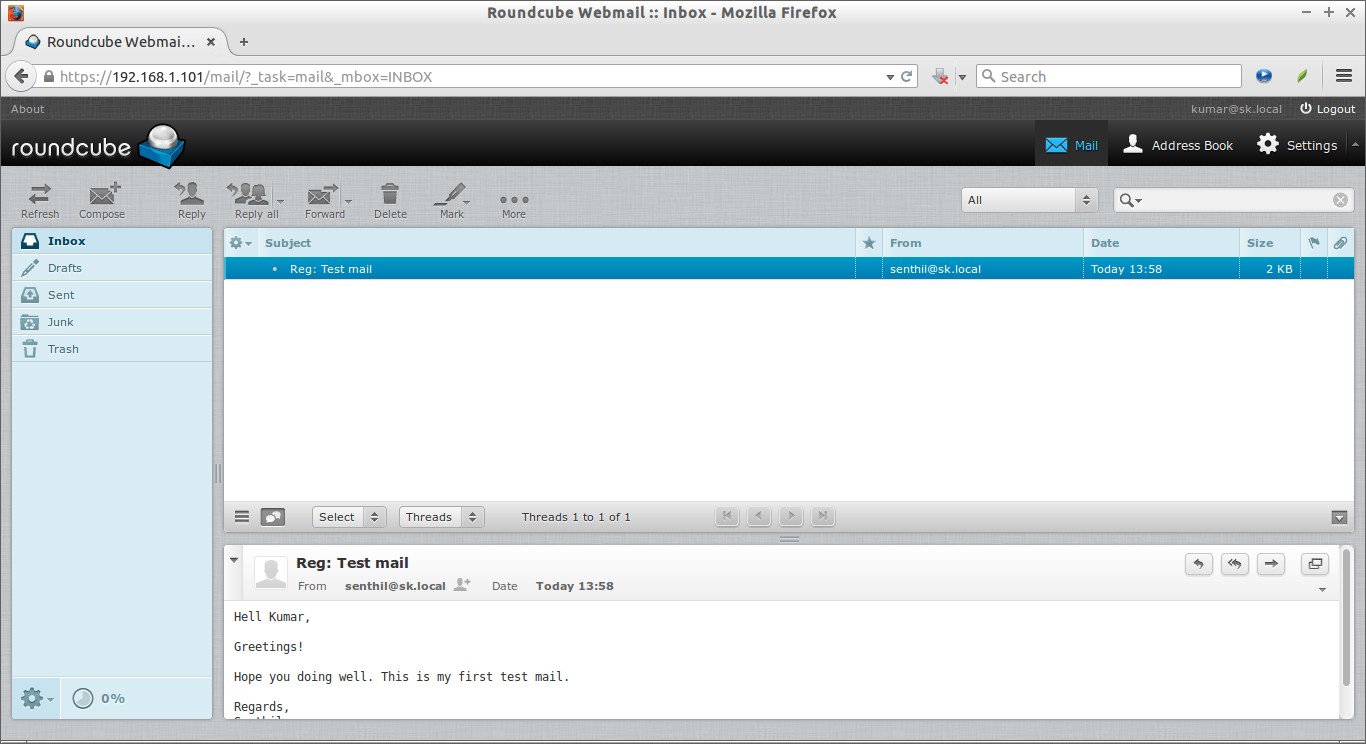
If you got the mail, then congratulations! Mail server is working!!
Adding Multiple Virtual domains
You can create multiple virtual domains if you want.
Login to your iRedAdmin console (https://IP-Address/iredadmin).
Click Add->Domain.
Enter the domain details and click Add.

Now, create users under this new domain and send/receive mails using the new domain.
Manage iRedMail using iRedAdmin-Pro
iRedmail is completely free and open source. iRedAdmin is the free web console to manage your mail server. You can get all mail services without iRedAdmin-pro. However, if you want a web-based full featured admin panel to manage iRedMail, iRedAdmin-pro is a good choice. iRedAdmin-Pro is an additional web-based admin panel to help you manage iRedMail server, to make your life easier. You can add unlimited accounts with either iRedAdmin-Pro or other tools like SQL/LDAP command line tools or web applications like phpLDAPadmin/phpMyAdmin/phpPgAdmin.
For online demo, visit the following link.
Or,
You can login to demos with below admin accounts:
- Global Admin: postmaster@example.com, Password: iredmail
- Normal Admin: postmaster@test.com, Password: iredmail
You can purchase iRedAdmin-pro from here.
Conclusion
iRedmail is one of the best mail server solution for the users and organizations who wants to deploy mail server automatically. It takes only few minutes to up and run a mail server. The system administrator need not to be an expert, iRedMail will automatically install all required components automatically with less user’s interaction. I suggest you to install iRedMail in a fresh system. If you are running other mail services in the same server, the installation will not work. Give it a try, you won’t be disappointed.
Reference:


