Adminer, formerly known as phpMinAdmin, is a full-featured database management tool written in PHP. It is available for MySQL, PostgreSQL, SQLite, MS SQL and Oracle.
Why Adminer instead of phpMyAdmin?
Though phpMyAdmin is one of the famous tool for managing MySQL databases, Adminer has many significant features than phpMyAdmin such as user experience, performance and security. A detailed comparison between Adminer and phpMyAdmin is found here.
Install Adminer on Debian/Ubuntu
Adminer is available on Ubuntu/Debian default repositories. So we don’t have to add any extra PPA:
sk@server1:~$ sudo apt-get install adminer
Once you installed Adminer, restart apache2 service.
sk@server1:~$ sudo service restart apache2
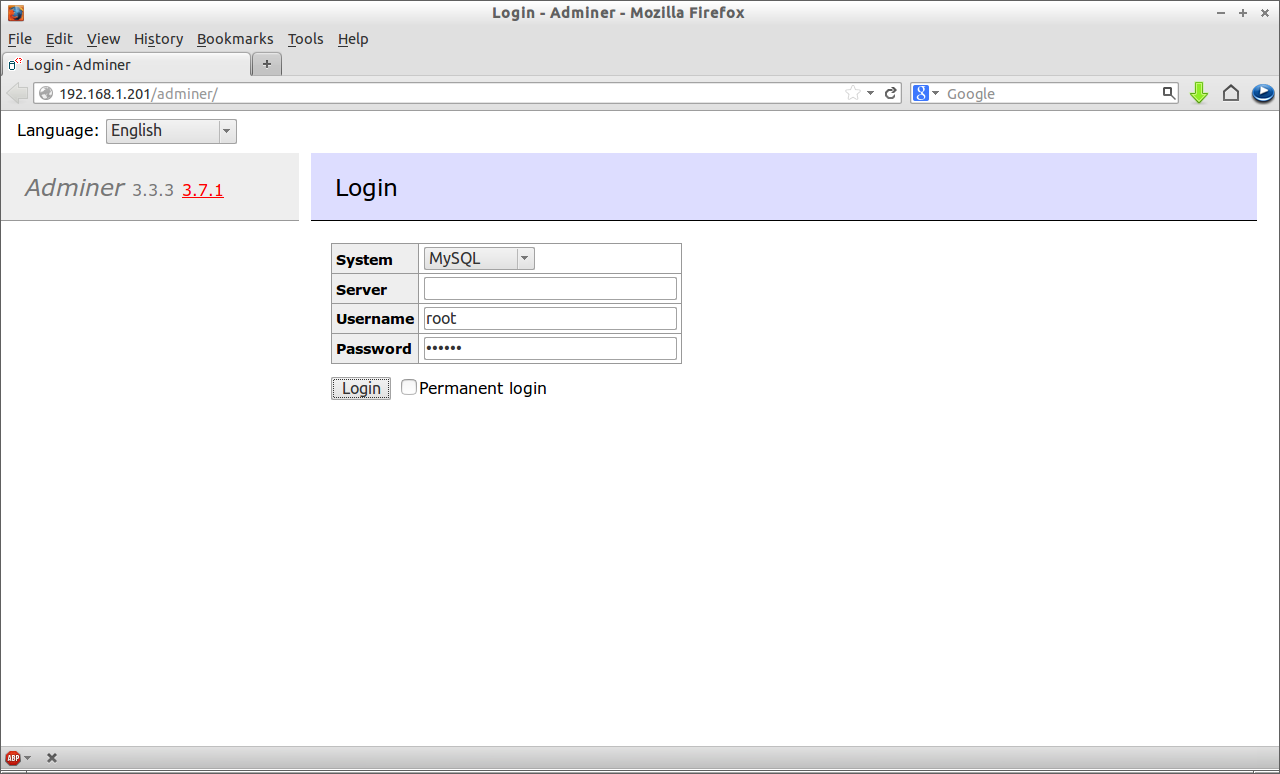
Navigate to http://ip-address/adminer from your browser. You should see a screen something like below. Enter the MySQL username and password.
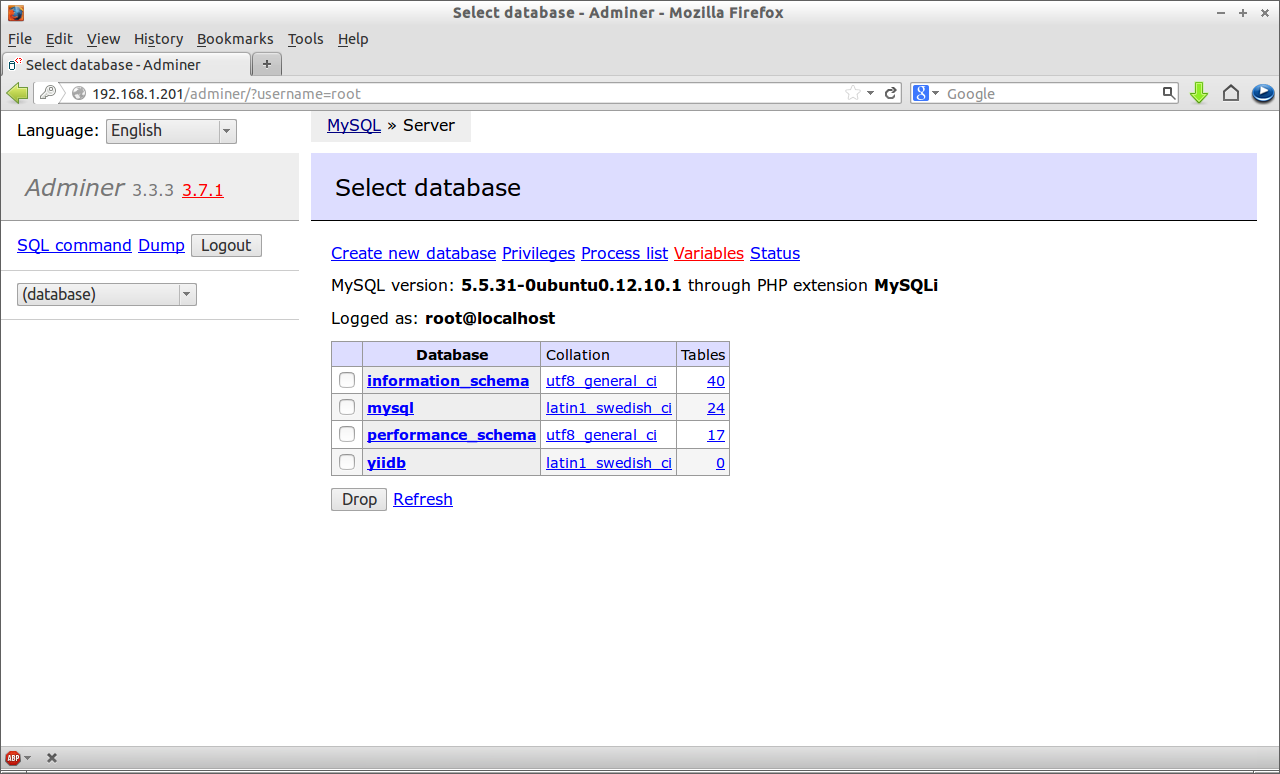
 Now you will able to connect to Adminer console.
Install Adminer on CentOS/RHEL
Download it using the following command:
[root@server ~]# wget http://sourceforge.net/projects/adminer/files/Adminer/Adminer%203.7.1/adminer-3.7.1.zip
Extract it using command:
[root@server ~]# unzip adminer-3.7.1.zip
Copy the adminer folder to webserver (Apache) root document folder:
[root@server ~]# cp -R adminer-3.7.1/ /var/www/html/adminer
Now restart Apache service:
[root@server ~]# service httpd restart
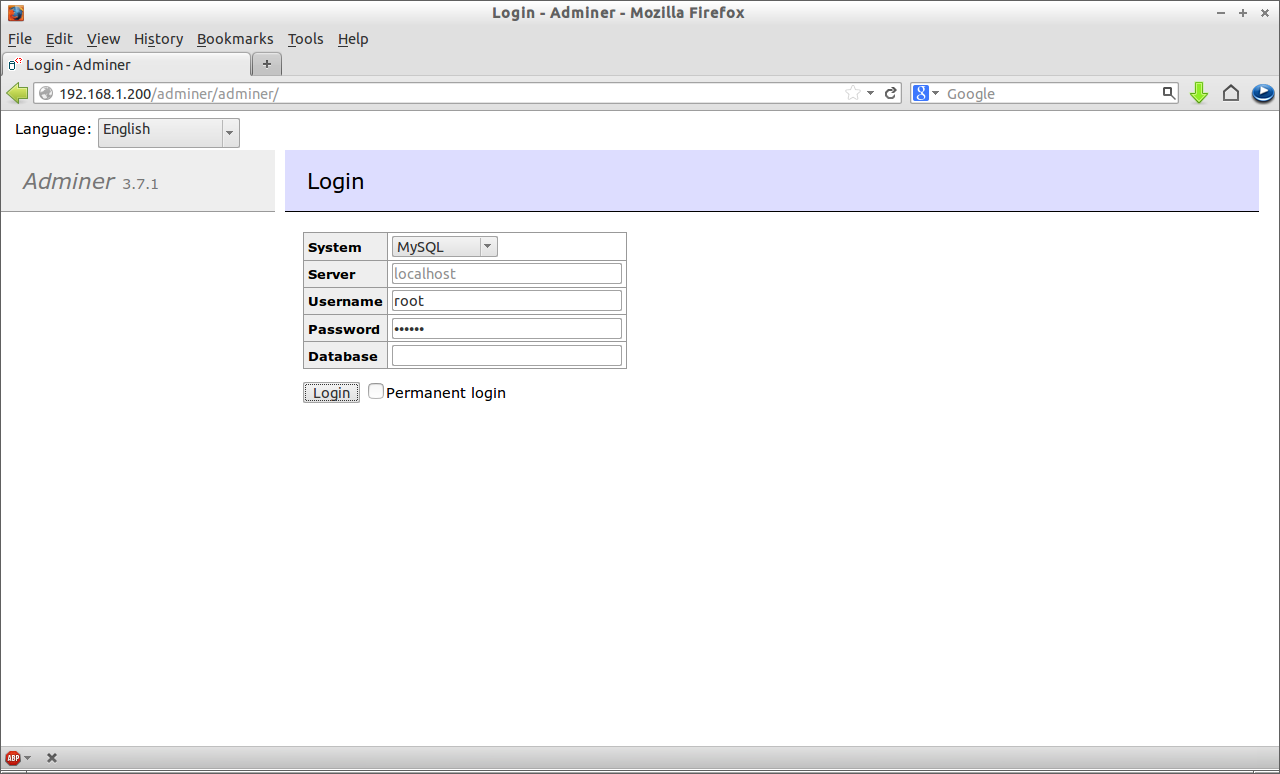
Once you have installed Adminer, navigate to http://ip-address/adminer/adminer from your browser. You should see a screen something like below. Enter the MySQL username and password.
 That’s it. Now you’re connected to Adminer.
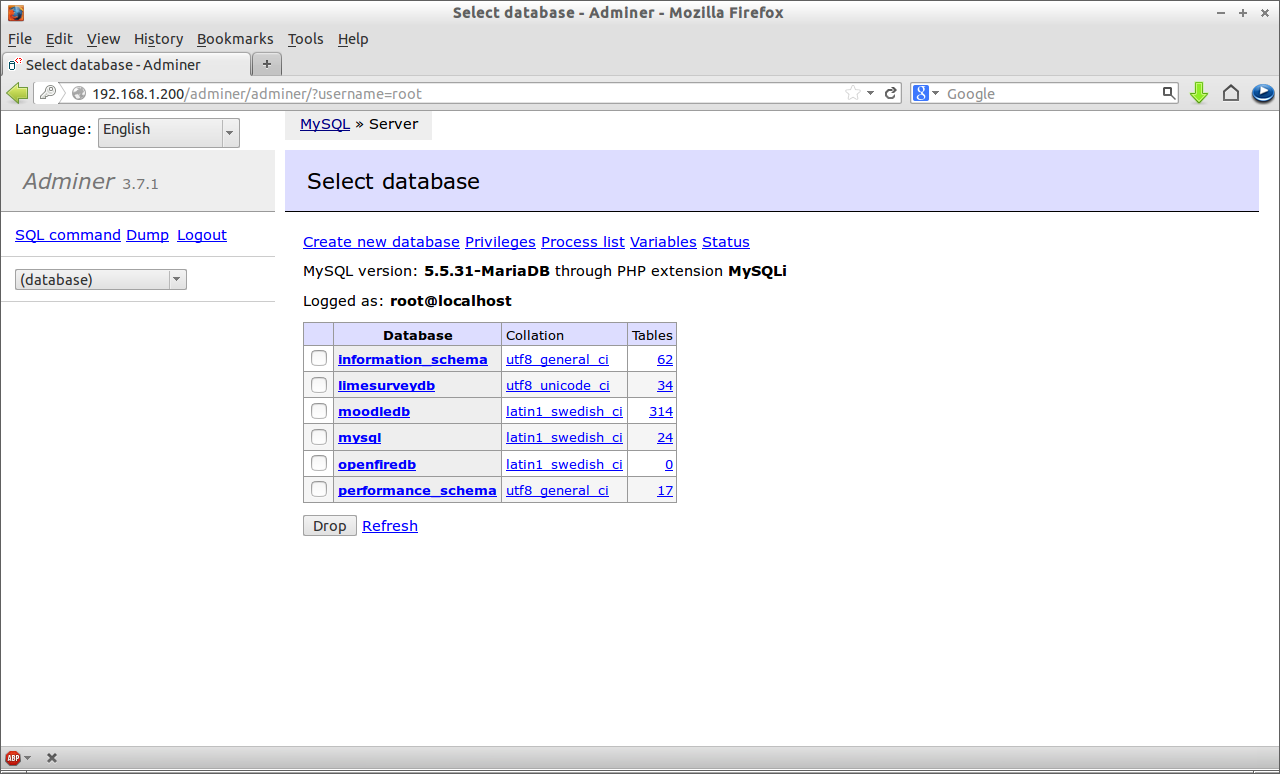 From here you can create, modify, delete databases/users etc. You don’t have to memorize too many MySQL commands. All the operations can be done in this helpful graphical interface.


