
This is the second part of the Foreman tutorial. In the first part, we discussed how to install Foreman with Puppet in CentOS 7 and Ubuntu 14.04 LTS server. In this tutorial, we will be discussing how to add puppet nodes or agents to Foreman i.e the Puppet master.
Add and configure NTP module
As you may know, Puppet needs accurate time-keeping, so we will install Puppet NTP module for managing the NTP service. If you have Puppet 2.7.14 or higher, install the module automatically from Puppet Forge repository. This repository has plethora of Puppet modules written by community members for Puppet Open Source and Enterprise versions.
Well, now let us install NTP module using the following command in our Foreman host (Now It is also Puppet master).
To do that, run the following command from your Foreman host’s Terminal:
puppet module install -i /etc/puppet/environments/production/modules saz/ntp
Sample output:
Notice: Preparing to install into /etc/puppet/environments/production/modules ...
Notice: Downloading from https://forgeapi.puppetlabs.com ...
Notice: Installing -- do not interrupt ...
/etc/puppet/environments/production/modules
└── saz-ntp (v2.3.2)
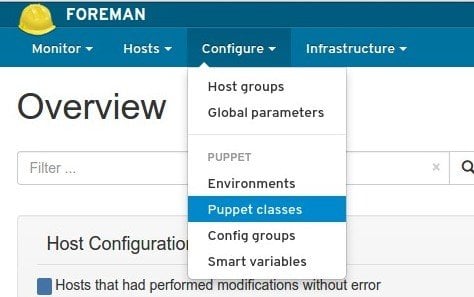
After installing it, let us add it to Foreman host. Log in to the Foreman Admin console. From the Admin console, go to Configure > Puppet classes.
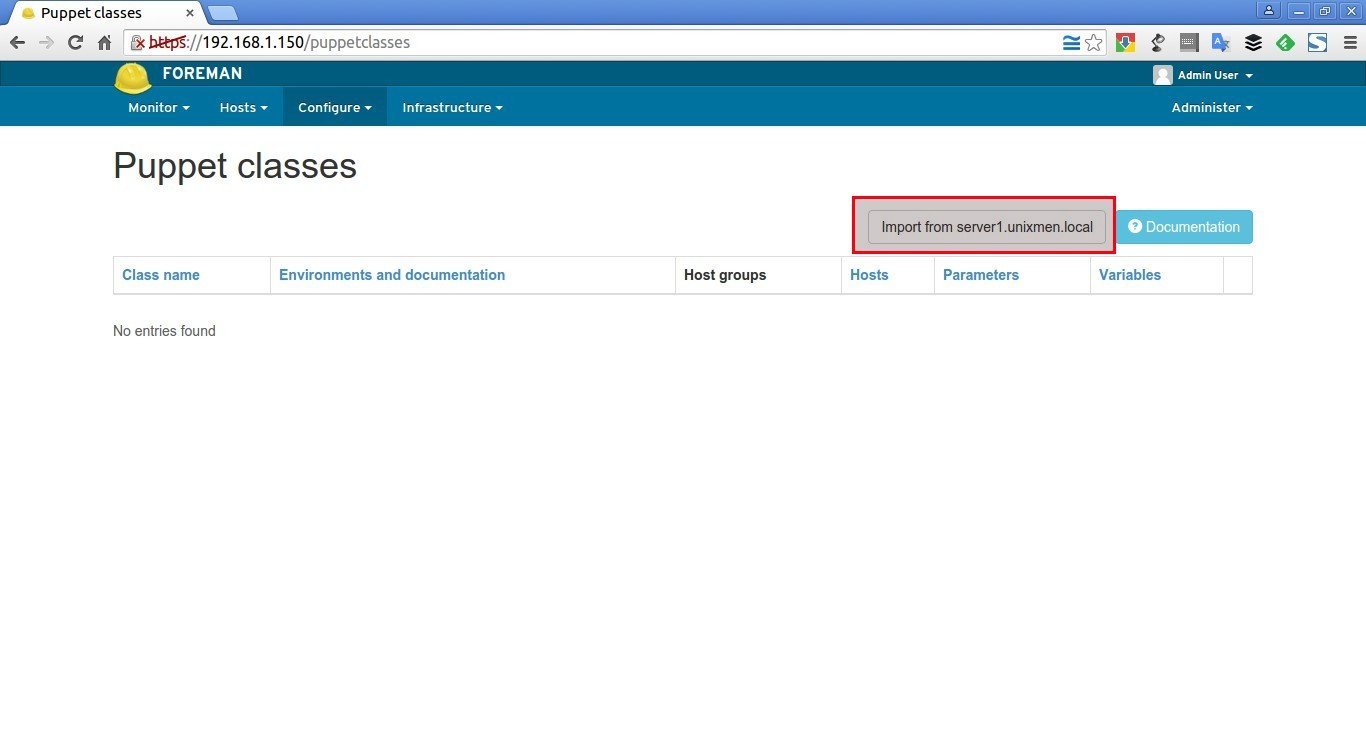
Click on the button Import from server1.unixmen.local.
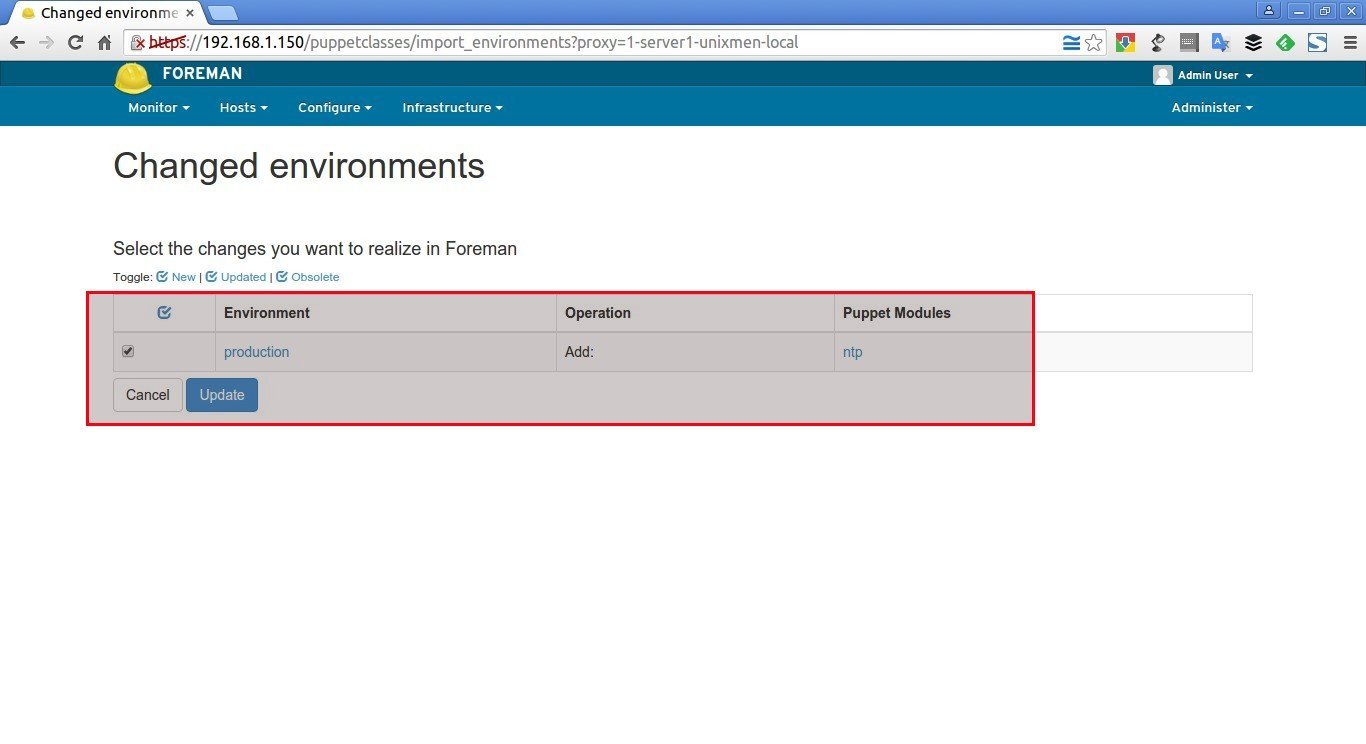
Select the NTP module that you installed earlier and click Update.
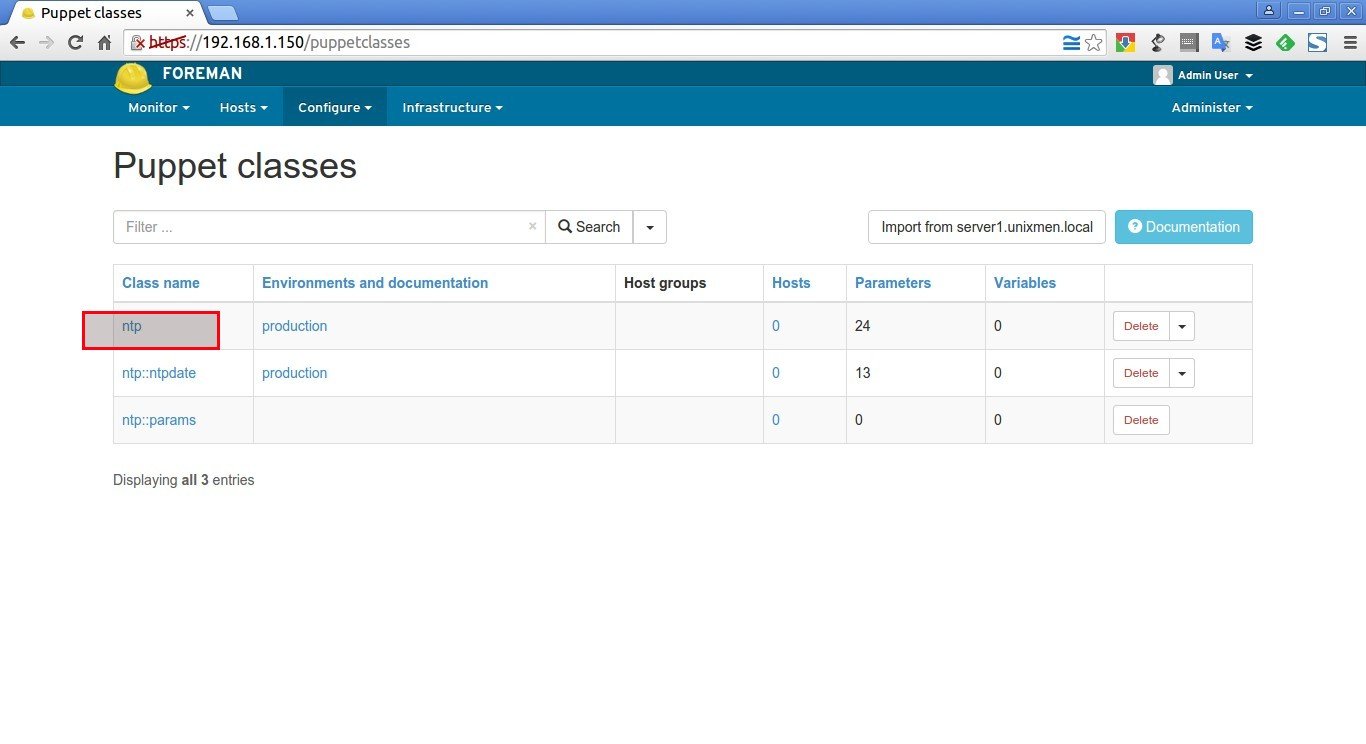
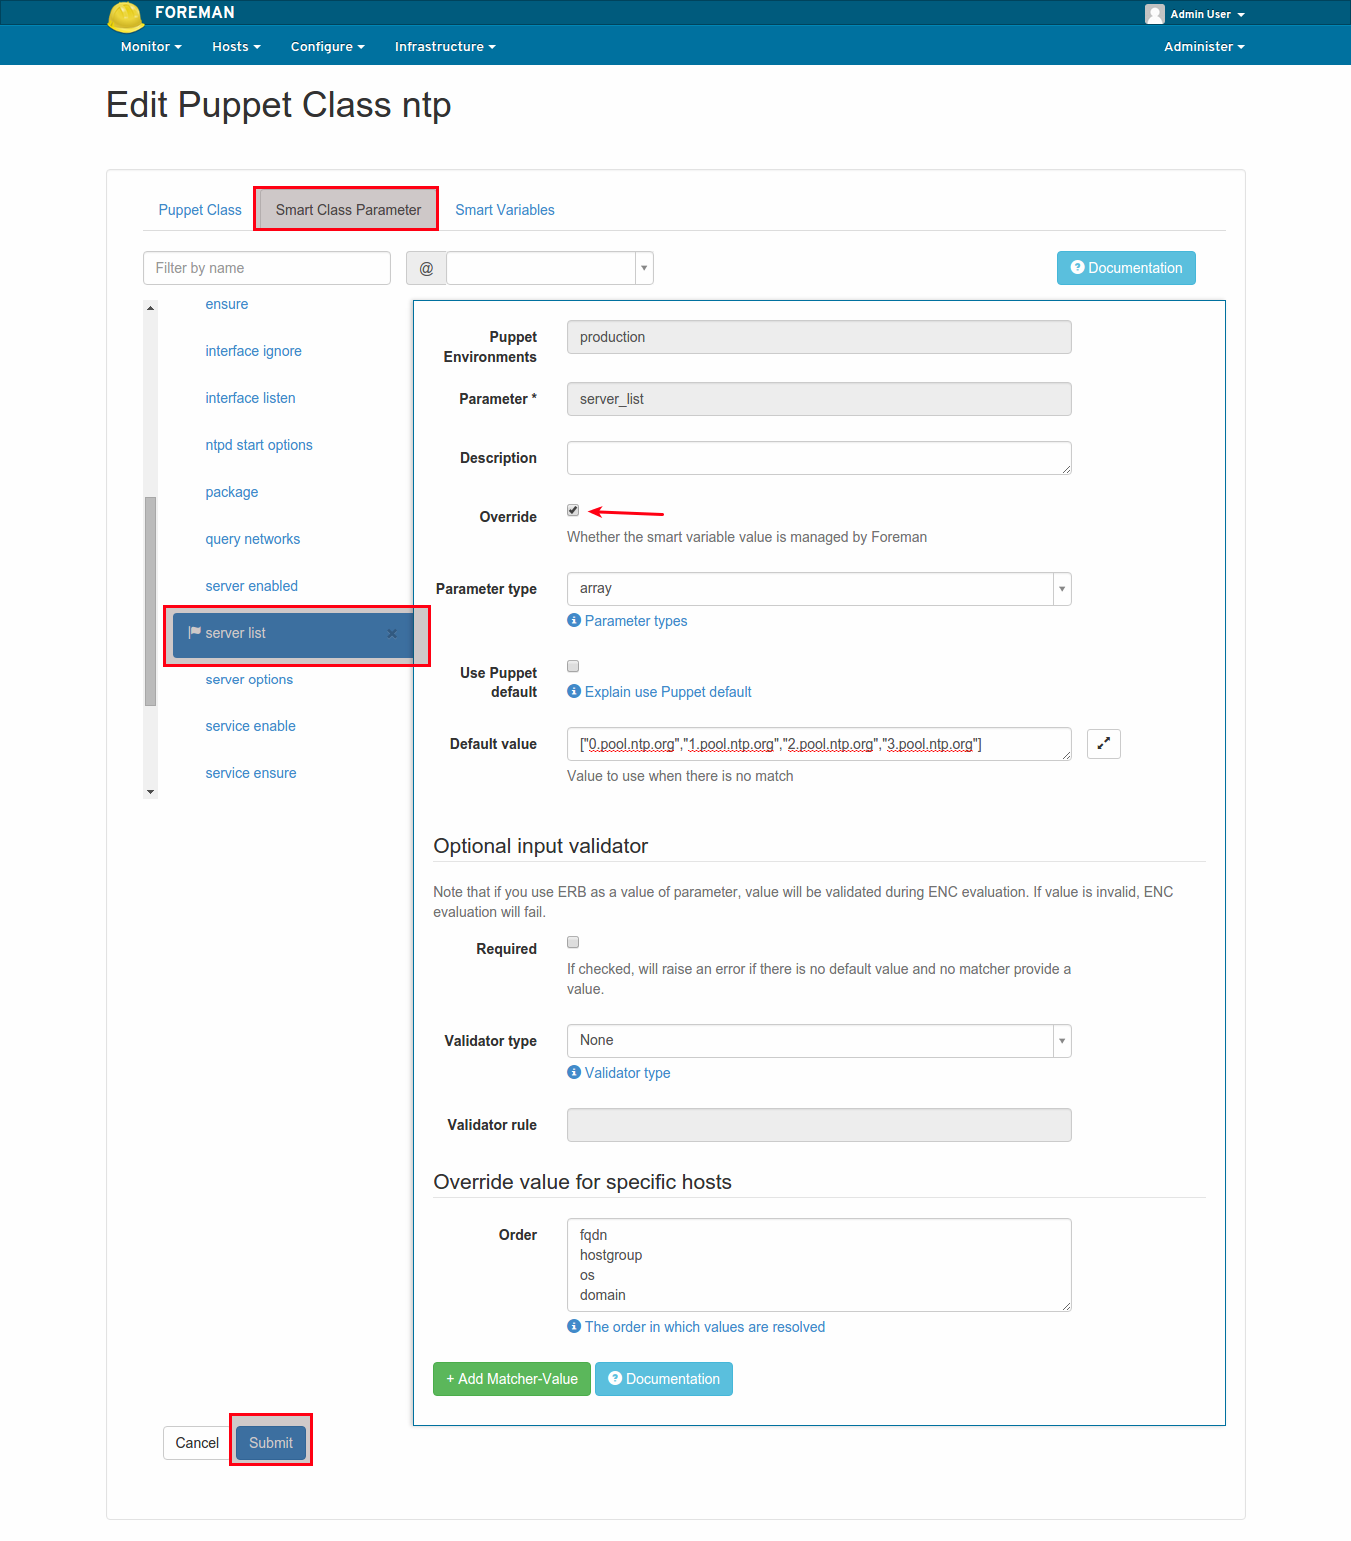
After updating the NTP module to the Foreman, you will see something like below. Now, click on the NTP class on the left
Then, change to the Smart Class Parameters tab and select the server_list parameter on the left. Tick the Override checkbox and click Submit.
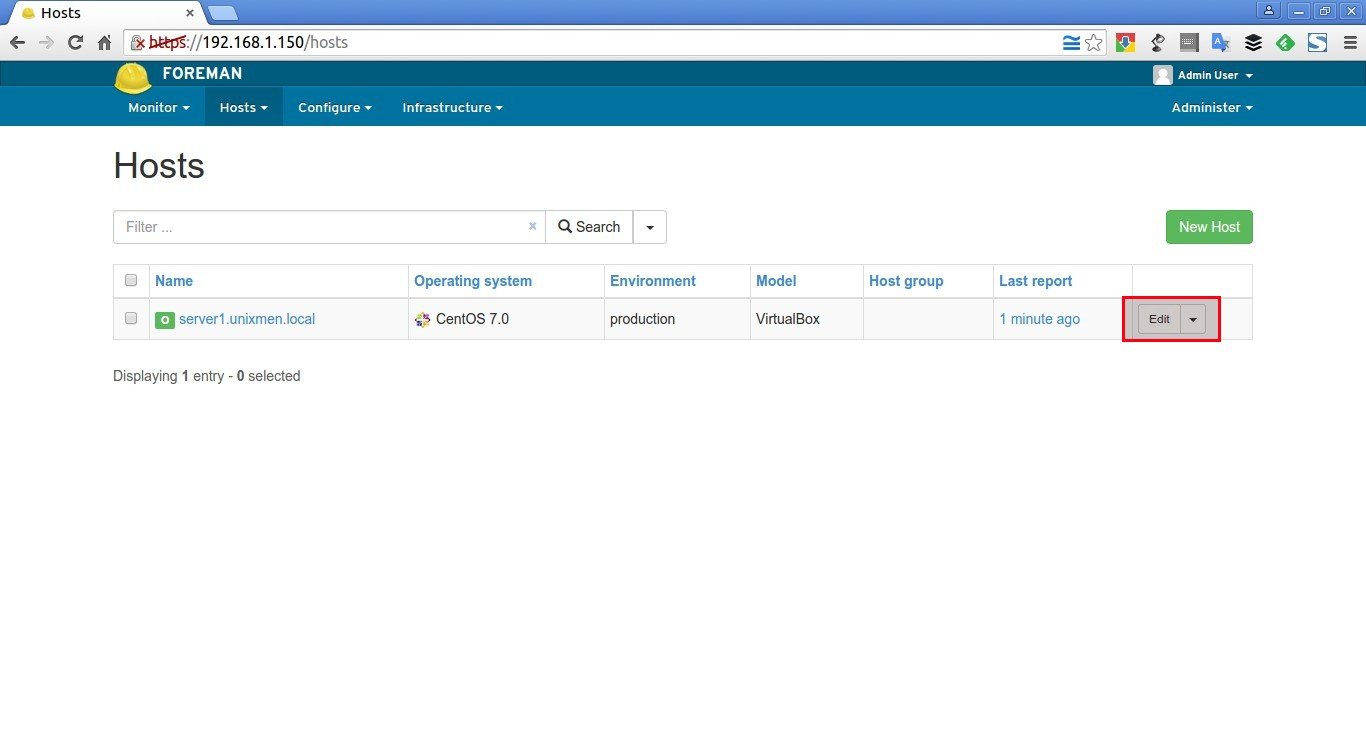
Again, go back to the Hosts > All hosts tab and click Edit on the Foreman host.
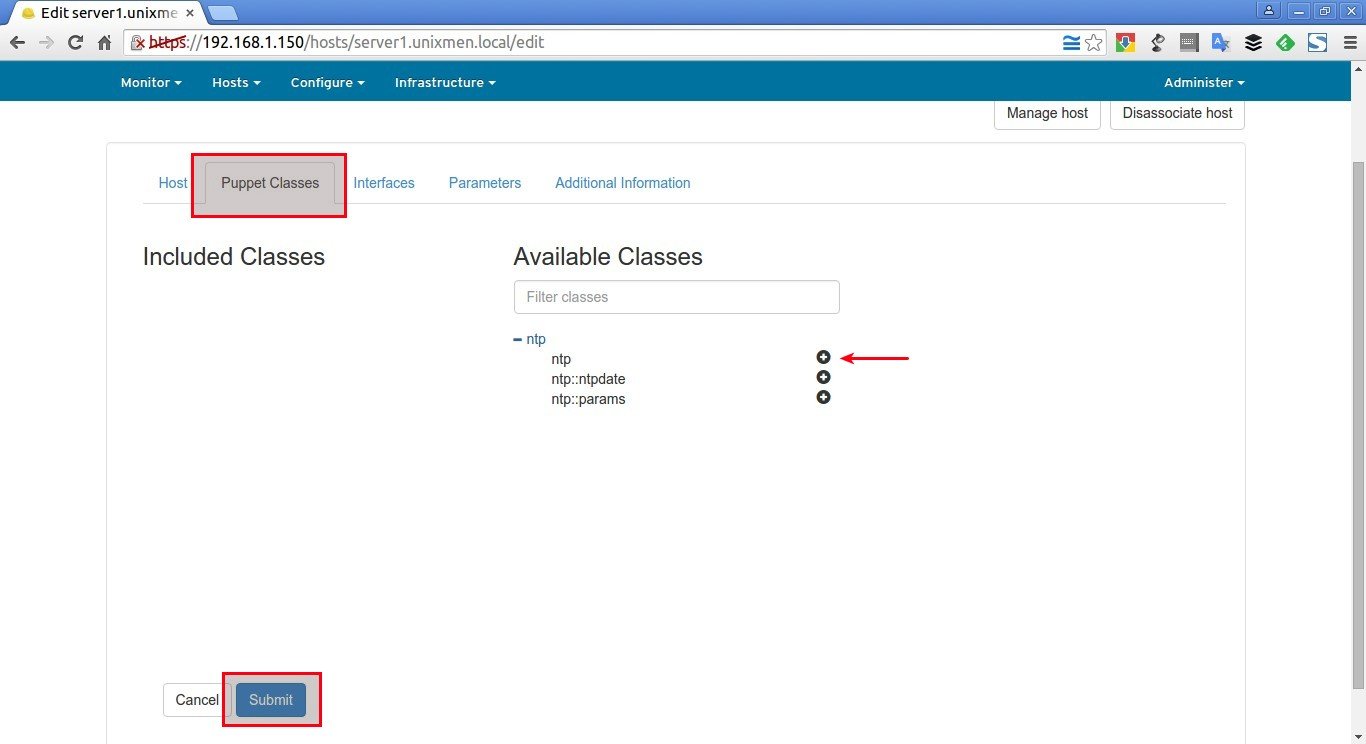
On the Puppet Classes tab, expand the ntp module and click the + icon to add the ntp class to the host, then click Submit to save the host.
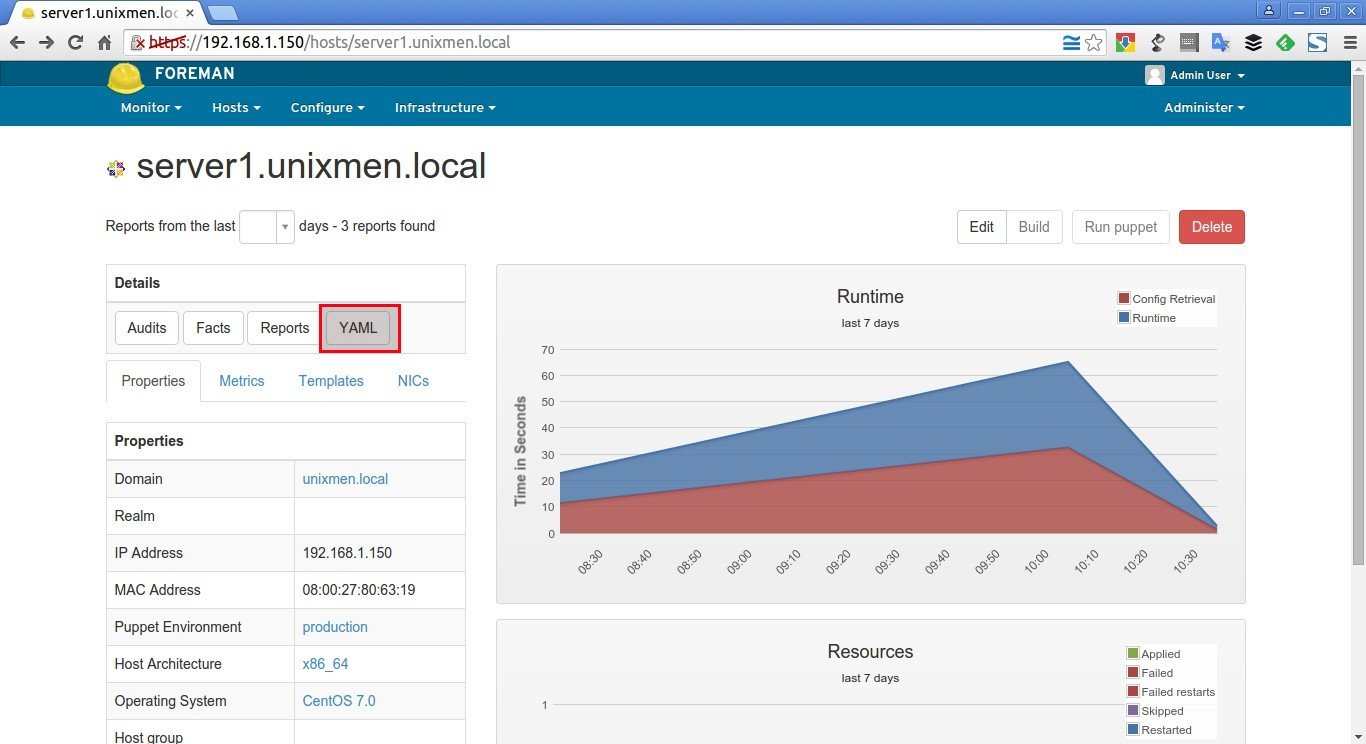
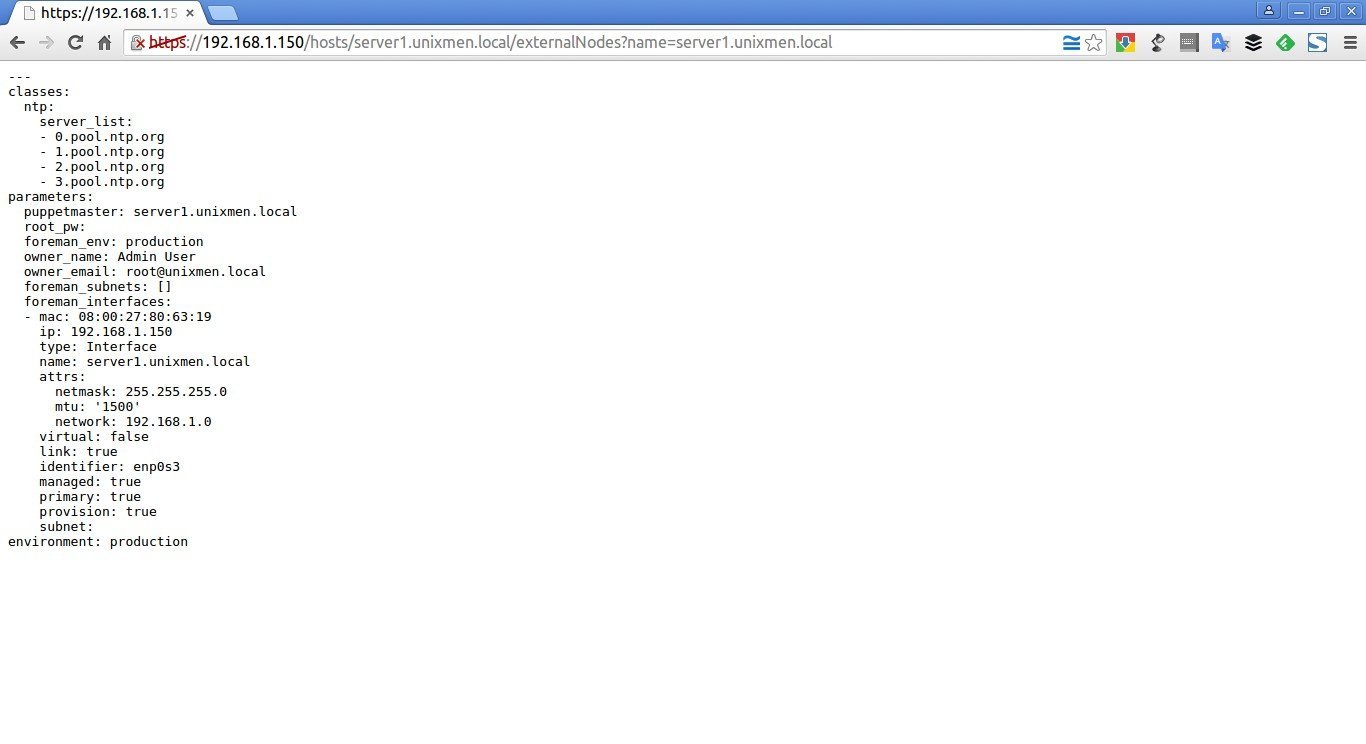
After adding the ntp class, you’ll be automatically redirected to the host’s details section. Clicking the YAML button will show you the ntp class and the server_list parameter, as passed to Puppet via the ENC (external node classifier) interface.
Sample output:
Finally, run the following command on the Foreman host to see the NTP service automatically reconfigured by Puppet and the NTP module.
puppet agent --test
Wait for few minutes to complete.
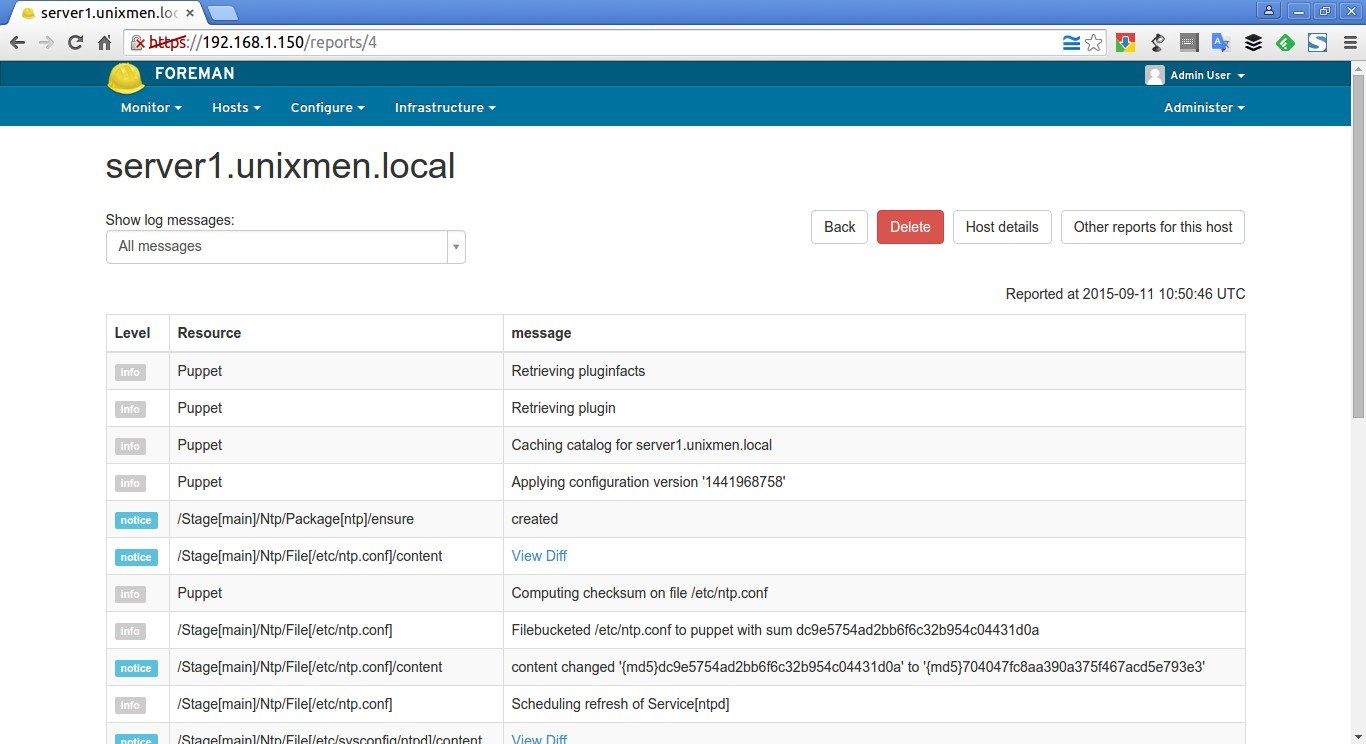
To check whether the NTP module was installed, restarted and configured, click on the Reports button near the YAML button.
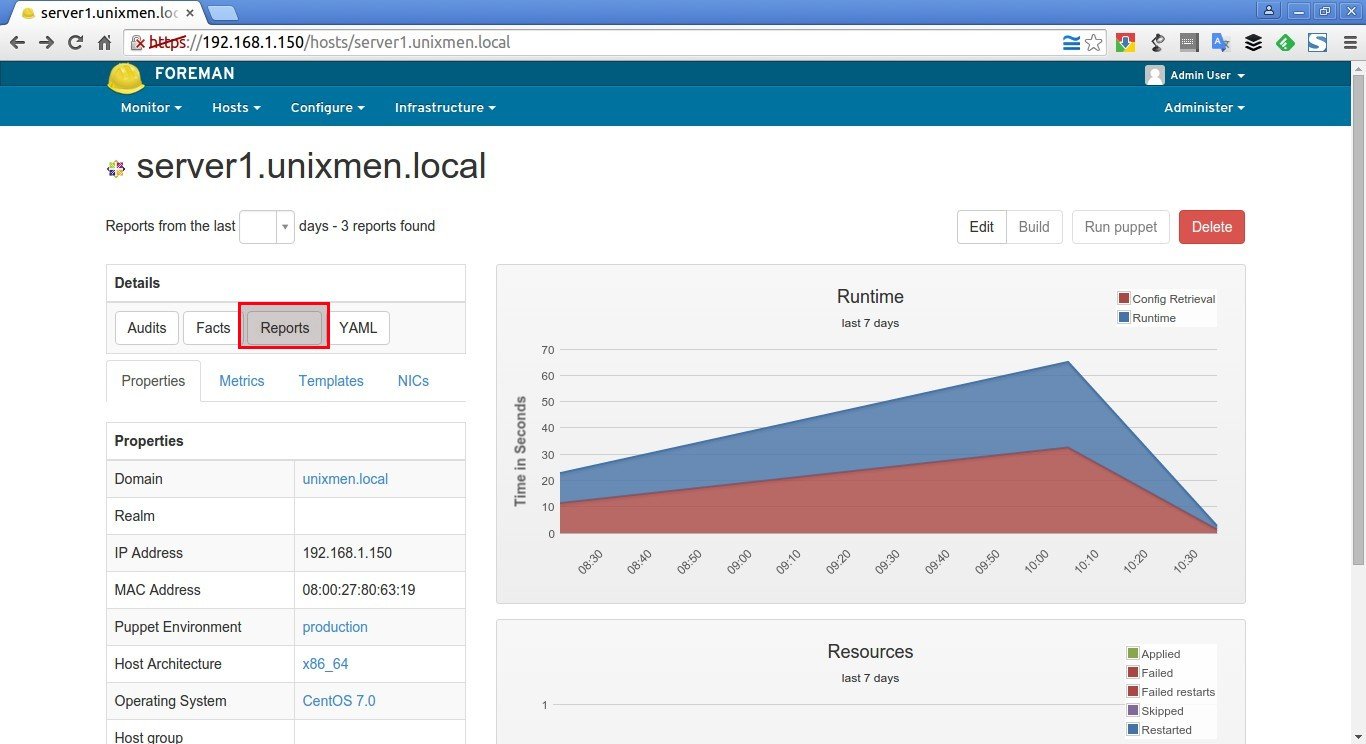
Sample output:
That’s it. Now, Puppet master is ready to accept agents or nodes. Let us add some new hosts to Foreman.
Add Puppet Nodes to Foreman
My Puppet node details are:
- Operating system : Ubuntu 14.04 LTS server
- IP Address : 192.168.1.103/24
- FQDN : server.unixmen.local
To install Puppet agent package on your nodes, run the following commands from your Terminal.
On Ubuntu 14.04 node:
Add Puppetlabs repository using command:
wget https://apt.puppetlabs.com/puppetlabs-release-trusty.deb
Update the source lists using command:
sudo apt-get update
Finally, install puppet agent as shown below.
sudo apt-get install puppet
On CentOS 7 node:
Add Puppetlabs repository:
rpm -ivh http://yum.puppetlabs.com/puppetlabs-release-el-7.noarch.rpm
Update the sources list:
yum update
Finally install puppet agent using command:
yum install puppet
Configure Puppet agents
First of all you should lock your puppet agent version update to avoid puppet agent automatic update. It is because, the automatic update will hamper your configurations, so it is very good idea to keep the Puppet agent and Puppet server version same.
To find the Puppet version, run:
puppet --version
Sample output:
3.8.2
To lock the agent version update, create a file as shown below:
sudo vi /etc/apt/preferences.d/00-puppet.pref
Add the following lines.
# /etc/apt/preferences.d/00-puppet.pref
Package: puppet puppet-common
Pin: version 3.8*
Pin-Priority: 501
Since my Puppet server and Puppet agent version is 3.8.2, I have added the line “Pin: version 3.8*”. Please match this line with your installed Puppet server and agent version.
Save and close the file.
Puppet agent is disabled by default. So, we need to enable it.
sudo vi /etc/default/puppetChange the value to yes.
[...]
START=yes
[...]
Next, edit Puppet agent’s configuration file:
sudo vi /etc/puppet/puppet.conf
Delete or Comment out the templatedir line and complete [master] section and add your Puppet master’s IP address as shown below.
[main]
logdir=/var/log/puppet
vardir=/var/lib/puppet
ssldir=/var/lib/puppet/ssl
rundir=/var/run/puppet
factpath=$vardir/lib/facter
#templatedir=$confdir/templates --> comment out or delete

#[master] --> comment out or delete
# These are needed when the puppetmaster is run by passenger --> Comment out or delete
# and can safely be removed if webrick is used.  --> Comment out or delete
#ssl_client_header = SSL_CLIENT_S_DN  --> Comment out or delete
#ssl_client_verify_header = SSL_CLIENT_VERIFY  --> Comment out or delete

## Add the following lines
[agent]
server = server1.unixmen.local
Here, server1.unixmen.local is my Puppet master’s FQDN.
Save and close file. Start puppet agent service using command:
sudo service puppet start
Or
sudo systemclt start puppet
If you didn’t see any output, congratulations! Your puppet node is working and is successfully configured.
Exchanging certificates from Puppet master to agents
At the first time, Puppet agents will send certificate signing request to puppet master. You must allow the agent’s certificate in order to communicate with the Puppet master.
To do that, go to Puppet master, and run the following command to check for any unsigned certificates.
puppet cert list
Sample output:
"server" (SHA256) F3:2E:84:5E:74:AD:DE:E8:4B:F8:DB:C3:88:63:3A:77:03:C1:8B:7C:FE:49:B3:D7:46:D9:E1:D2:58:95:A7:2E
Since, we just installed our first Puppet agent, we got the first certificate sign request as shown above. Here, server is my Puppet agent’s hostname.
To accept the certificate request of the Agent, enter:
puppet cert sign server
Sample output:
As you in the below output, our Puppet agent’s sign request has been accepted.
Notice: Signed certificate request for server.unixmen.local
Notice: Removing file Puppet::SSL::CertificateRequest server.unixmen.local at '/var/lib/puppet/ssl/ca/requests/server.pem'
Now, the Puppet master and Puppet agent will be able to communicate with each other.
If you want to accept all requests at once, run:
puppet cert sign --all
Similarly, to remove a agent from the Puppet master, run:
puppet cert clean server.unixmen.local
Here, server.unixmen.local is my puppet agent.
To view all signed certificates, run:
puppet cert list --all
Sample output:
+ "server" (SHA256) A8:4C:CA:B4:83:31:80:3A:72:3B:FB:35:33:69:92:D8:D6:CF:6F:72:AA:5C:54:1F:19:63:73:07:3E:8C:20:DD
+ "server1.unixmen.local" (SHA256) 6A:56:65:62:B6:63:5E:25:67:BC:11:D6:27:6E:38:C3:7E:F3:AF:73:14:82:B9:43:41:32:B0:B5:33:4A:14:B0 (alt names: "DNS:puppet", "DNS:puppet.unixmen.local", "DNS:server1.unixmen.local")
As you see in the above output, there is a plus sign in-front of each FQDNs. This means that the agents have been signed and added successfully to the Puppet master.
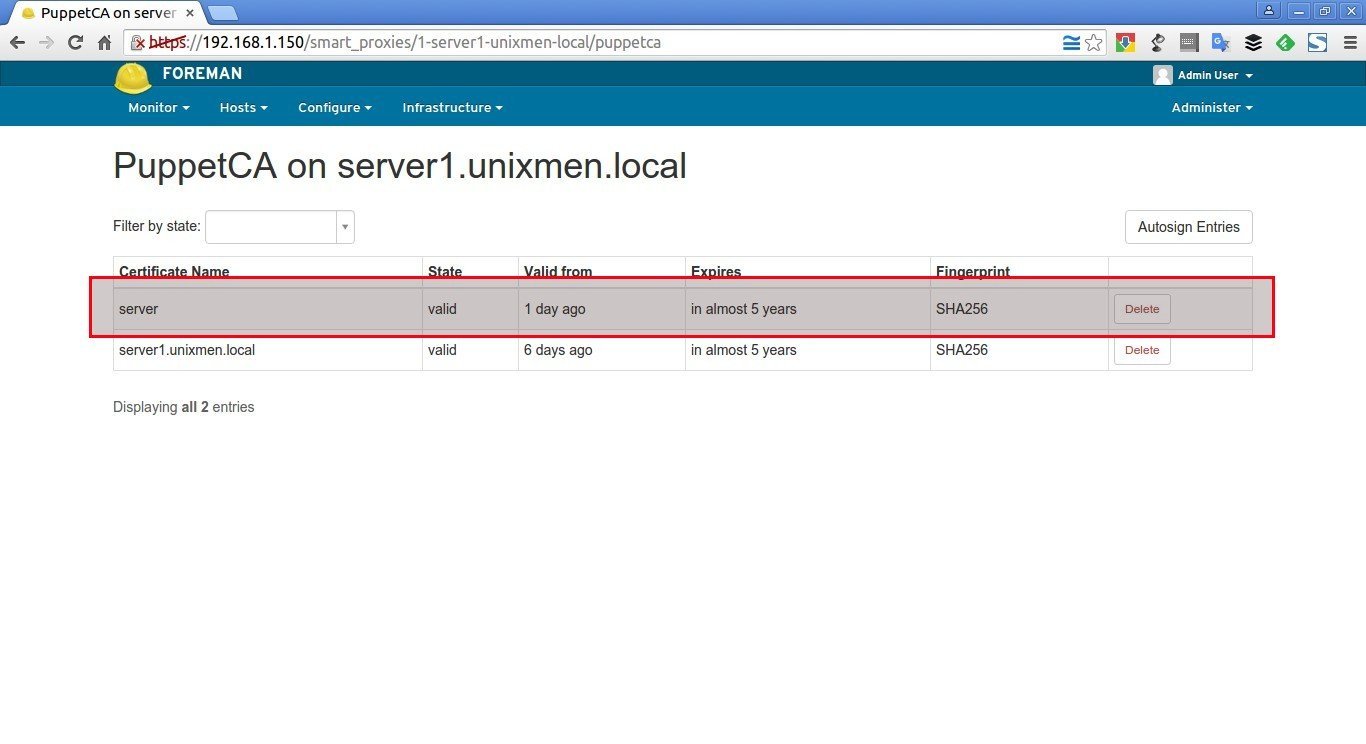
To view the signed puppet agents on the Foreman’s interface, go to Infrastructure > Smart proxies and click Certifications button
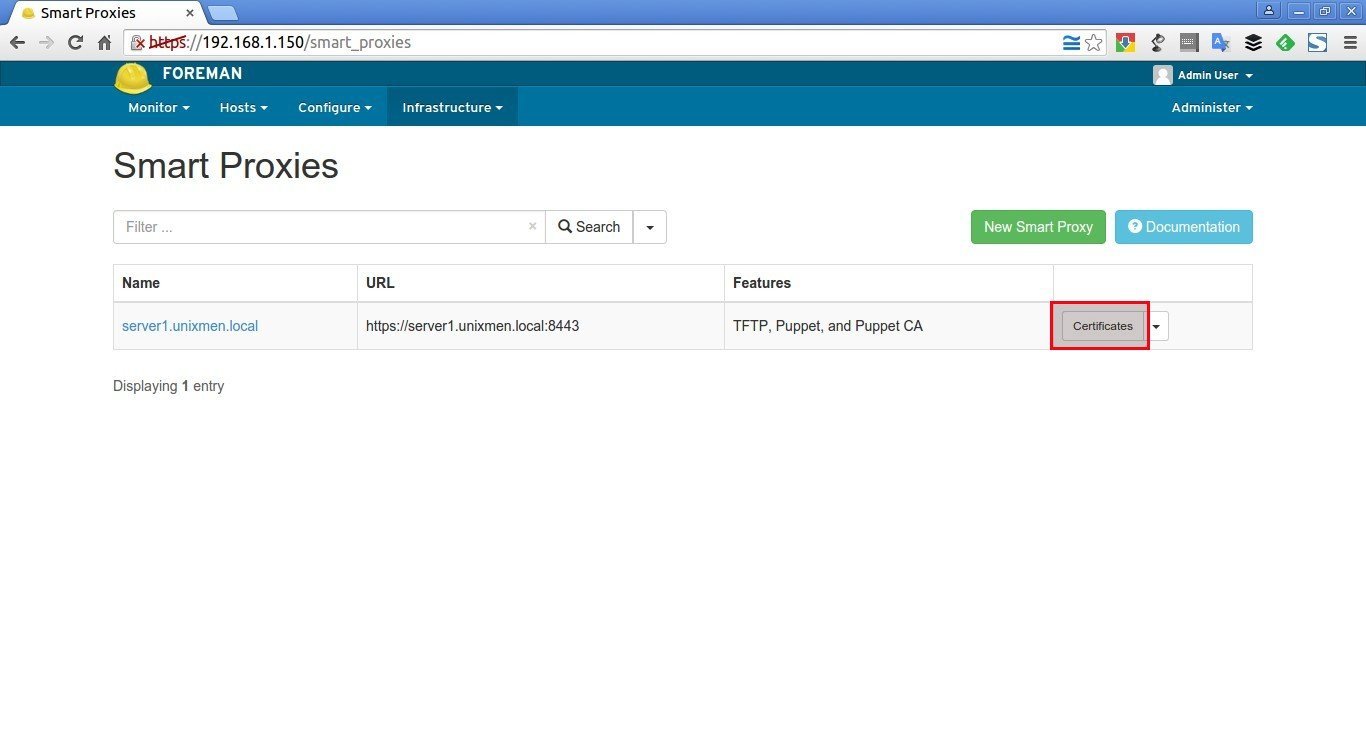
As you see below, the new agent (server) has been accepted.
Also, you will see the new host has been added to the Puppet master. To view it, go to Hosts > All hosts.
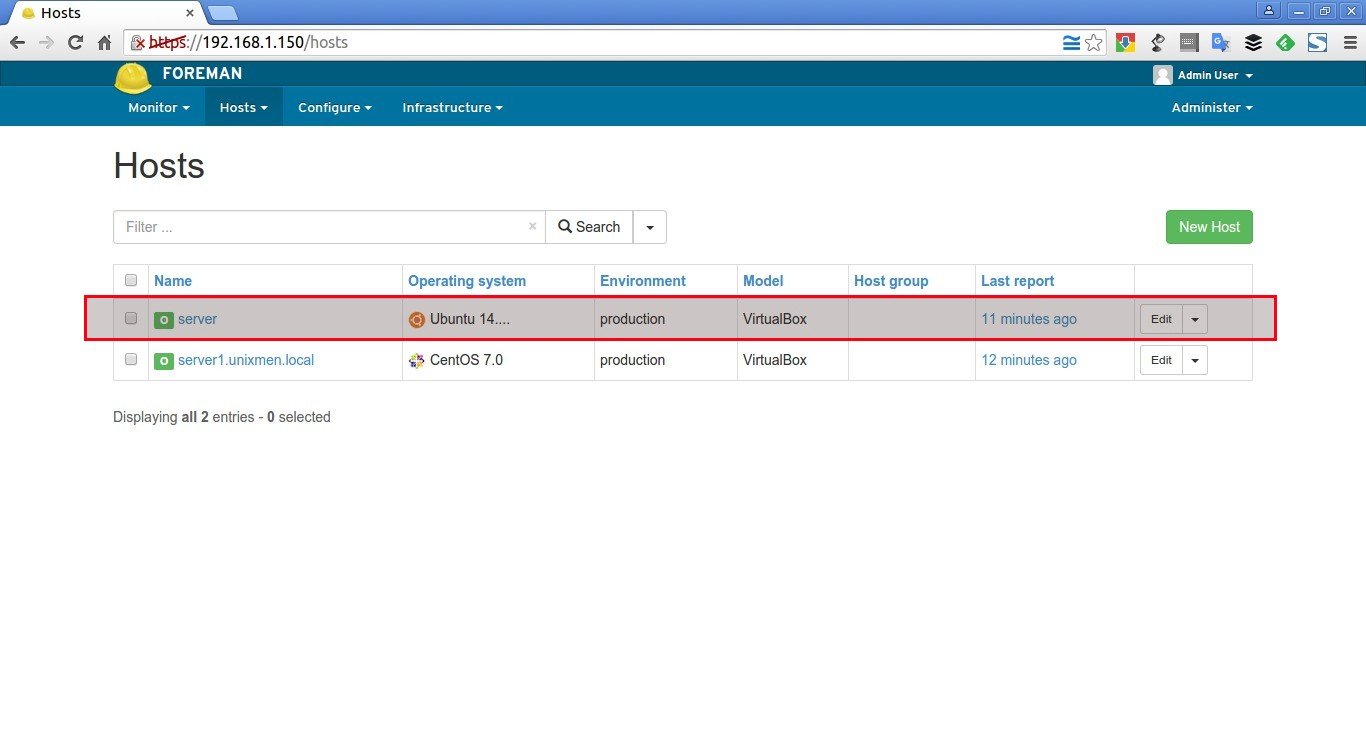
That’s it. We have added a new Puppet agent to Puppet master. In our next article, let us see basic getting started guide with Puppet master and Puppet agent.
Cheers!
Reference links:


