
In our previous tutorial, we have discussed about what is Kolab groupware solution and how to install it on Ubuntu, and also, we have included the official installation links for other Linux distributions such as CentOS, Fedora, and SUSE etc in the same article itself.
Today, we will see how to use Kolab groupware basic usage.
1. Accessing Kolab Admin console
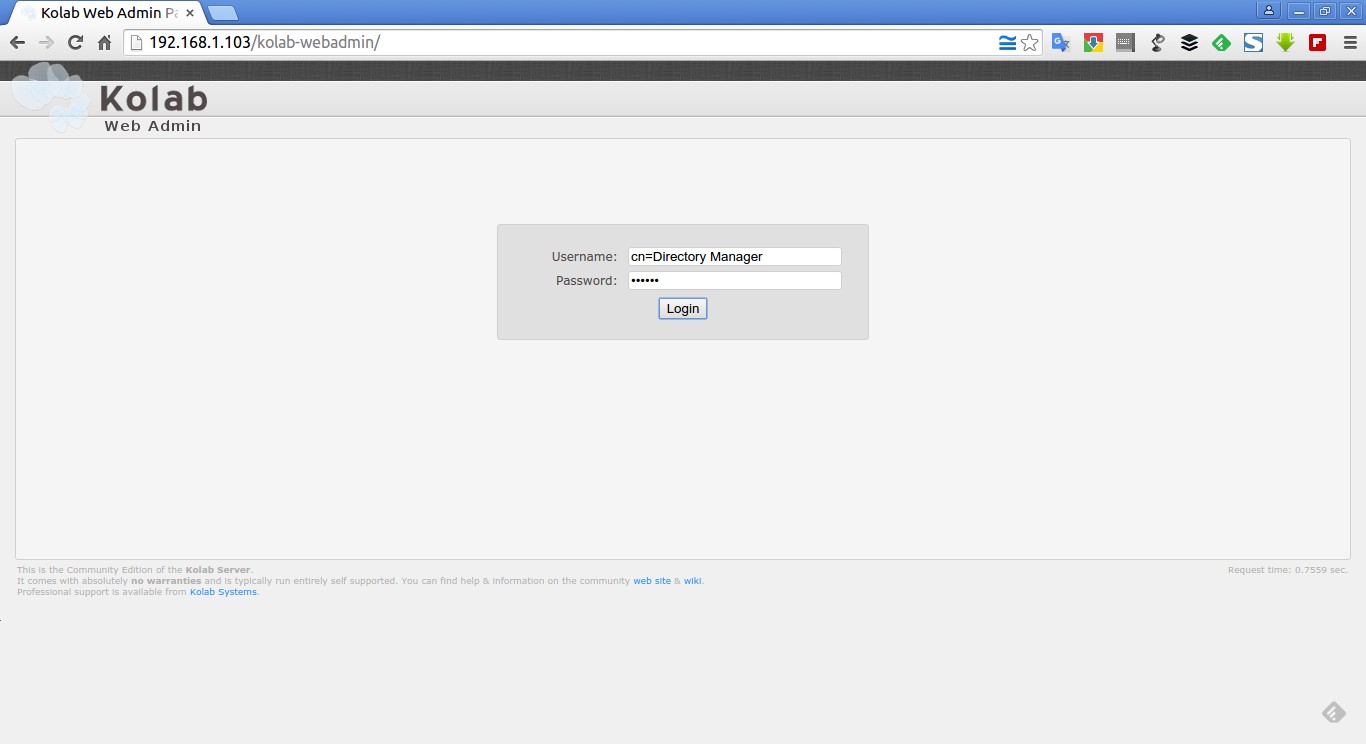
First log in to Kolab admin console by navigating to http://ip-address/kolab-webadmin or http://domain-name/kolab-webadmin from your web browser.
Navigate to Kolab admin console using URL: http://ip-address/kolab-webadmin or http://domain-name/kolab-webadmin.
The following page should appear.
Login using the username cn=Directory Manager and the corresponding password you supplied during the setup process.
Here it is how my Kolab administration console looks like.
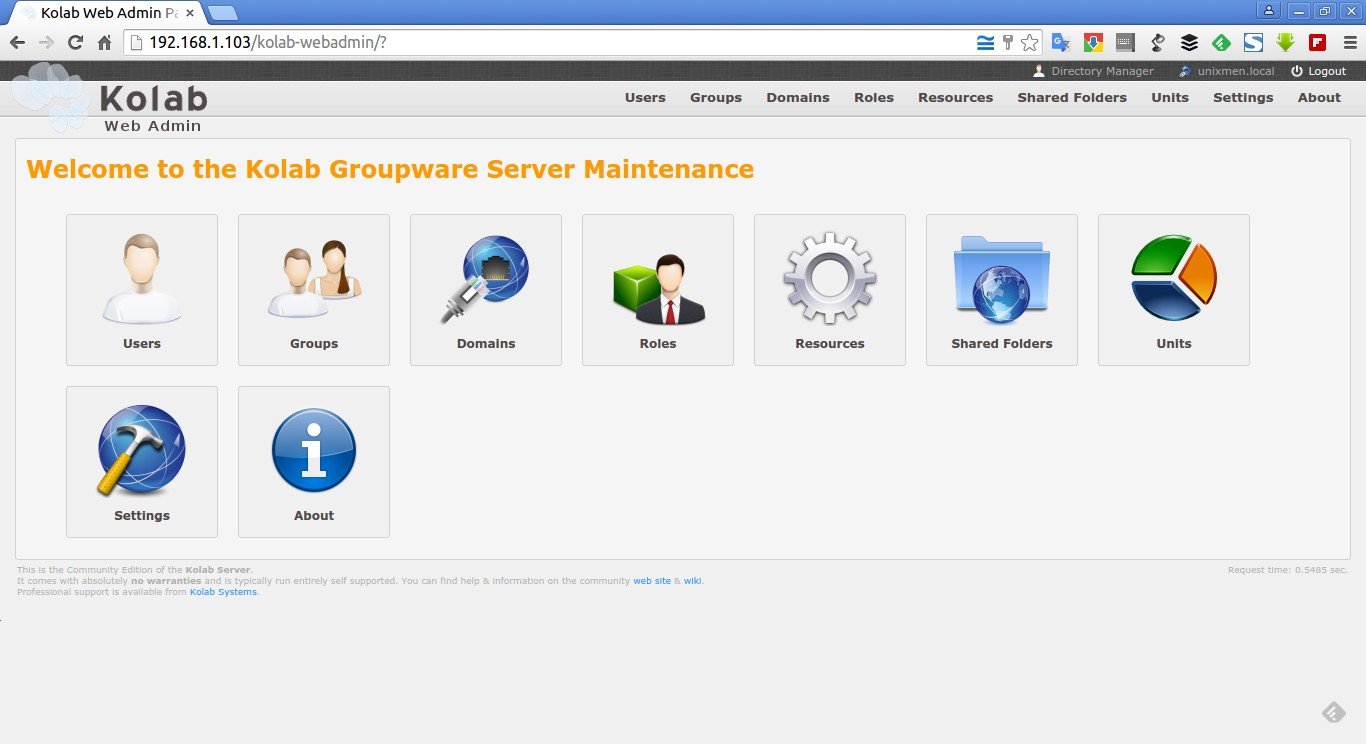
From here, you can create/edit/delete users, groups, domains, shared folders and roles etc.
As you see in the above screenshot, Kolab has the following list of various object types.
This list includes:
-
Users – This part of the interface allows an administrator to add new users and edit, list and search existing users. This may include Kolab users, but also POSIX users, or even contacts.
-
Groups – Groups are used for message distribution (called distribution groups), can be used as POSIX groups, and could be used to assign permissions in LDAP. By default, group membership is not used to share information in IMAP such as calendars or other payload. The default configuration uses roles for IMAP group ACLs instead.
-
Domains – This section allows you to control what namespaces the server will receive email for, as well as whether that namespace is or is not a completely separate and isolated organizational hierarchy.
-
Roles – Roles are used to assign permissions to Kolab users. A role already included in your installation is the one used for Kolab administration (the kolab-admin role). Roles can be used as IMAP group ACLs, and adjust, restrict or liberate the use of plugins and/or settings in web services such as the Roundcube web client, iRony (CardDAV/CalDAV), Syncroton (ActiveSync) and Chwala (Files).
-
Resources
-
Shared Folders – This section allows the administration of shared folders,
-
Settings
Let us see one by one.
2. Creating new users
Click on the “Users” button to create your initial user account.
The following screen should appear.

Let me explain the list available options in the above screen.
-
On the left-hand side you will see the list of existing user records. We didn’t create any user yet, so the list is empty now.
-
Quick links to other object types such as Users, Groups, Domains, Roles etc., are given at the top of the admin console.
-
You can add additional new users by clicking on the link Add User at the top right-hand side.
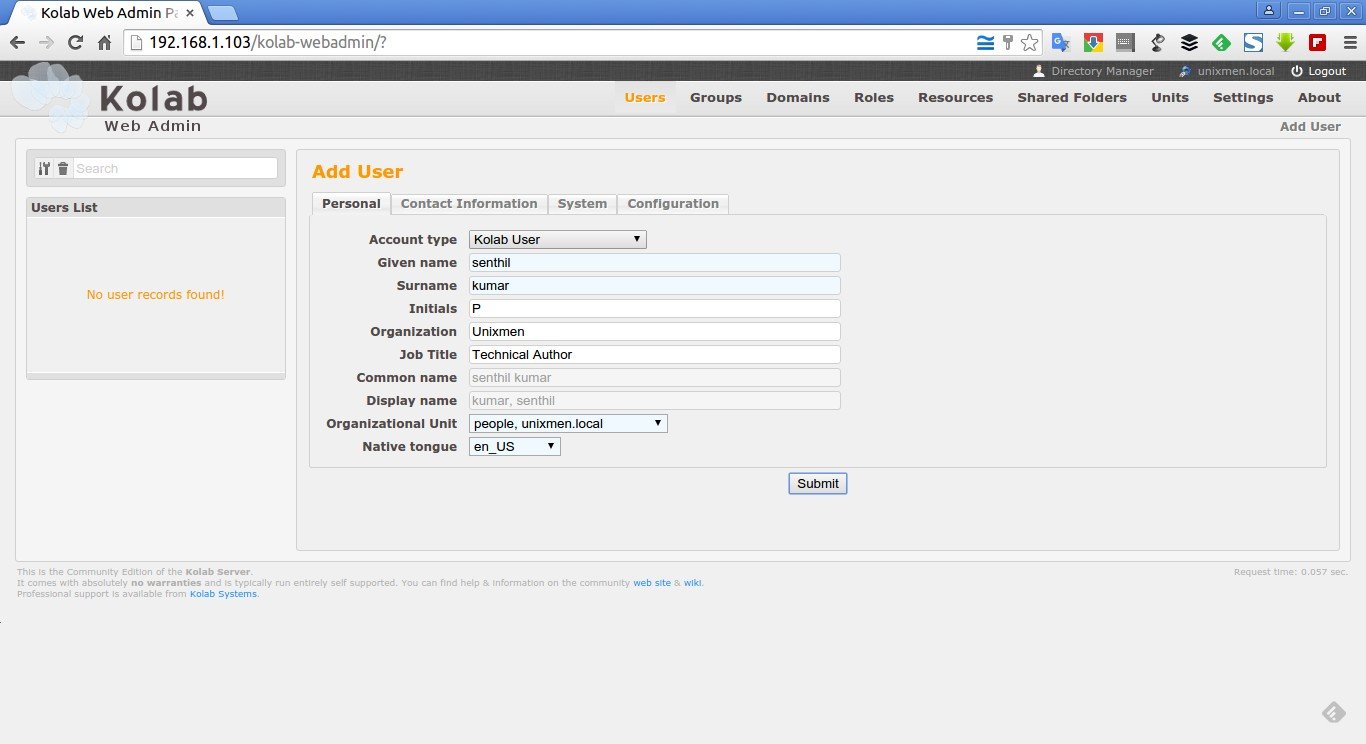
First, we will create a sample user. For example, now I am going to create an user called senthil.
Select Kolab user from the Account type drop-down box. Fill the user’s details such as Given name, Surname, Initials, Organization, Job title etc.
The background color of the form fields indicates whether or not the form field requires you to provide input:
- light-blue fields are mandatory,
- white fields are optional,
- gray fields are disabled for custom entry.
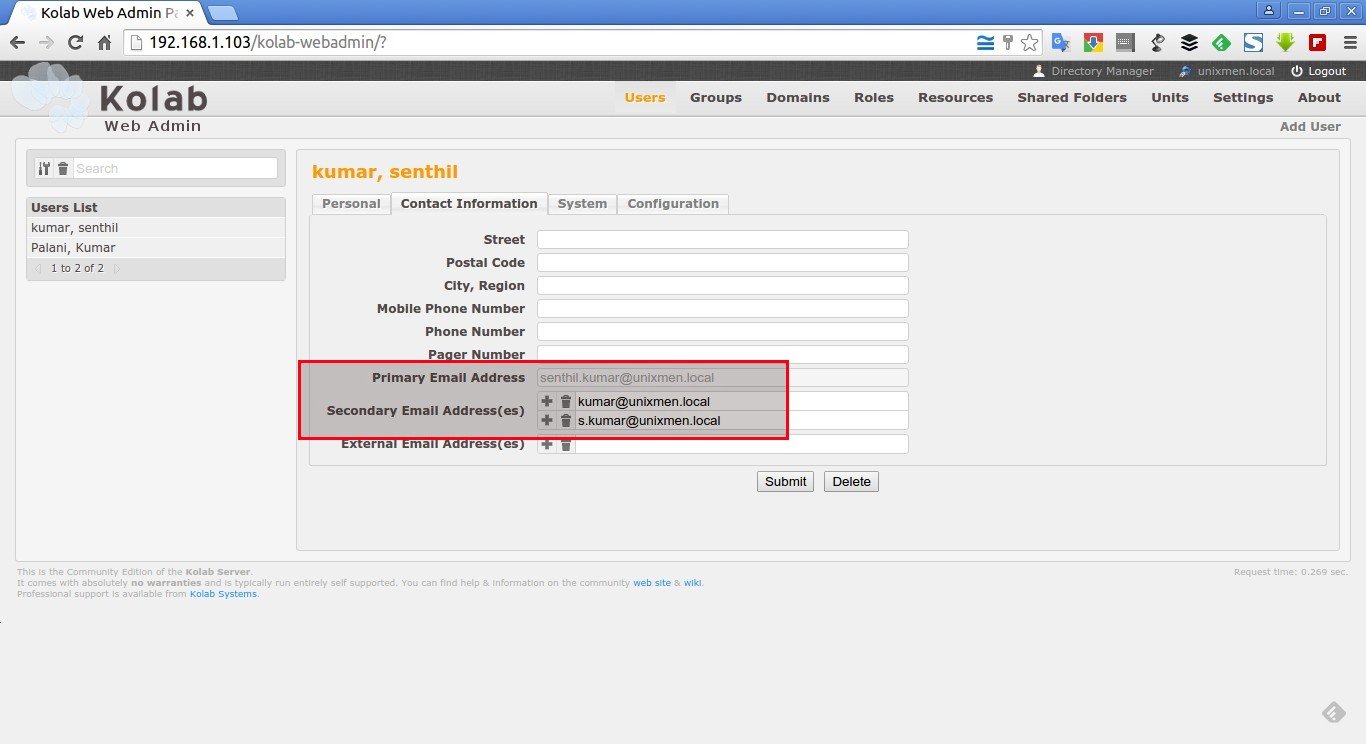
You don’t need to provide the Email id manually for each users. Because, user information is being populated in other tabs of the form as well, such as the Primary Email Address and Secondary EmailAddress(es) fields in the Contact Information tab.
Check the following screenshots.
If you want to set the currently creating user as a Kolab Administrator, start typing kolab-admin in the Role(s) field.
You can set the password for your user’s mail id in the System tab.
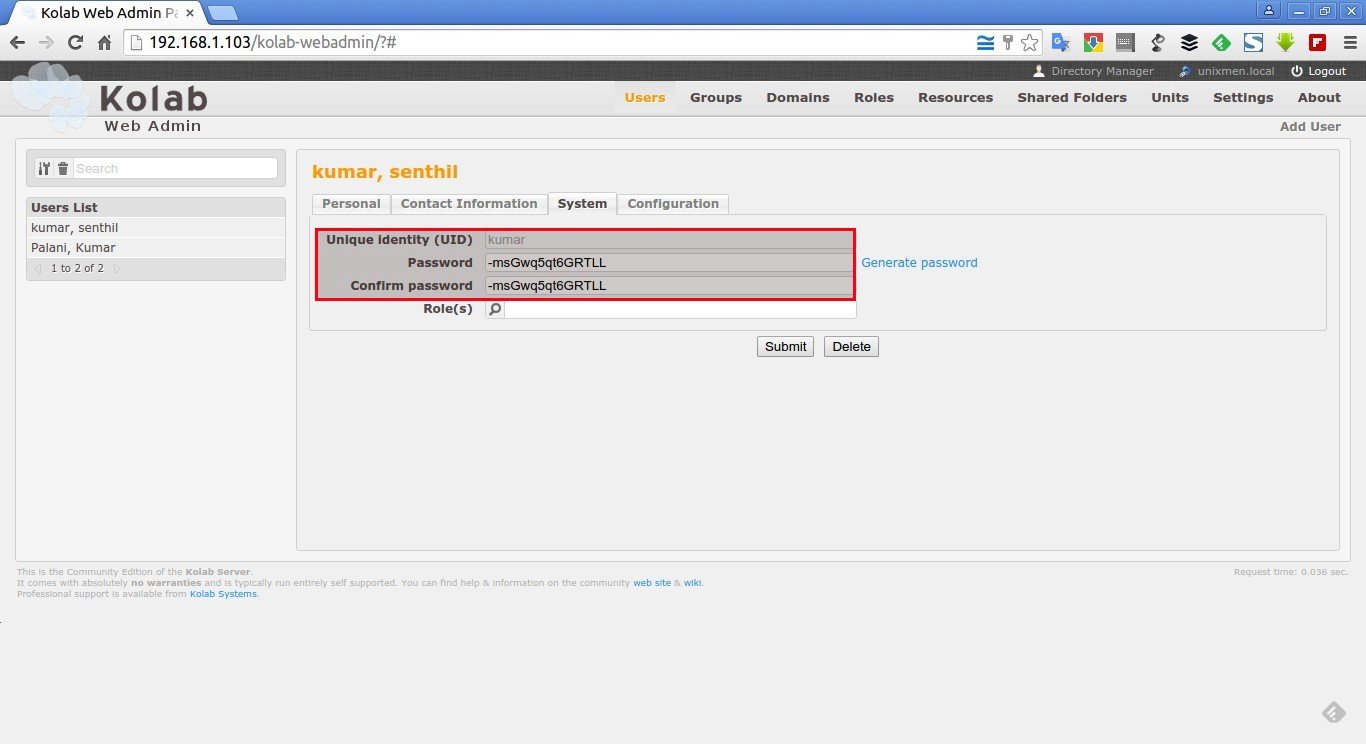
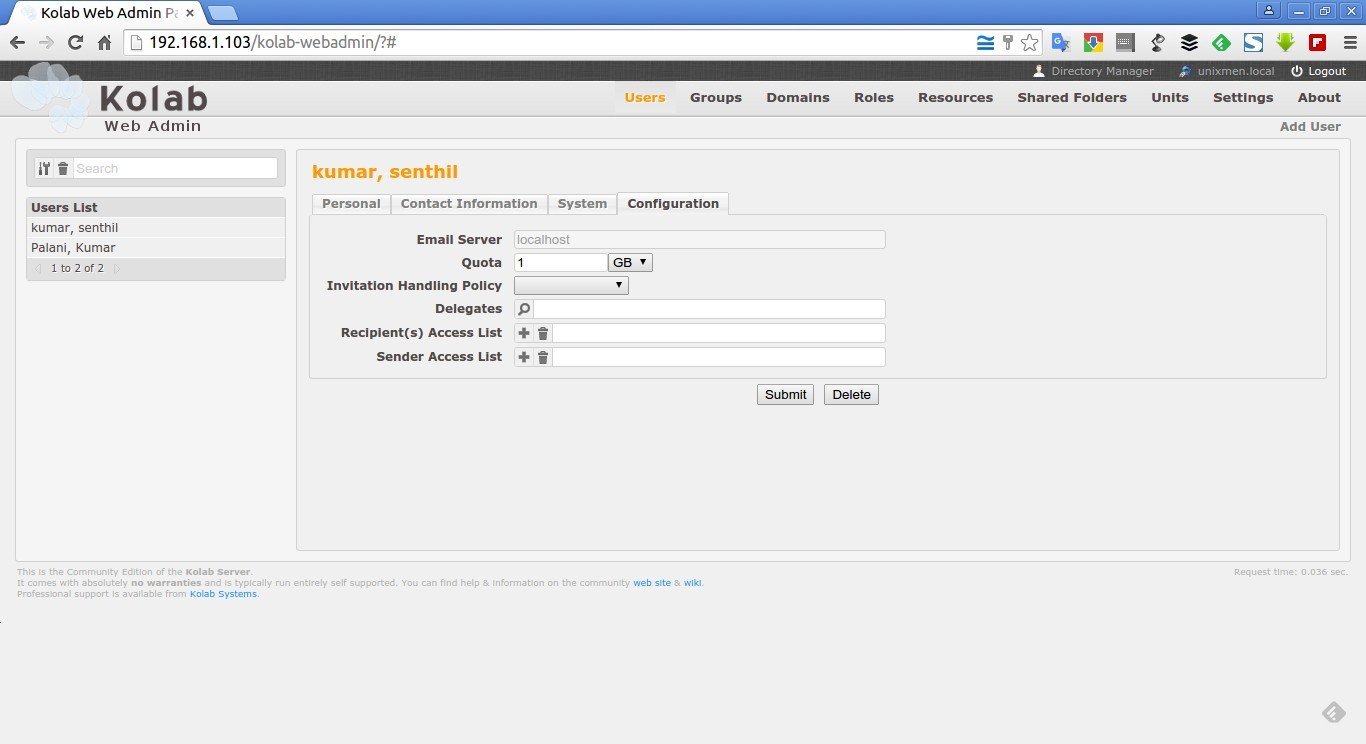
In the Configuration tab, you can set various values including Emailserver (Which is localhost itself in our case), Quota etc.
After entering all required details, click Submit button.
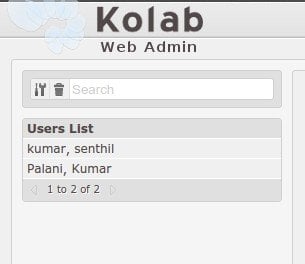
For the testing purpose, I have created two users namely Senthil and Kumar. The newly created users will be found on the left side of the Admin console.
Similarly, you can create as many as users you needed for your organization.
3. Adding Groups
To create a new group, click on the Groups on the top, next to the Users section.
Select your Group type, enter group name. If you want to add the existing users to this group, add them in the Members field.

Similarly, you can add as many groups as you wanted for different categories, like HR managers, Management, Developement, Testing etc.
By default, Kolab groupware comes with pre-defined Group lists as mentioned below. You can add the members to the following groups, or you can create a new group as shown in the above example.
| Accounting Managers |
| HR Managers |
| PD Managers |
| QA Managers |
4. Adding Domains
As you may know already, Kolab supports multi-domain. You can create any number of domains for your office or personal use.
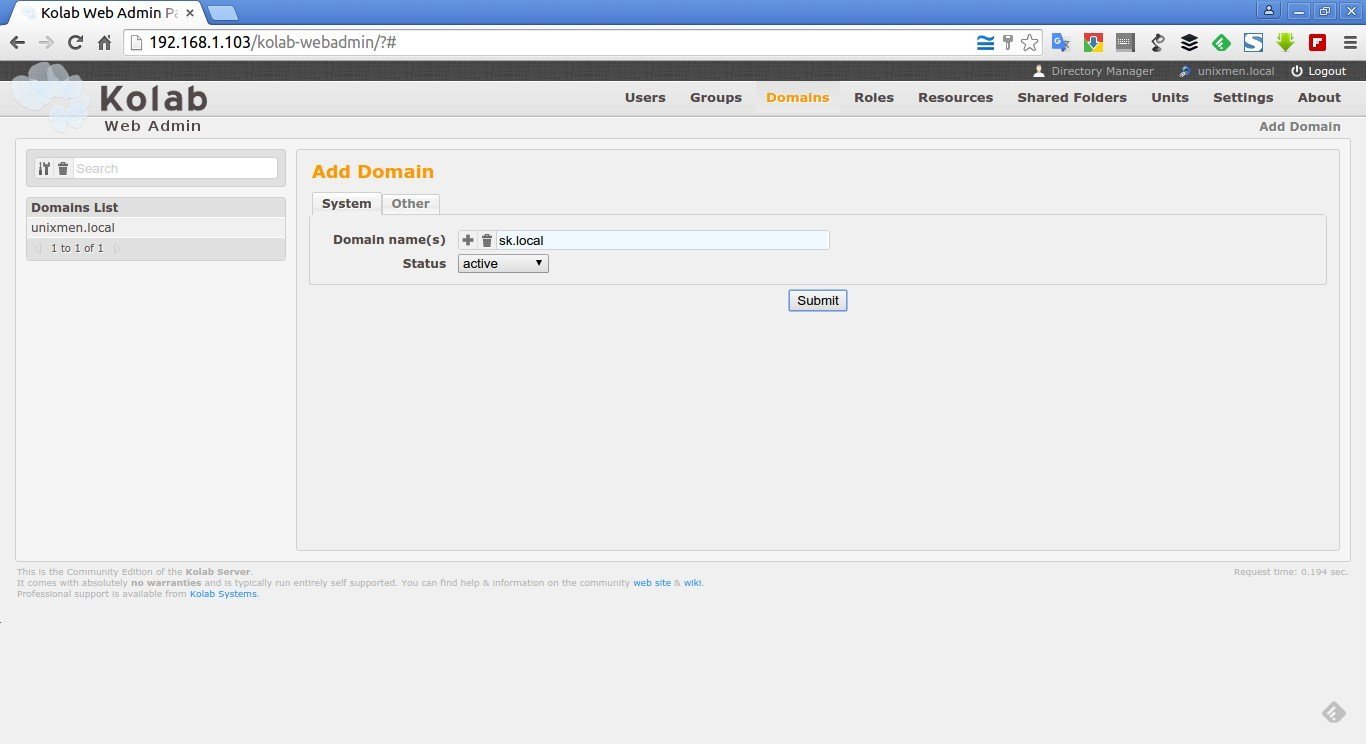
To add a new domain, click Domains on the top panel from the Kolab admin console.
The following screen should appear. By default, Kolab comes with one domain which you created during the installation process.
To add an extra doamin, for example here I am going to create a personal domain called sk.local, enter the domain name and select active from the Status drop-down box.
You can delete or suspend your extra domains at any time by using the Status drop-down box.
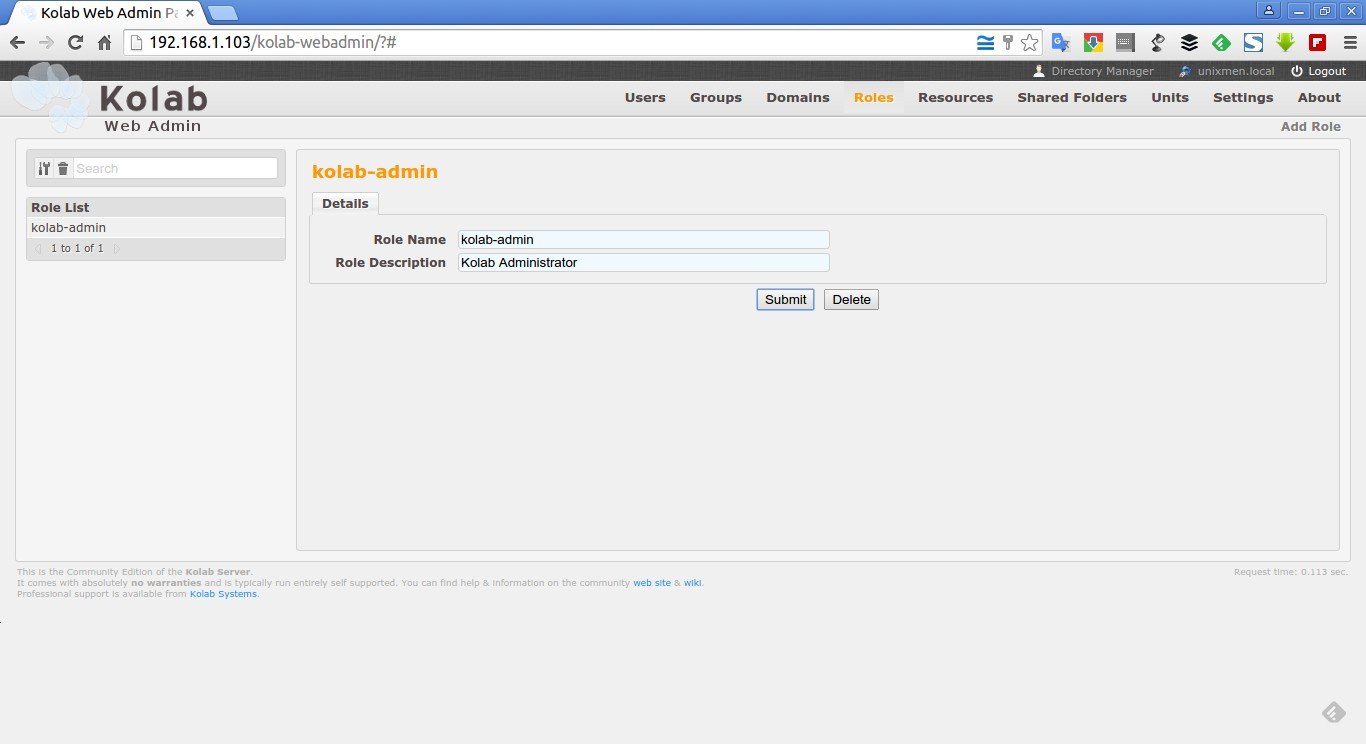
5. Adding Roles
By default, Kolab comes with one admin role (kolab-admin). In case you want to create additional role, you can do it from the Roles tab.
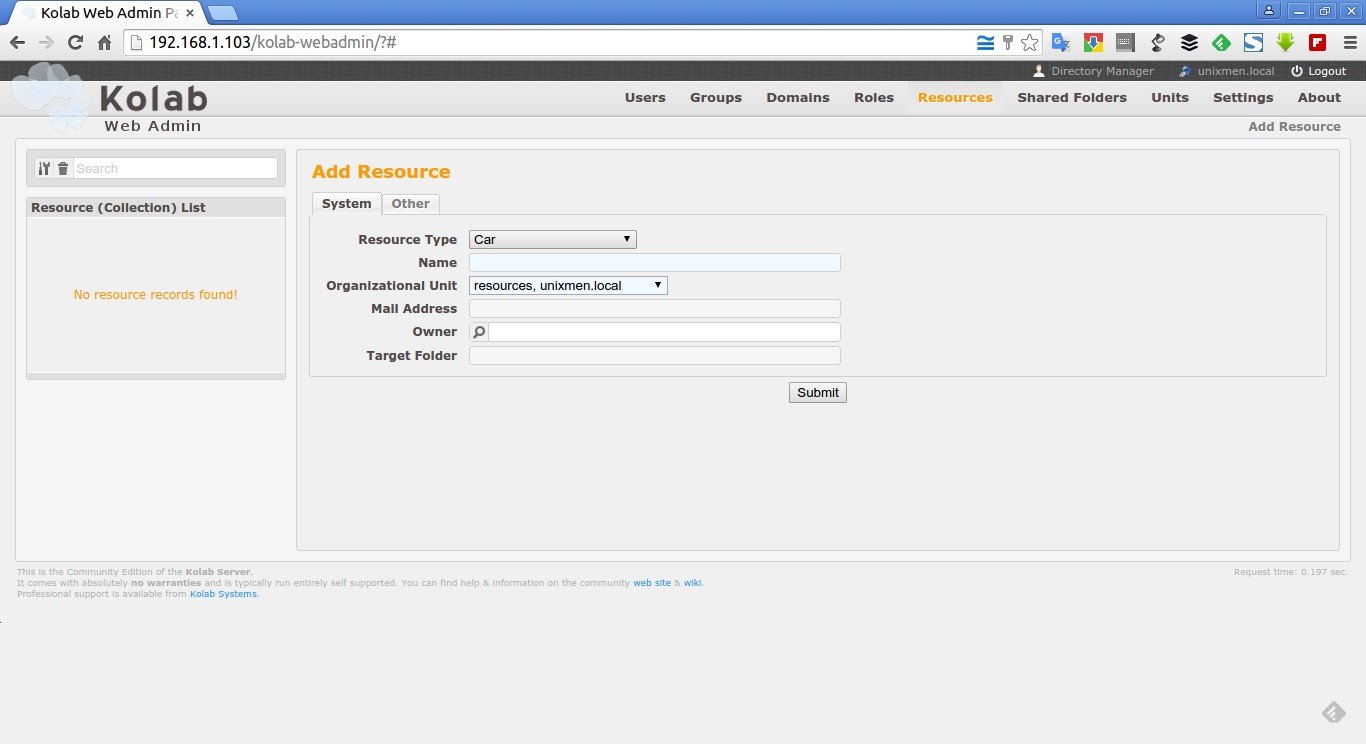
6. Adding Resources
This section allows you to add any resource you wanted to.
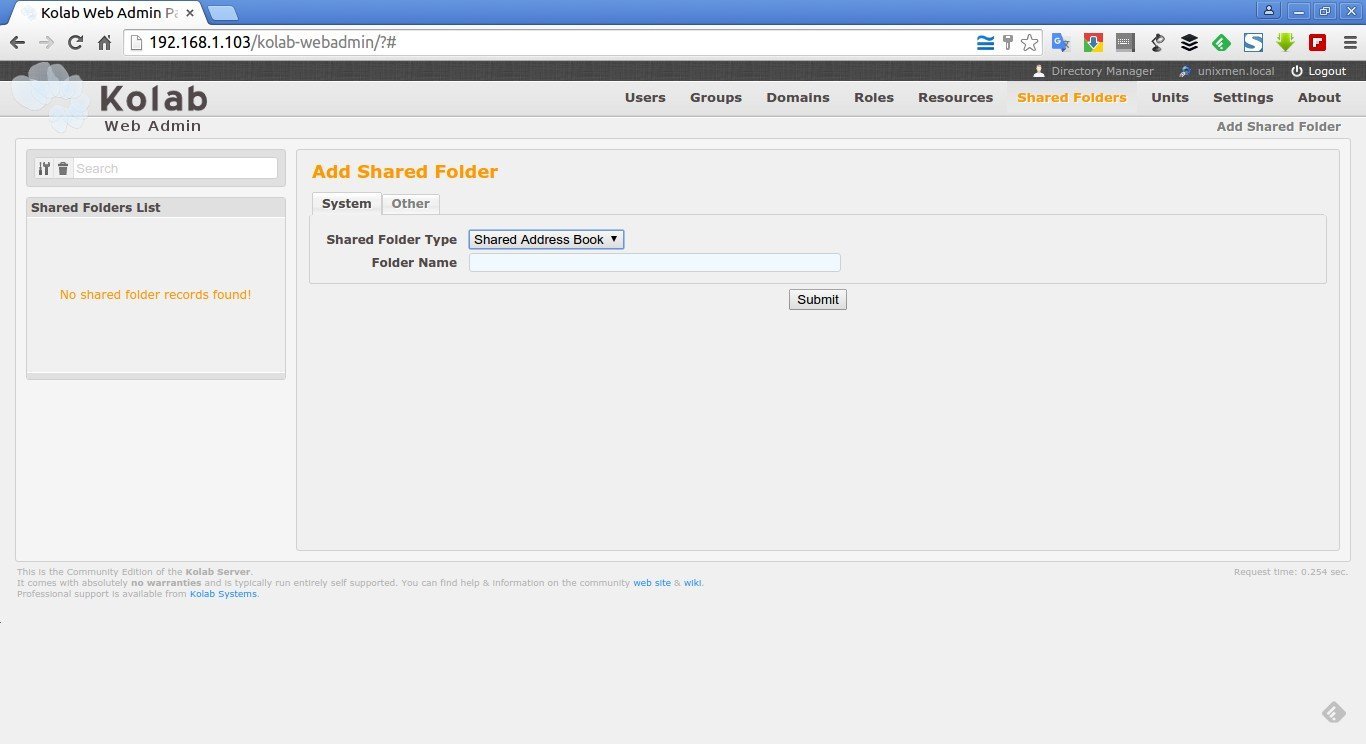
7. Adding shared folders
This section is bit important. Using this section, you can share any folders of your choice to other users as well. Be it an address book, a calendar, a folder, or notes/tasks, you can share it to anyone in your network in few mouse clicks.
Of course there are few more tabs in the Kolab admin console such as Organizational units, Settings and About etc. These are self-explanatory.
8. Using Kolab Webmail
After creating users, you would like to test your kolab webmail. Kolab Groupware comes with pre-installed Roundcube webmail client. Also, you can use other mail client applications such as:
- Windows
- Microsoft Outlook
- Kontact
- Mozilla Thunderbird
- Apple Mac OS X
- Mac OS X Native Applications
- Mozilla Thunderbird
- GNU/Linux
- Kontact
- Mozilla Thunderbird
- Evolution
- Emacs
- Android
- K-9 Mail
- iOS (iPhone/iPad)
- Start the Configuration
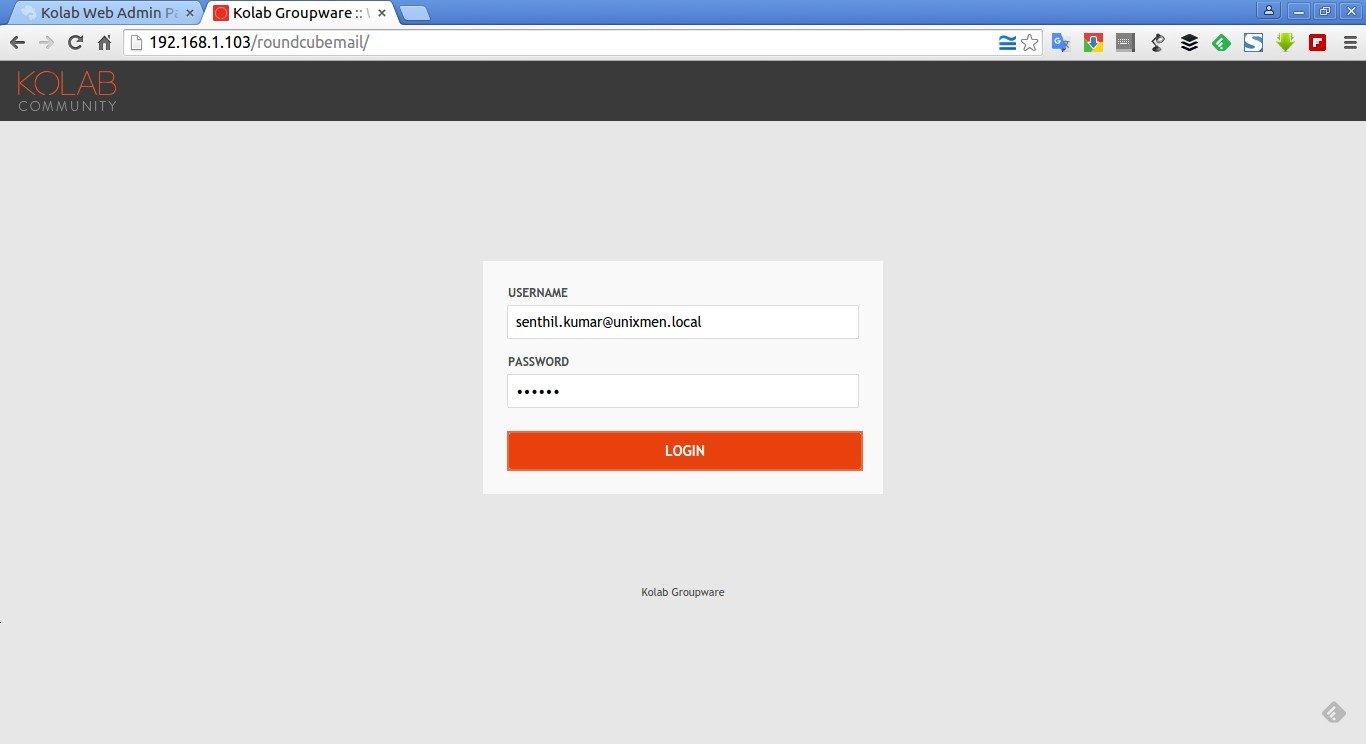
In this tutorial, let use Roundcube webmail client.
To access the Webmail client, open up your web browser and navigate to: http://IP-Address/roundcubemail/ or http://Domain-name/roundcubemail/.
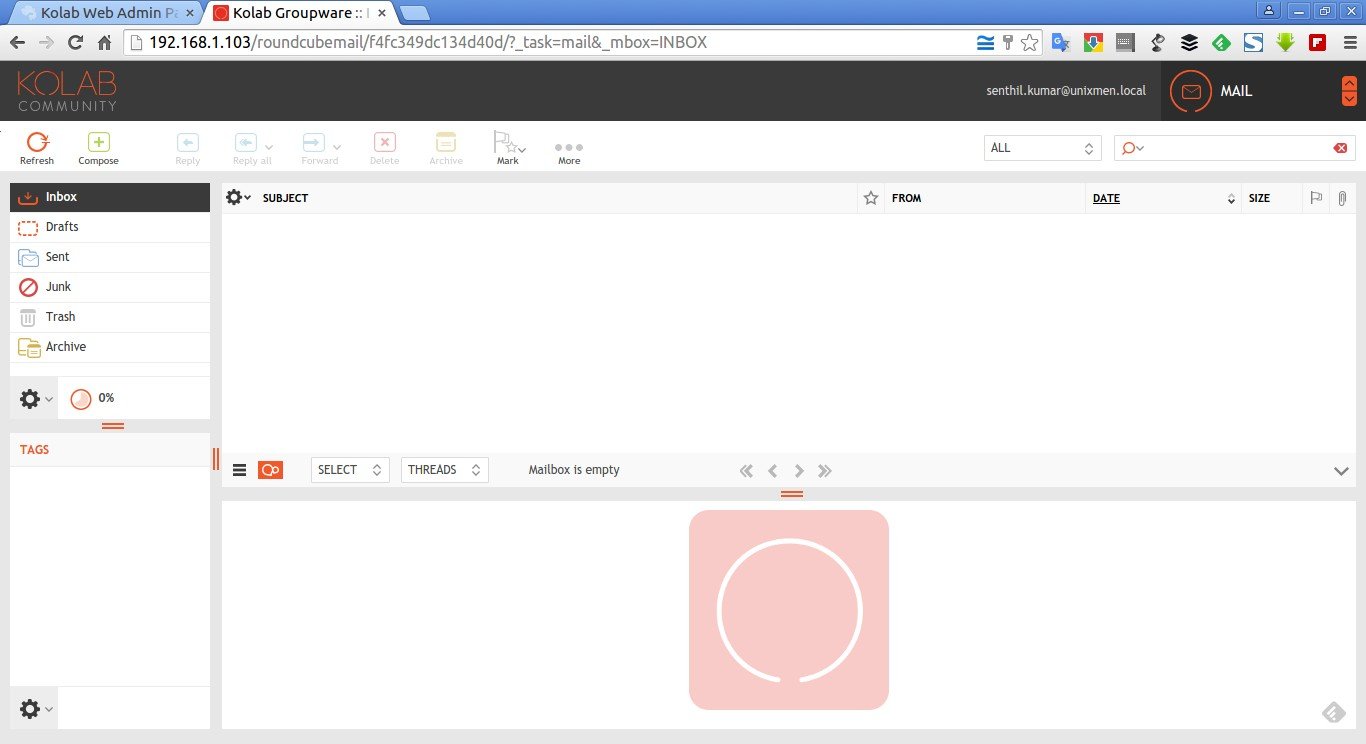
The following screen should appear. Enter the user’s mail id and password which you created in the User creation section.
Well, here it is how my user’s mail box looks like.
You can send/receive mails to your contacts as the way you do in normal Gmail, Yahoomail.
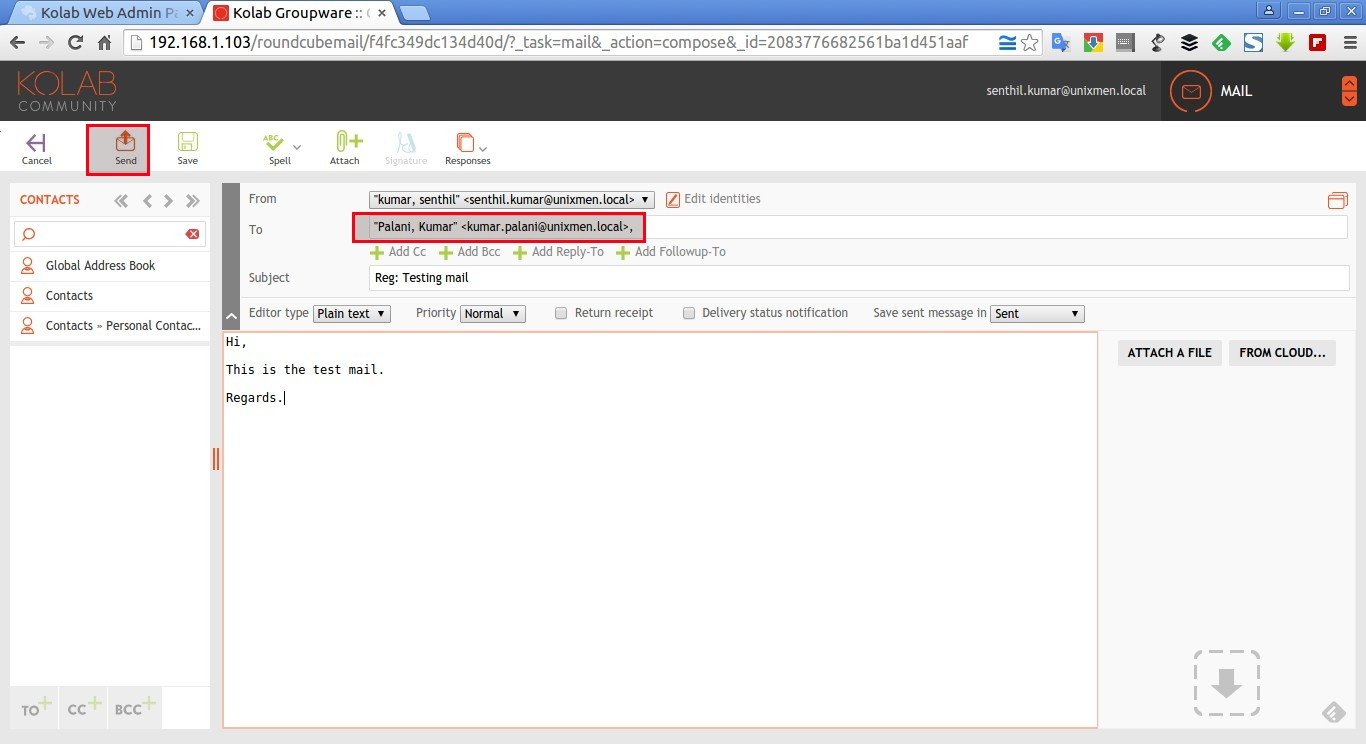
For example, let me compose a sample mail to the user: kumar.palani@unixmen.local
Click Compose. Enter the recipient mail id, type the body of content and click Send button.
Now, log out from the current user and login to the recipient user (Ex. kumar.palani@unixmen.local).
You’ll see a new mail has just arrived from the user “Senthil”.

That’s it. Kolab webmail is working now. If you have added proper MX records in your DNS server, you can access the Kolab Webmail from anywhere in the world. For that, you might need a working DNS server and a public IP address. I tested this tutorial on a local network, and it’s worked without any issues.
For more details about Kolab administration, refer the following links.
Good luck.
Source & Reference links:


