
Seafile :
is an open source cloud storage system with advanced support for file syncing, privacy protection and teamwork. It allow users TO Organize files into libraries. Each library can be shared between users and into groups. A library can also be selectively synced into any device..
Also Seafile allow access files from mobile devices. Notifications and messages make it easy to connect with team members.
In this guide, we will try to make our own cloud storage through setting up a seafile server on an Ubuntu 14.04 VPS instance. We can then use this solution to upload and interact with files through a web interface, or configure syncing local directories.
Seafile and its desktop and mobile clients are published under the GPLv3.
Prerequisites
Before installing Seafile, make sure that you you have installed LAMP server under you vps.
sudo apt-get install apache2 mysql-server php5 libapache2-mod-php5
In production environment it’s recommend using MySQL as the database and config Seafile web behind Nginx or Apache. In our case we will use Apache server.
The Seafile server package requires the following packages have been installed in your system:
sudo apt-get install sqlite python-simplejson python-setuptools python-imaging
Installation of Seafile server
Let’s start now the installation of Seafile server. You need to create directory where you will put the source package and config files and ‘/etc/seafile/install/’ directory to put the installation files of Seafile server.
You need to download the last relase of Seafile server from this link: http://seafile.com/en/download/
[root@ubuntutest ~]# mkdir /etc/seafile
[root@ubuntutest ~]# mkdir /etc/seafile/install
[root@ubuntutest ~]# cd /etc/seafile/
[root@ubuntutest seafile]# wget https://bitbucket.org/haiwen/seafile/downloads/seafile-server_4.0.5_x86-64.tar.gz[root@ubuntutest seafile]# tar -xzf seafile-server_4.0.5_x86-64.tar.gz
Then move the extracted seafile-server-4.0.5 files to ‘/ect/seafile/install/’ directory.
[root@server seafile]# mv seafile-server* install/
Now goto the ‘/opt/seafile/install/seafile-server-4.0.5/’ directory and run the installation script.
root@ubuntutest:/etc/seafile/install/seafile-server-4.0.5# ./setup-seafile.sh

You are running this script as ROOT. Are you sure to continue?
[yes|no] yes  ## Type yes and press enter ##

-----------------------------------------------------------------

This script will guide you to config and setup your seafile server.

Make sure you have read seafile server manual at

https://github.com/haiwen/seafile/wiki

Note: This script will guide your to setup seafile server using sqlite3,

which may have problems if your disk is on a NFS/CIFS/USB.

In these cases, we sugguest you setup seafile server using MySQL.

Press [ENTER] to continue ## Type enter to continue ##

-----------------------------------------------------------------

checking packages needed by seafile ...

Checking python on this machine ...

Find python: python2.7

Checking python module: setuptools ... Done.

Checking python module: python-imaging ... Done.

Checking python module: python-sqlite3 ... Done.

Checking for sqlite3 ...Done.

Checking Done.

What would you like to use as the name of this seafile server?

Your seafile users will be able to see the name in their seafile client.

You can use a-z, A-Z, 0-9, _ and -, and the length should be 3 ~ 15

[server name]: ubuntu ## Enter the server hostname ##

What is the ip or domain of this server?

For example, www.mycompany.com, or, 192.168.1.101

[This server's ip or domain]: 192.168.20.130 ## Enter FQDN name or ip-address ##

What tcp port do you want to use for ccnet server?

10001 is the recommended port.

[default: 10001 ] ## Press Enter ##

Where would you like to store your seafile data?

Note: Please use a volume with enough free space.

[default: /etc/seafile/install/seafile-data ] ## Press Enter ##

What tcp port would you like to use for seafile server?

12001 is the recommended port.

[default: 12001 ] ## Press Enter ##

What tcp port do you want to use for seafile fileserver?

8082 is the recommended port.

[default: 8082 ] ## Press Enter ##

This is your config information:

server name: ubuntu

server ip/domain: 192.168.20.130

server port: 10001

seafile data dir: /etc/seafile/install/seafile-data

seafile port: 12001

fileserver port: 8082

If you are OK with the configuration, press [ENTER] to continue.

Generating ccnet configuration in /etc/seafile/install/ccnet...

done

Successly create configuration dir /etc/seafile/install/ccnet.

Generating seafile configuration in /etc/seafile/install/seafile-data ...

Done.
-----------------------------------------------------------------
Seahub is the web interface for seafile server.

Now let's setup seahub configuration. Press [ENTER] to continue
-----------------------------------------------------------------

Creating seahub database now, it may take one minute, please wait...
Done.

creating seafile-server-latest symbolic link ... done

-----------------------------------------------------------------
Your seafile server configuration has been completed successfully.
-----------------------------------------------------------------
run seafile server: ./seafile.sh { start | stop | restart }
run seahub server: ./seahub.sh { start <port> | stop | restart <port> }

-----------------------------------------------------------------
If the server is behind a firewall, remember to open these tcp ports:
-----------------------------------------------------------------
port of ccnet server: 10001
port of seafile server: 12001
port of seafile fileserver: 8082
port of seahub: 8000

When problems occur, refer to
https://github.com/haiwen/seafile/wiki
for more information.
Now run the ‘seafile.sh’ and ‘seahub.sh’ scripts to start the Seafile server.
[root@server seafile-server-1.6.1]# ./seafile.sh start

Starting seafile server, please wait ...
Seafile server started
Done.

root@ubuntutest:/etc/seafile/install/seafile-server-4.0.5# ./seahub.sh start

Starting seahub at port 8000 ...

----------------------------------------
It's the first time you start the seafile server. Now let's create the admin account
----------------------------------------

What is the email for the admin account?
[ admin email ] anism@gmail.com ## Enter the admin email id ##

What is the password for the admin account?
[ admin password ] ## Enter admin password ##

Enter the password again:
[ admin password again ]  ## Retype password ##

----------------------------------------
Successfully created seafile admin
----------------------------------------

Loading ccnet config from /etc/seafile/install/ccnet
Loading seafile config from /etc/seafile/install/seafile-data

Seahub is started

Done.

root@ubuntutest:/etc/seafile/install/seafile-server-4.0.5#
Start Seafile at System Bootup
To easily control your Seafile server, you must set it up as an Ubuntu service. You need to use of the /etc/init.d/ scripts to start seafile/seahub at system boot
You need to make the startup script for the Seafile server like this:
su
vi /etc/init.d/seafile
After that copy this configuration and save it into the file
#!/bin/bash

# Change the value of "user" to your linux user name
user=haiwen

# Change the value of "seafile_dir" to your path of seafile installation
seafile_dir=/data/haiwen
script_path=${seafile_dir}/seafile-server-latest
seafile_init_log=${seafile_dir}/logs/seafile.init.log
seahub_init_log=${seafile_dir}/logs/seahub.init.log

# Change the value of fastcgi to true if fastcgi is to be used
fastcgi=false
# Set the port of fastcgi, default is 8000. Change it if you need different.
fastcgi_port=8000

case "$1" in
        start)
                sudo -u ${user} ${script_path}/seafile.sh start >> ${seafile_init_log}
                if [  $fastcgi = true ];
                then
                        sudo -u ${user} ${script_path}/seahub.sh start-fastcgi ${fastcgi_port} >> ${seahub_init_log}
                else
                        sudo -u ${user} ${script_path}/seahub.sh start >> ${seahub_init_log}
                fi
        ;;
        restart)
                sudo -u ${user} ${script_path}/seafile.sh restart >> ${seafile_init_log}
                if [  $fastcgi = true ];
                then
                        sudo -u ${user} ${script_path}/seahub.sh restart-fastcgi ${fastcgi_port} >> ${seahub_init_log}
                else
                        sudo -u ${user} ${script_path}/seahub.sh restart >> ${seahub_init_log}
                fi
        ;;
        stop)
                sudo -u ${user} ${script_path}/seafile.sh $1 >> ${seafile_init_log}
                sudo -u ${user} ${script_path}/seahub.sh $1 >> ${seahub_init_log}
        ;;
        *)
                echo "Usage: /etc/init.d/seafile {start|stop|restart}"
                exit 1
        ;;
esac
Add Directory for Logfiles
mkdir /path/to/seafile/dir/logs
Create a file /etc/init/seafile.conf,
If you’re not using MySQL:
start on (runlevel [2345])
stop on (runlevel [016])

pre-start script
/etc/init.d/seafile-server start
end script

post-stop script
/etc/init.d/seafile-server stop
end script
If you’re using MySQL:
start on (started mysql
and runlevel [2345])
stop on (runlevel [016])

pre-start script
/etc/init.d/seafile-server start
end script

post-stop script
/etc/init.d/seafile-server stop
end script
Make the seafile-sever script executable:
sudo chmod +x /etc/init.d/seafile
Done.
Don’t forget to update the value of script_path later if you update your seafile server.
Now try using the service and command to start a new Seafile server instance:
service seafile start
Firewall settings
By default, you should open 4 ports in your firewall settings.
 |
 | Seahub
    | 8000
    |-
    | FileServer
    | 8082
    |-
    | Ccnet Daemon
    | 10001
    |-
    | Seafile Daemon
    | 12001
    |
If you run Seafile behind Nginx/Apache with HTTPS, you should open ports
 |
 | HTTPS
    | 443
    |-
    | Ccnet Daemon
    | 10001
    |-
    | Seafile Daemon
    | 12001
    |
Seafile web configuration
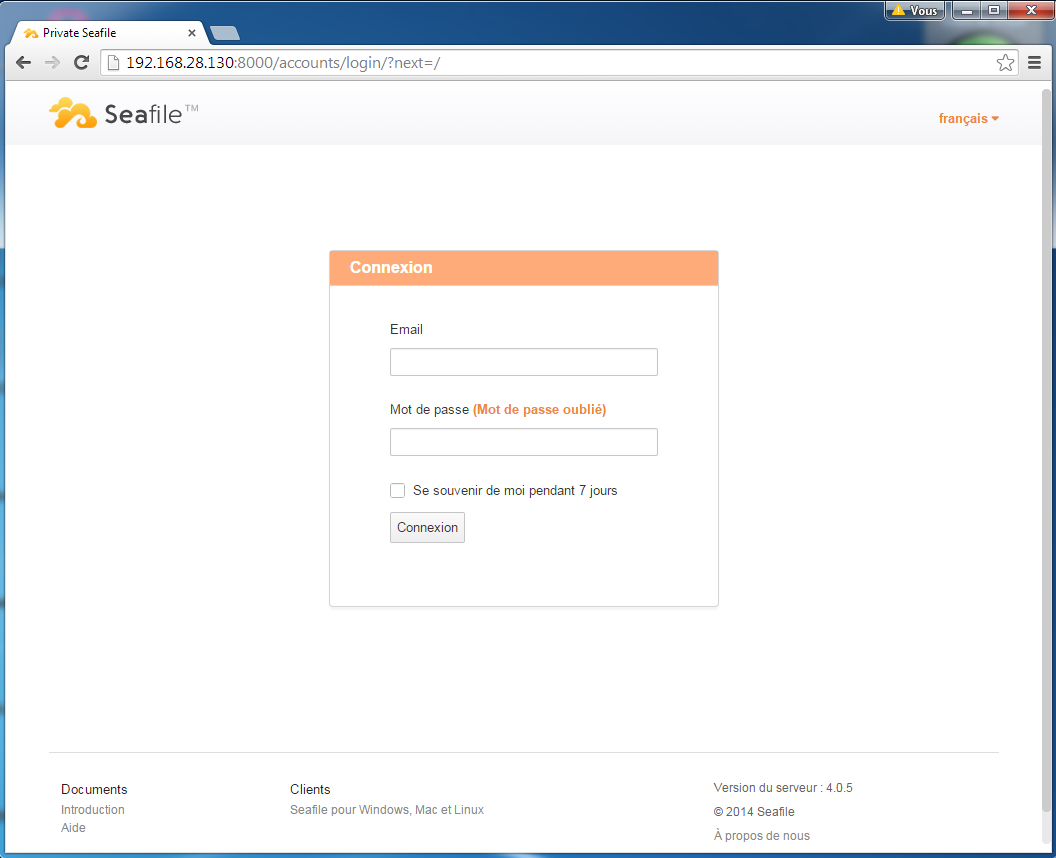
Now navigate to your web browser using “http://ip-address:8000″ or “http://your-domain-name:8000/”.
In this example, we will use this URL: http://192.168.28.130:8000
The following screen should appear when you enter the URL “http://ip-address:8000″. Enter the admin email id and password to login which you have created at the time of installation.
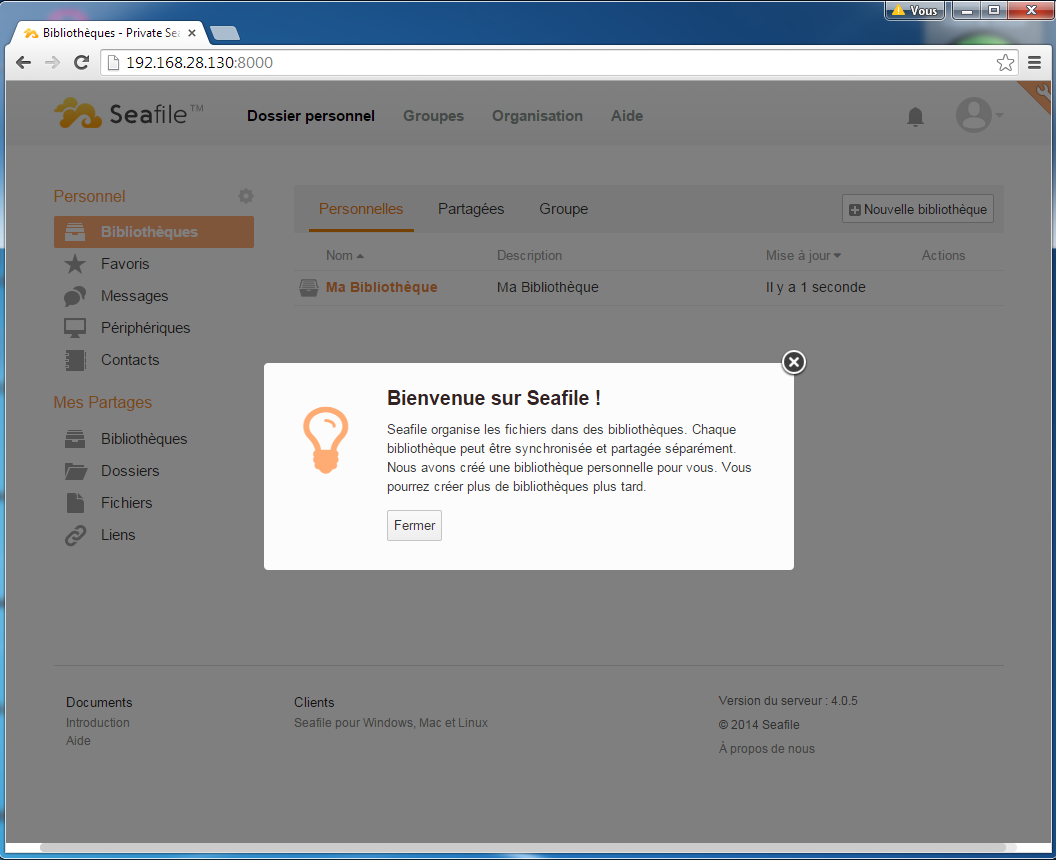
Now after log on you can manage and create your files, users, contacts, groups, libraries.
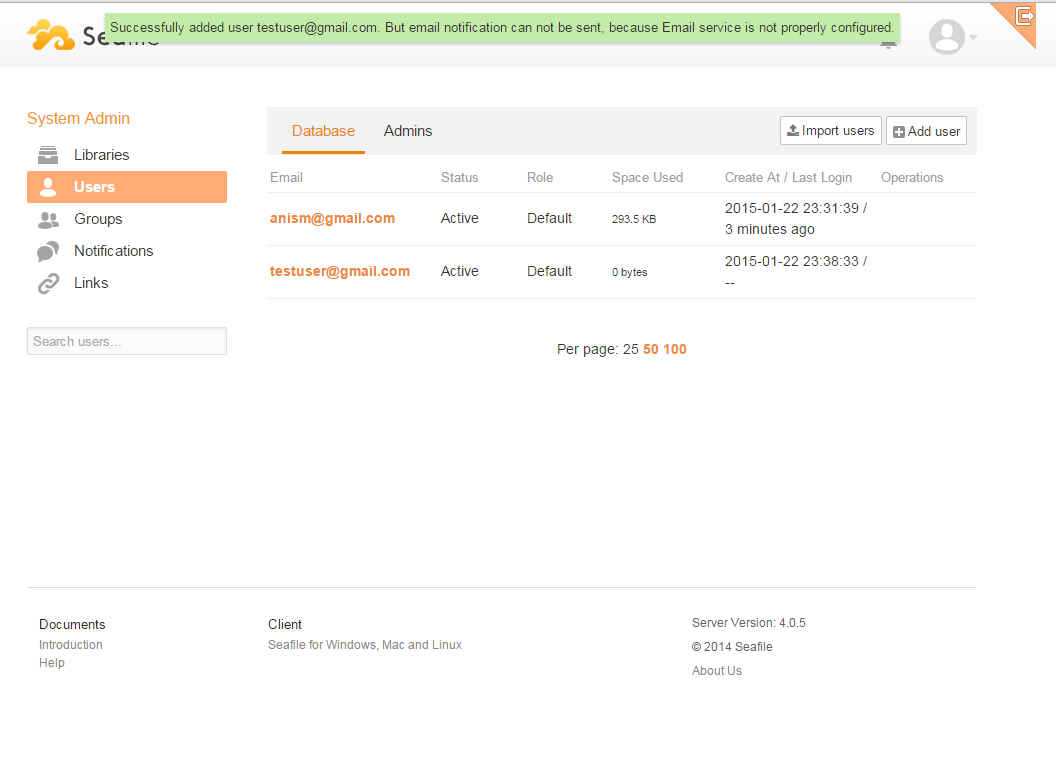
if you want to create others users that you can share with them files, you need to under administration page and create new account.
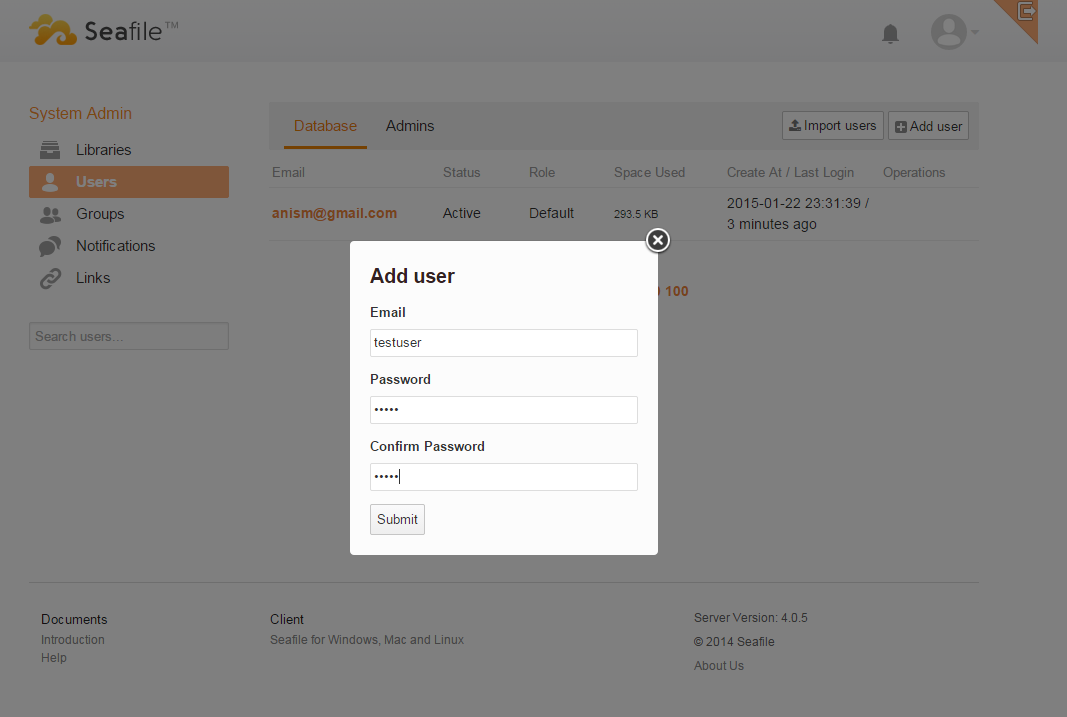
Now you have created new user that can share with you files, folders etc …
Setting up Seafile Clients
Seafile clients is available to download in a variety of formats for many different devices and operating systems. Windows, Mac OS, Linux, Android, iOS, and a generic terminal client are all supported for the desktop client, while the server side is available for Windows, Linux and Raspberry Pi. You can download Seafile clients from this link.

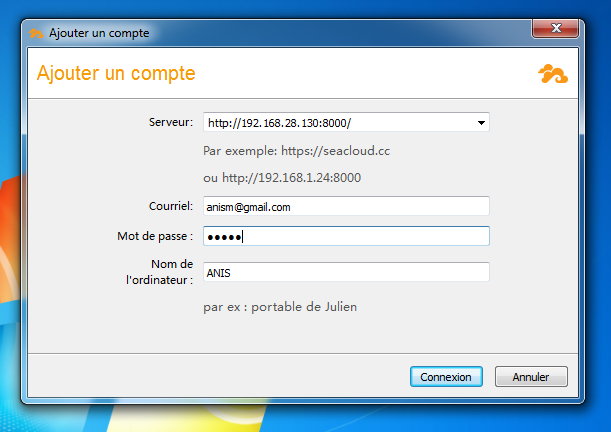
This example to show you how to use Seafile client for windows os.
Choose the address of you server for example http://192.168.28.130:8000 and enter in your login details, then you’ll see your libraries.
At any stage, you can add more Seafile accounts from private web servers. It’s quite easy to then switch between the accounts as you require.
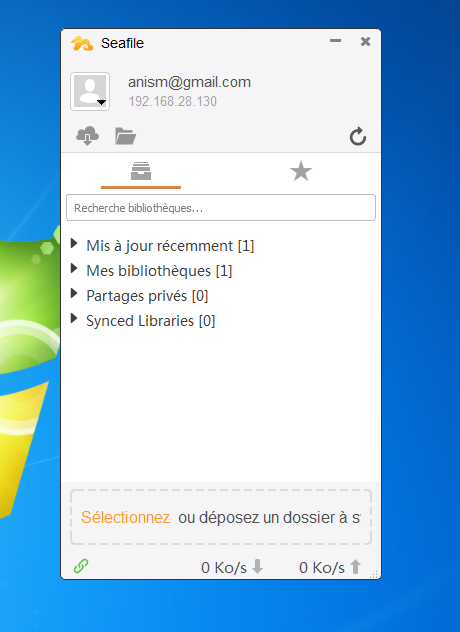
Enjoy, now you have your own storage cloud platform.


