
Disk cloning or Clone a Disk
Disk cloning or Clone a Disk is the process of copying data from a hard disk to another one, in fact you can do this process by copy & paste but you won’t be able to copy the hidden files and folders or the in-use files, that’s why you need a cloning software to do the job, also you may need the cloning process to save a backup image from your files and folders.
Basically, the cloning software job is to take all disk data, convert them into a single .img file and give it to you, so you can copy it to another hard drive or optical disk or network location for backup purpose.
Clonezilla
Clonezilla is a free, disaster-recovery software developed by the National Center for High-Performance Computing (NCHC) software labs in Taiwan. With Clonezilla you can clone a single drive or even a single partition within a drive and then recover that drive later. The cloned data can be stored as an image file or as a duplicate copy of the data. That cloned partition (or drive) can then be stored on an internal drive, an external USB drive, a CD/DVD drive, or a networked drive (using Samba, SSH, or NFS). Clonezilla can be run from its own bootable environment from a CD/DVD or from a USB flash drive. It is similar to Norton Ghost on Windows but more effective.
Minimum System Requirements for Clonezilla live:
- X86 or x86-64 processor
- 196 MB of system memory (RAM)
- Boot device, e.g. CD/DVD Drive, USB port, or hard drive
The first step is to download the ISO image from the Clonezilla Web site(http://clonezilla.org/downloads.php). Make sure you download a stable version of this tool. Once you have the file downloaded, you need to burn it onto a disk. NOTE: If you want to use it on a USB drive, use a tool like UNetbootin to make this process simple. After you have burned your media, you are almost ready.
In this example, the machine has 1 disk (20 GB), we want to clone it to an external disk (20 GB). Here since we use virtual machine to give this example, we use small disk size, i.e.20 GB instead of modern disk sizes.
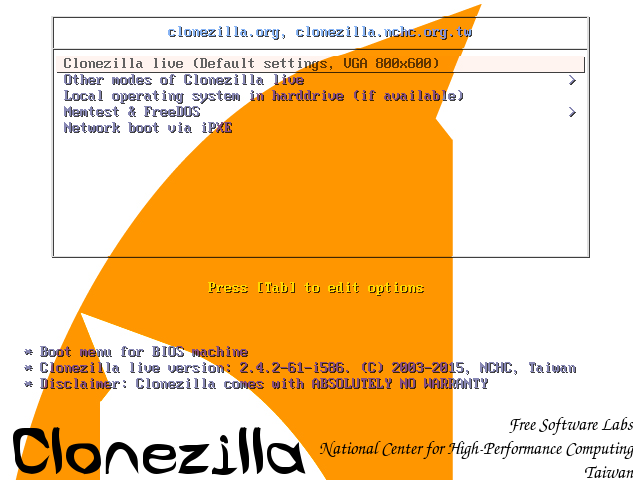
Attach your external drive (or, if you are using a USB, insert a burnable CD/DVD) and then insert your Clonezilla media and reboot the system. You have to boot from the Clonezilla media for this to work. you will get the following screen select default option or goto other modes clonezilla live to select different options.
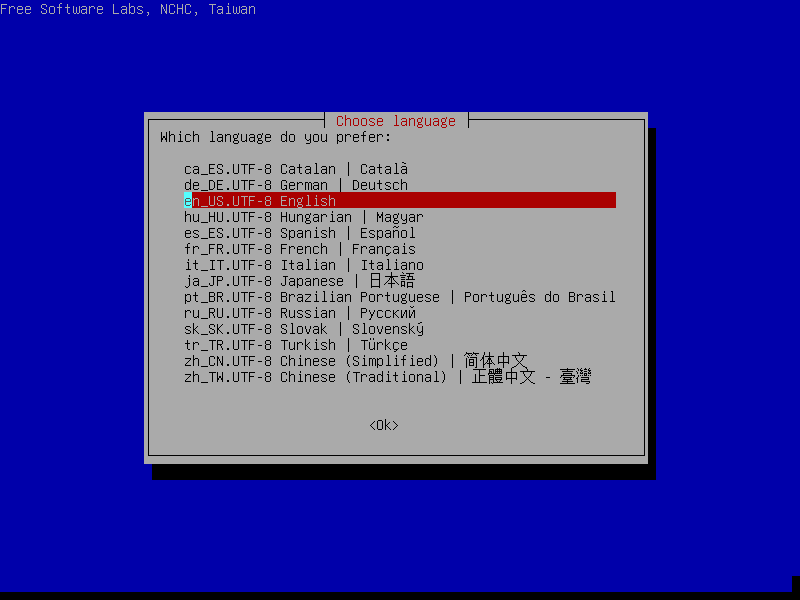
Choose your language. From the language screen, you need to select the language you want to use for the process.
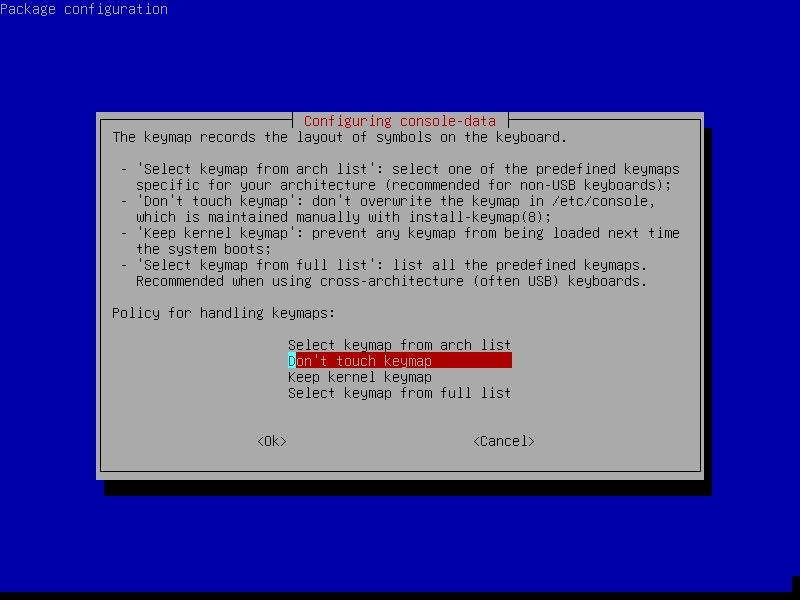
Choose your keyboard layout. You have four options:
- Select Keyboard from arch list
- Don’t touch my keymap
- Keep kernel keymap
- Select keymap from full list
Most likely the Don’t Touch My Keymap setting will work just fine
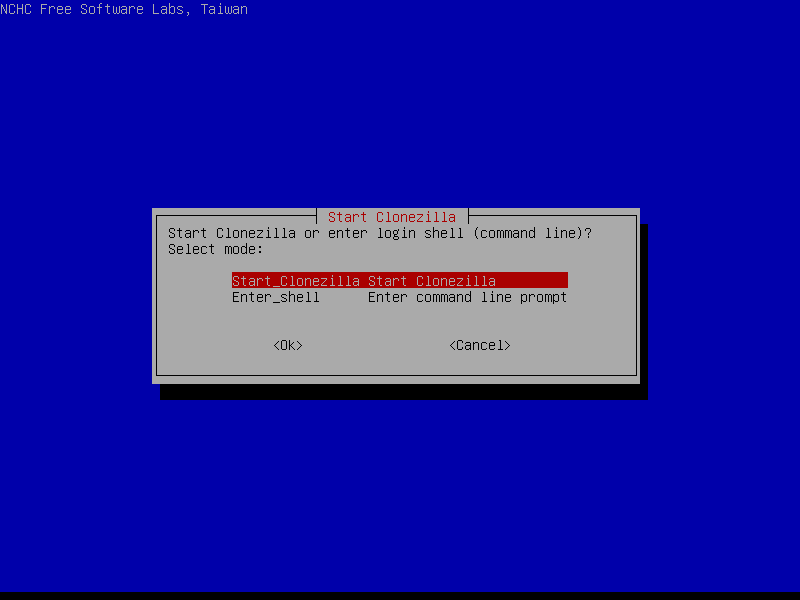
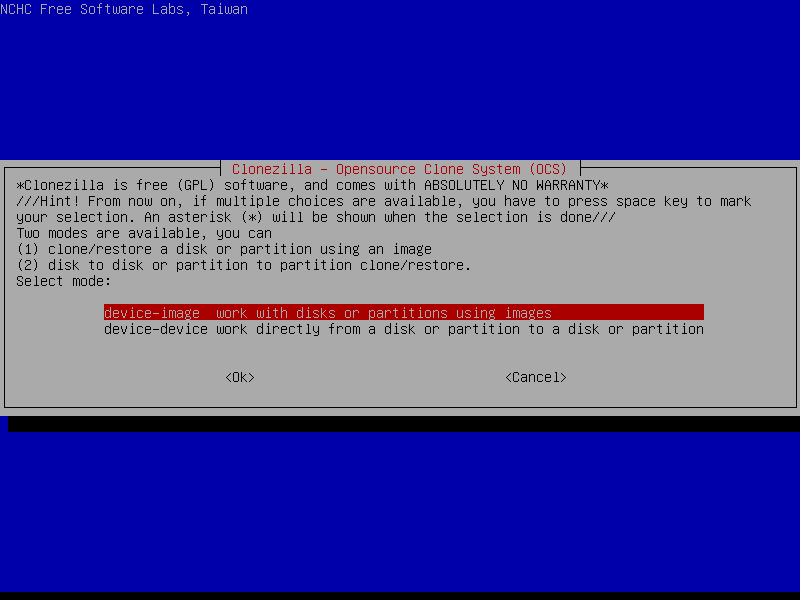
Start Clonezilla. At this step you can either drop into a console or start Clonezilla.
Choose device to device for cloning of complete disk cloning
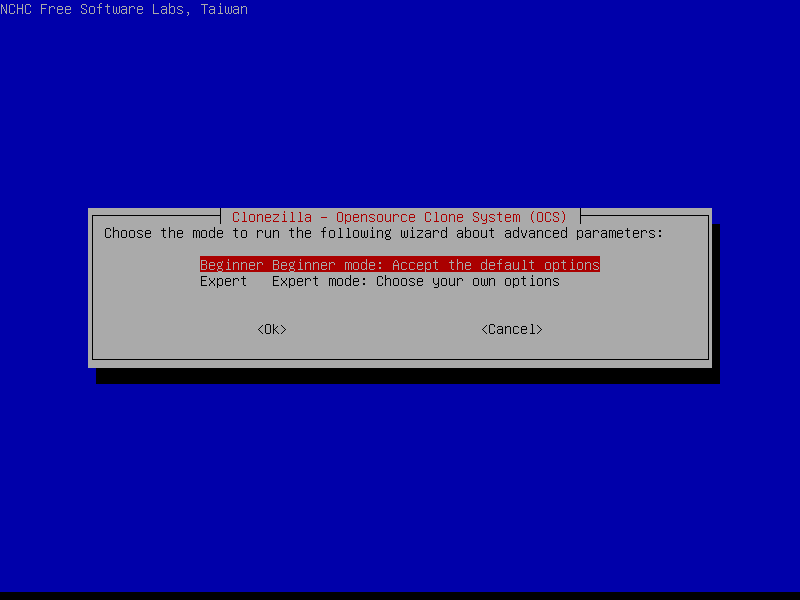
Choose the Beginner mode if you are new to this process.
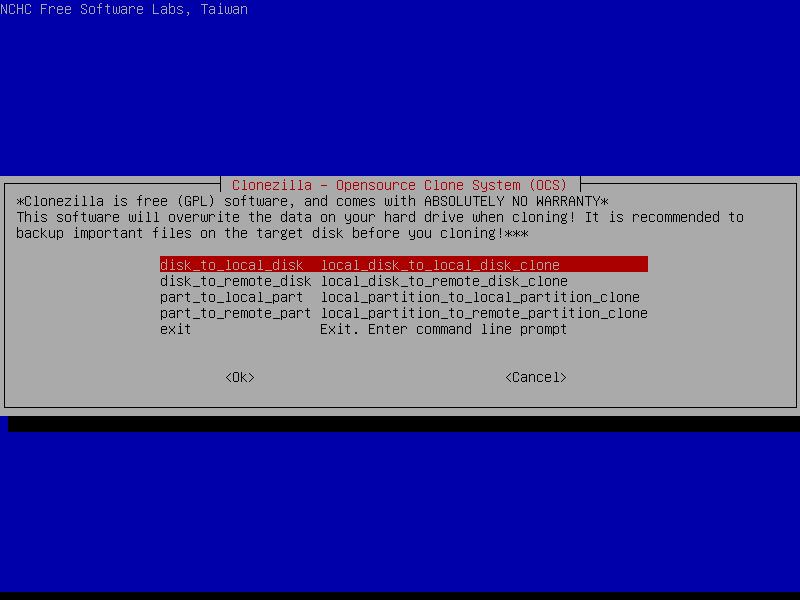
Choose disk tolocaldisk for cloning of complete disk cloning
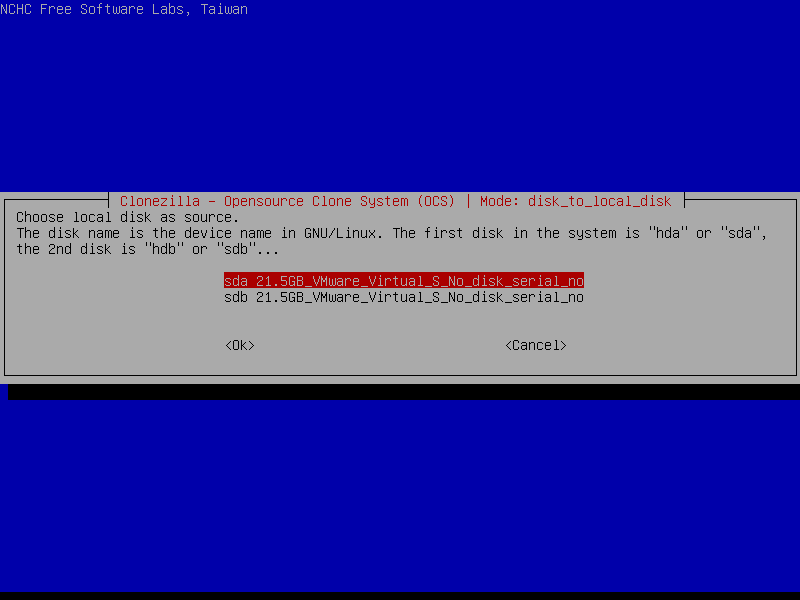
Choose the source Disk here the source disk is sda
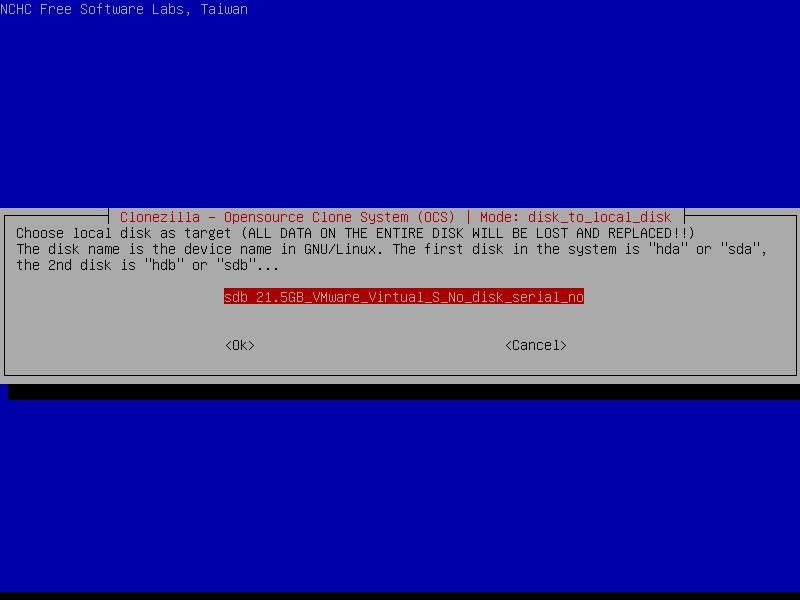
Next choose the Target or destination Disk here it is sdb
Then it prompt forconfiguration checks if youknow configure it otherwise leave it by selecting skip
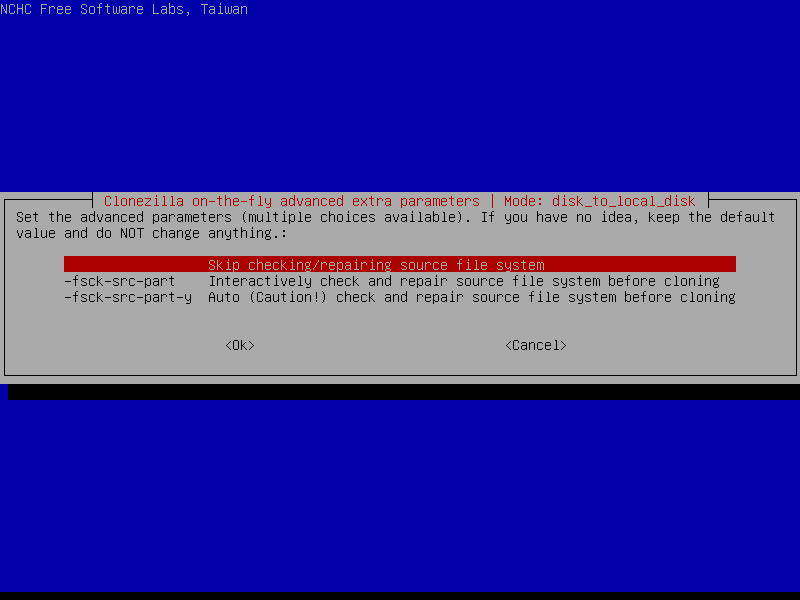
Select if the source file system need to be checked or not:
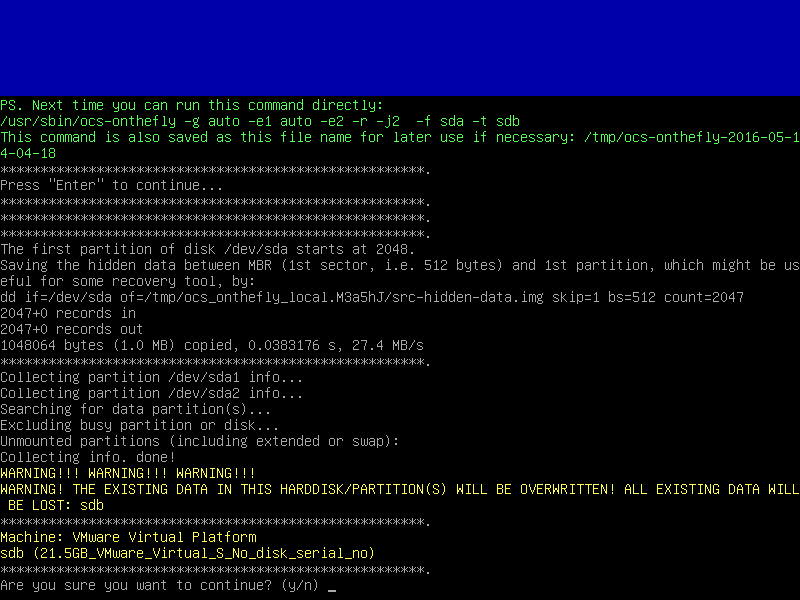
Clonezilla shows you the complete command to run this disk to disk clone action:

Press Enter to continue…
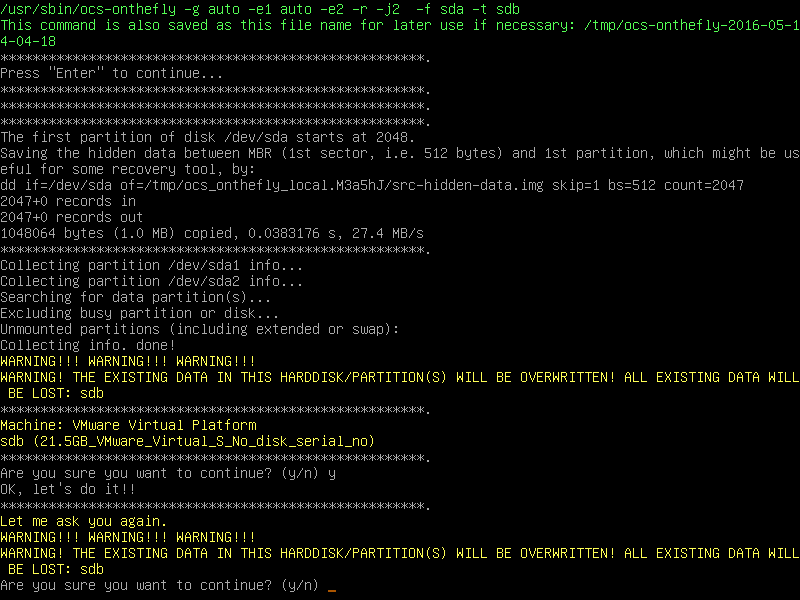
Before doing the real cloning, Clonezilla will ask confirmation
It’s again ask for Confirmation to overwrite the data in hard disk sdb(target disk)
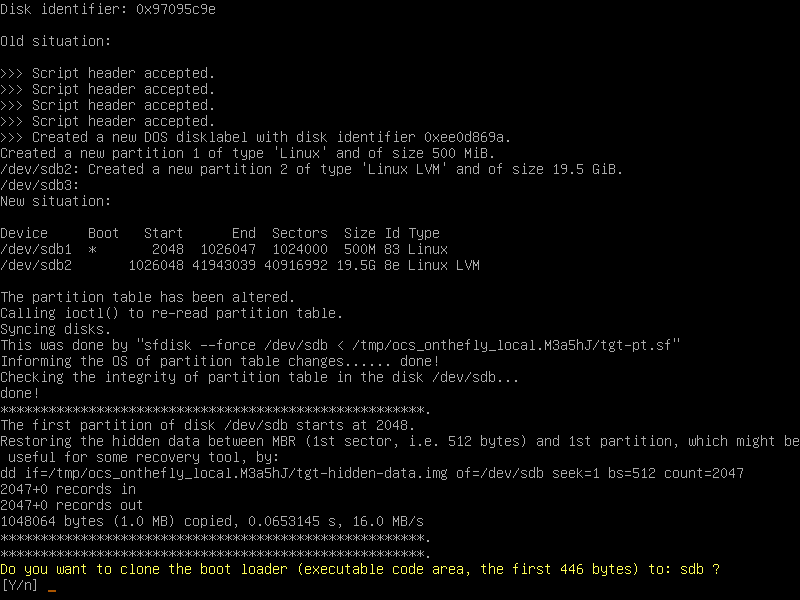
First it creates the partition layout in the target Disk.

After that it ask for confirmation to copy the boot loader
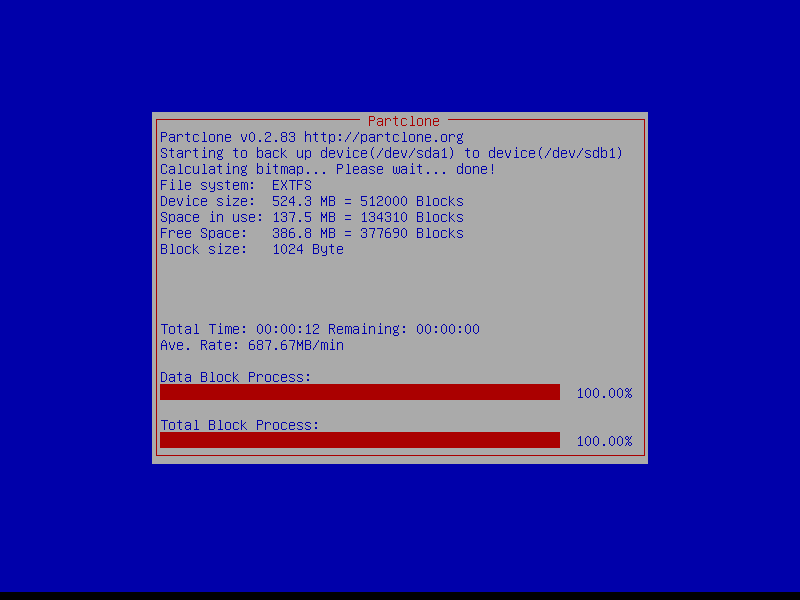
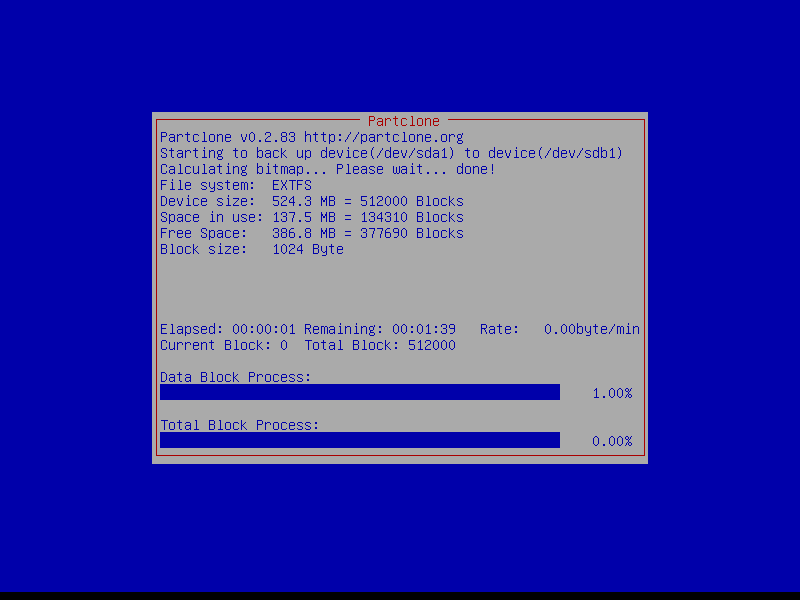
Clonezilla is cloning the data from source disk to target disk:
When everything is done, Clonezilla will prompt you if you want to run it again.
- ‘Stay in this console (console 1), enter command line prompt’
- ‘Run command “exit” or “logout”‘
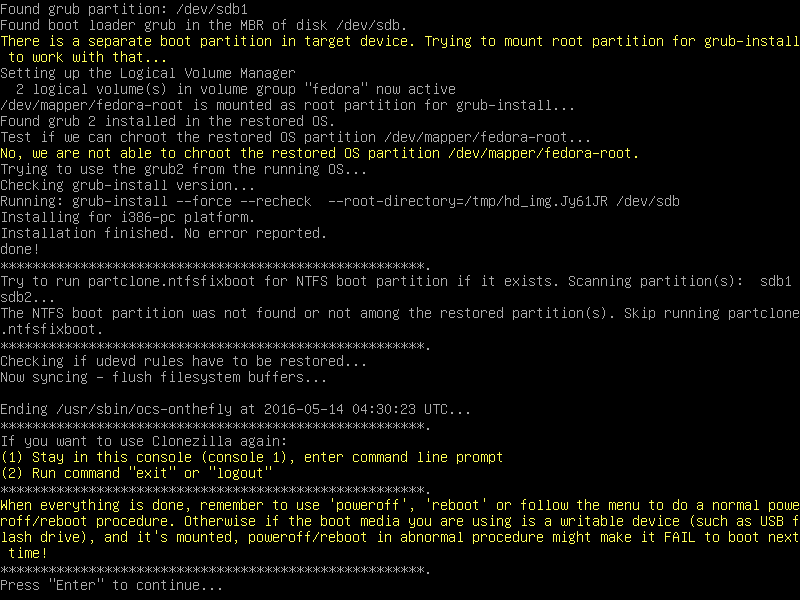
Then we choose Poweroff or Reboot: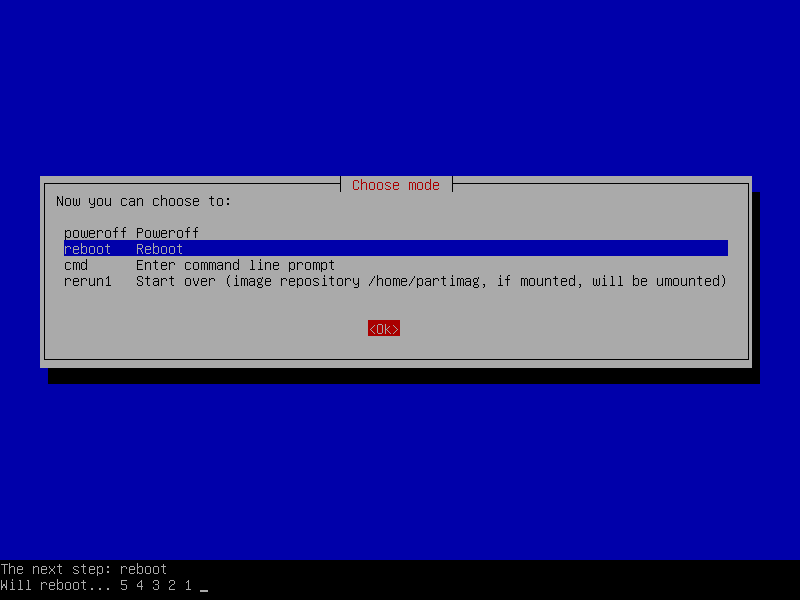
Now the Source Disk is Cloned to Target Disk and target disk is ready to use. You can remove the old disk from your machine, and put the new one in your machine. Boot it, you can enjoy the new disk
Limitations:
- The destination partition must be equal or larger than the source one.
- Differential/incremental backup is not implemented yet.
- Online imaging/cloning is not implemented yet. The partition to be imaged or cloned has to be unmounted..Due to the image format limitation, the image can not be explored or mounted. You can _NOT_ recovery single file from the image. However, you still have workaround to make it,
- Recovery Clonezilla live with multiple CDs or DVDs is not implemented yet. Now all the files have to be in one CD or DVD if you choose to create the recovery iso file


