
Are you an Web developer using Arch Linux then you need LAMP installed in your Arch Linux and here i am going show you the way of installing and configuring LAMP in Arch and its derivatives,lets have an small intro about LAMP.
What is LAMP?
LAMP is a combination of free, open source software. The acronym LAMP refers to the first letters of Linux(Operating System), Apache(HTTP Server),MySQL/MariaDB (Database softwares) , and PHP/Perl/Python , principal components to build a viable general purpose web server.
Ok now after reading the small introduction about LAMP you have became curious to install LAMP in your Arch Linux so follow the steps given below.
Note:The following instructions presumes that you have installed Arch Linux and you are connected to web.
Lets start the LAMP installation by installing Apache perform the following steps.
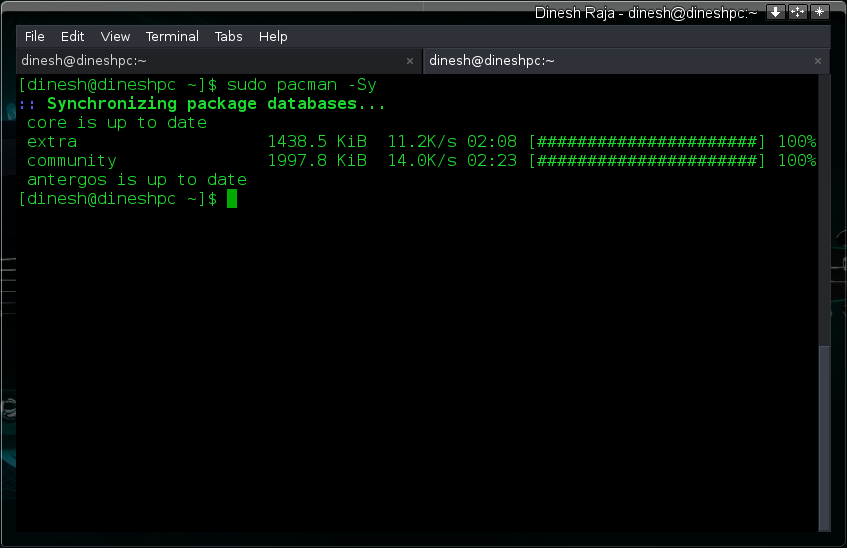
STEP 1 : Since Arch Linux keeps on rolling they update the packages often so before starting the installation process synchronize your mirrors by issuing the following command in your terminal.
sudo pacman -Sy
Enter your password and press “Enter” key now your mirrors get synchronized as shown below:
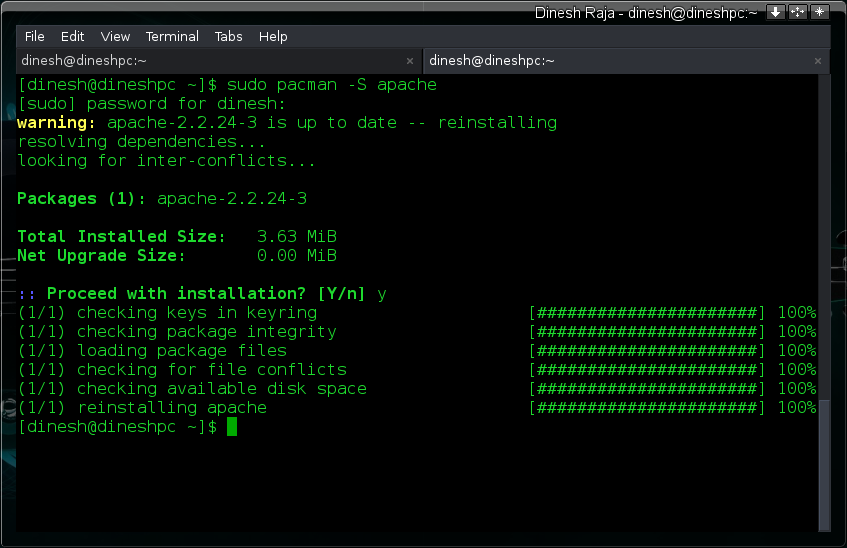
STEP 2 :Hope you have synchronized your mirrors now install Apache by issuing the following command in the terminal:
sudo pacman -S apache
You will get your terminal like this (Instead of “reinstalling apache” you will get “installing apache” ):
Now you have successfully installed Apache and its time to configure Apache as follows:
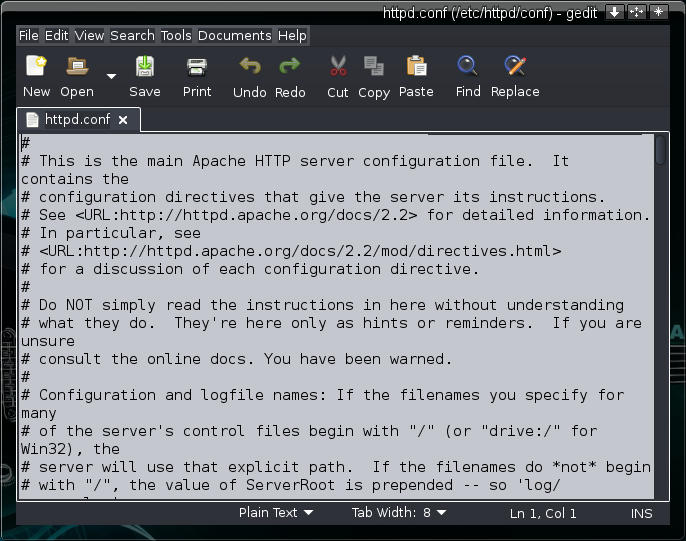
STEP 3 : Open your Apache configuration file by issuing the following command in the terminal:
sudo gedit /etc/httpd/conf/httpd.conf
Note:Here i am using Gedit text-editor you can replace it with your favorite text-editor like nano,vi.,etc
You will get your httpd.conf file opened in your text-editor as follows:
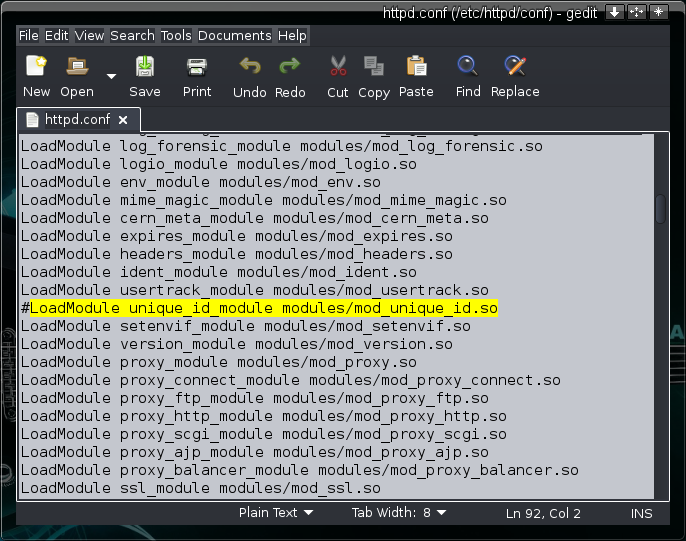
Press “Ctrl+F” to find the following line and comment it.
LoadModule unique_id_module modules/mod_unique_id.so
After commenting the above line your httpd.conf will be as follows:
STEP 4 : Now restart your Apache by issuing the following command and enter password:
sudo systemctl restart httpd
Now you have successfully installed and configured Apache now lets test the installation by doing the following steps:
Testing Apache:
sudo gedit /srv/http/index.html
<html>
<title>Apache Installation testing</title>
<body>
<h2>Hello, You have successfully installed Apache</h2>
</body>
</html>
Save and Exit Gedit.
Go to your web-browser and type the server address in the address bar as “localhost“,now you will get an page similar to the image as follows:

Note:If your page is not like this then you have missed something go back and verify the steps.
STEP 5 : Now lets install MariaDB by issuing the following command:
sudo pacman -S mariadb
Enter your password and press enter and proceed MariaDB installation.
STEP 6 : After installing MariaDB start the MariaDB by issuing the following command:
sudo systemctl start mysqld
STEP 7 : Configure MariaDB by issuing the following command and perform the interactive configuration:
sudo mysql_secure_installation

Configure the MariaDB by answering the questions asked in the set-up script by setting up password for the root user of MariaDB , Remove Anonymous User , Disallow root login remotely , Remove test database and access to it , Reload Privilege Table by pressing “y” for appropriate questions.
Note:Root user of MariaDB is different from root user of the system.
So,now you have installed Apache and MariaDB in your Arch Linux now lets start installing PHP as follows :
STEP 8 : Install php and php-apache by issuing the following command in your terminal:
sudo pacman -S php php-apache
Now you have installed php and php-apache lets configure the Apache configuration file such that Apache can access php files.
STEP 9 : Open the Apache configuration file by issuing the following command:
sudo gedit /etc/httpd/conf/httpd.conf
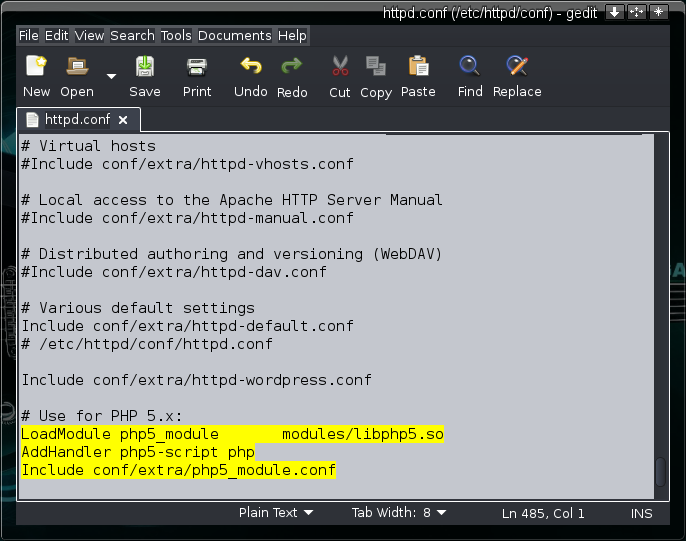
Append the following lines to the httpd.conf:
LoadModule php5_module       modules/libphp5.so
AddHandler php5-script php
Include conf/extra/php5_module.conf
Now your httpd.conf file will be like this :
Now lets test our php installation by performing the following steps :
STEP 10 : Open your Terminal and issue the following command to open your text editor and type an simple php script:
sudo gedit /srv/http/info.php
Add the following lines to the info.php file:
<?php
phpinfo();
?>
Save and quit Gedit.
STEP 11 : Restart the Apache server by issuing the following command:
sudo systemctl restart httpd
STEP 12 : Go to your web-browser and type the server address in the address bar as “localhost/info.php“,now you will get an page similar to the image as follows:
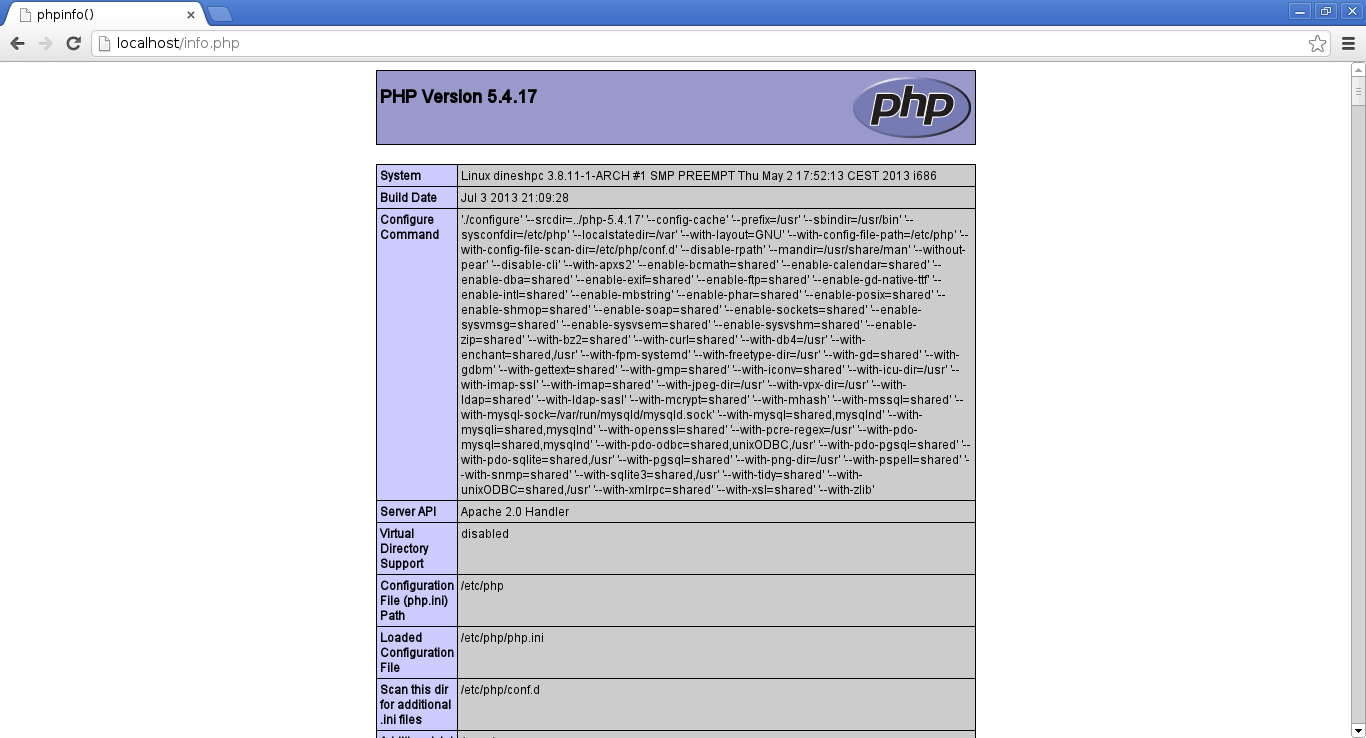
Now you have successfully installed LAMP on your Arch Linux!!!.Cheers!


